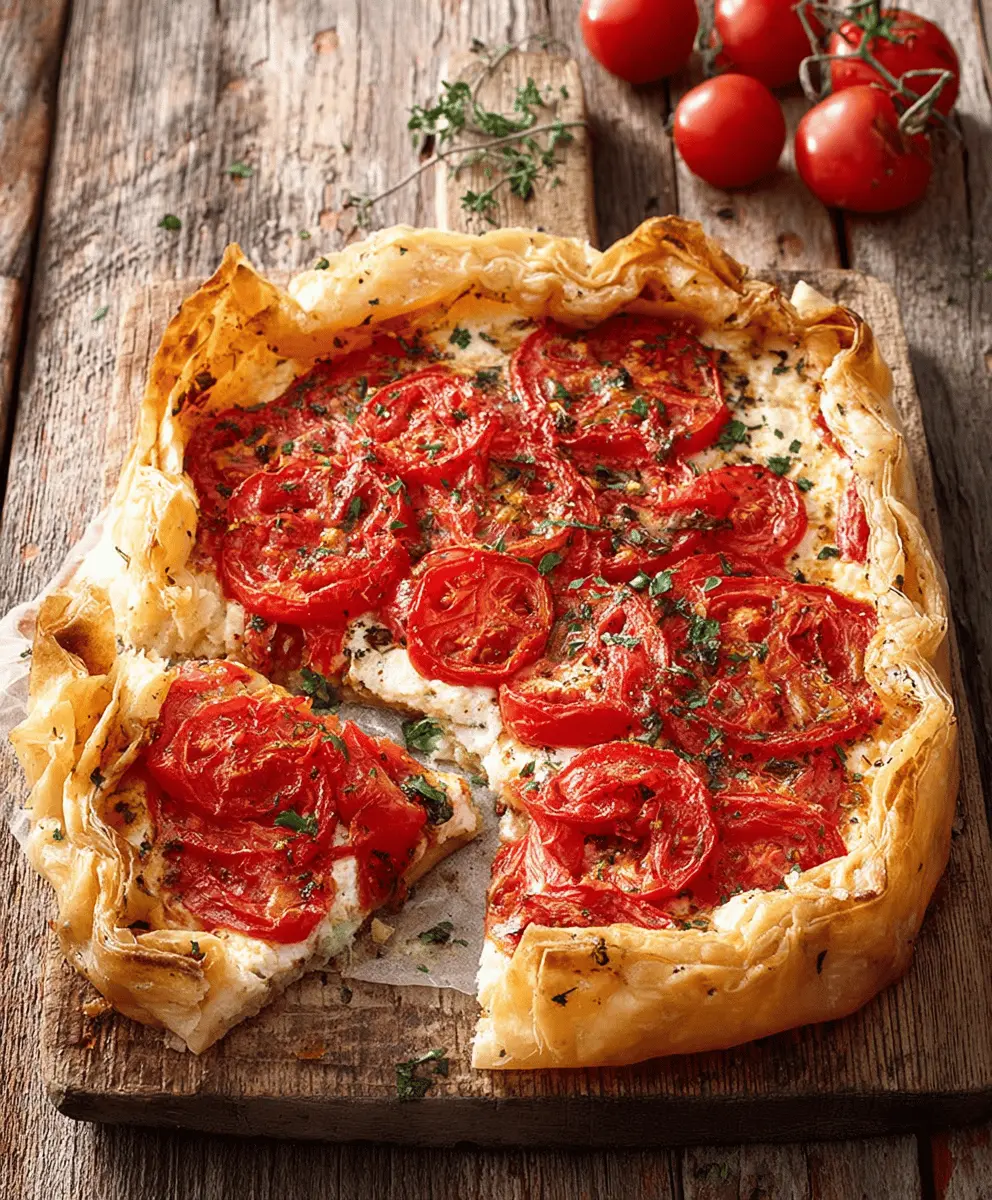
This Easy Rustic Tomato and Cheese Tart is a delightful dish bursting with fresh flavors. With juicy tomatoes and creamy cheese all tucked into a flaky crust, it’s sure to impress!
I love how simple it is to make—just layer, bake, and enjoy! It’s perfect for lunch or a light dinner, and trust me, your kitchen will smell amazing while it bakes!
Ingredients & Substitutions
Puff Pastry: If you can’t find puff pastry, you can use pie crust or phyllo dough for a different texture. I find puff pastry gives the best flaky result, but pie crust holds together nicely too.
Tomatoes: Ripe heirloom or cherry tomatoes are perfect for this tart, but feel free to use any tomatoes available. If you are short on fresh tomatoes, canned diced tomatoes can work; just be sure to drain them well.
Cheese: I love mixing mozzarella and cheddar for the gooey texture and flavor, but feta or goat cheese are excellent alternatives if you’re looking for something tangy. Use whatever cheese you enjoy!
Herbs: Fresh basil and thyme add great flavor, but you can also use oregano or Italian seasoning if herbs are limited. Dried herbs work in a pinch, just reduce the amount since they’re more concentrated.
How Can I Achieve a Perfectly Flaky Pastry?
The secret to a golden and flaky pastry is all in the steps leading up to baking. First, when rolling out the puff pastry, make sure it’s even to avoid any thick spots. Then, scoring a border helps create a beautiful puff while keeping the center flat for the filling.
- Preheat your oven properly so the heat cooks the pastry evenly.
- Pricking the inner rectangle prevents it from rising too much; just use a fork to poke it gently.
- Don’t skip the egg wash—it gives you that lovely golden color.
Watching it bake is half the fun; the smell in your kitchen will be divine!
Easy Rustic Tomato and Cheese Tart
Ingredients You’ll Need:
For the Tart:
- 1 sheet of store-bought puff pastry (about 9×9 inches), thawed
- 3-4 medium ripe tomatoes (a mix of heirloom or cherry tomatoes works well), sliced
- 1 cup shredded cheese (such as mozzarella, cheddar, or a blend)
- 1/4 cup grated Parmesan cheese
- 2 tbsp olive oil
- 2 cloves garlic, minced
- 1 tbsp fresh basil leaves, chopped (or 1 tsp dried basil)
- 1 tbsp fresh thyme leaves (optional)
- Salt and freshly ground black pepper, to taste
- 1 egg, beaten (for egg wash)
- Optional: balsamic glaze for drizzling
How Much Time Will You Need?
This delicious tart takes about 15 minutes of prep time and 20-25 minutes to bake. In total, you will need about 40 minutes to enjoy this tasty dish from start to finish!
Step-by-Step Instructions:
1. Preheat the Oven:
Start by preheating your oven to 400°F (200°C). While the oven heats up, prepare your baking sheet by lining it with parchment paper to keep the tart from sticking.
2. Prepare the Puff Pastry:
Take the thawed puff pastry and roll it out gently on the parchment-lined baking sheet. This is your tart base! Next, use a knife to score a border about 1 inch from the edge of the pastry, but be careful not to slice all the way through to the bottom. This will create a lovely raised edge later.
3. Prick the Pastry:
Using a fork, prick the inner rectangle of the pastry to keep it from puffing too much during baking. This helps the tart cook evenly so the filling doesn’t overflow.
4. Mix the Garlic and Herbs:
In a small bowl, drizzle your olive oil and mix it with the minced garlic, chopped basil, thyme (if using), salt, and pepper. This will add flavorful goodness to the tart!
5. Assemble the Tart:
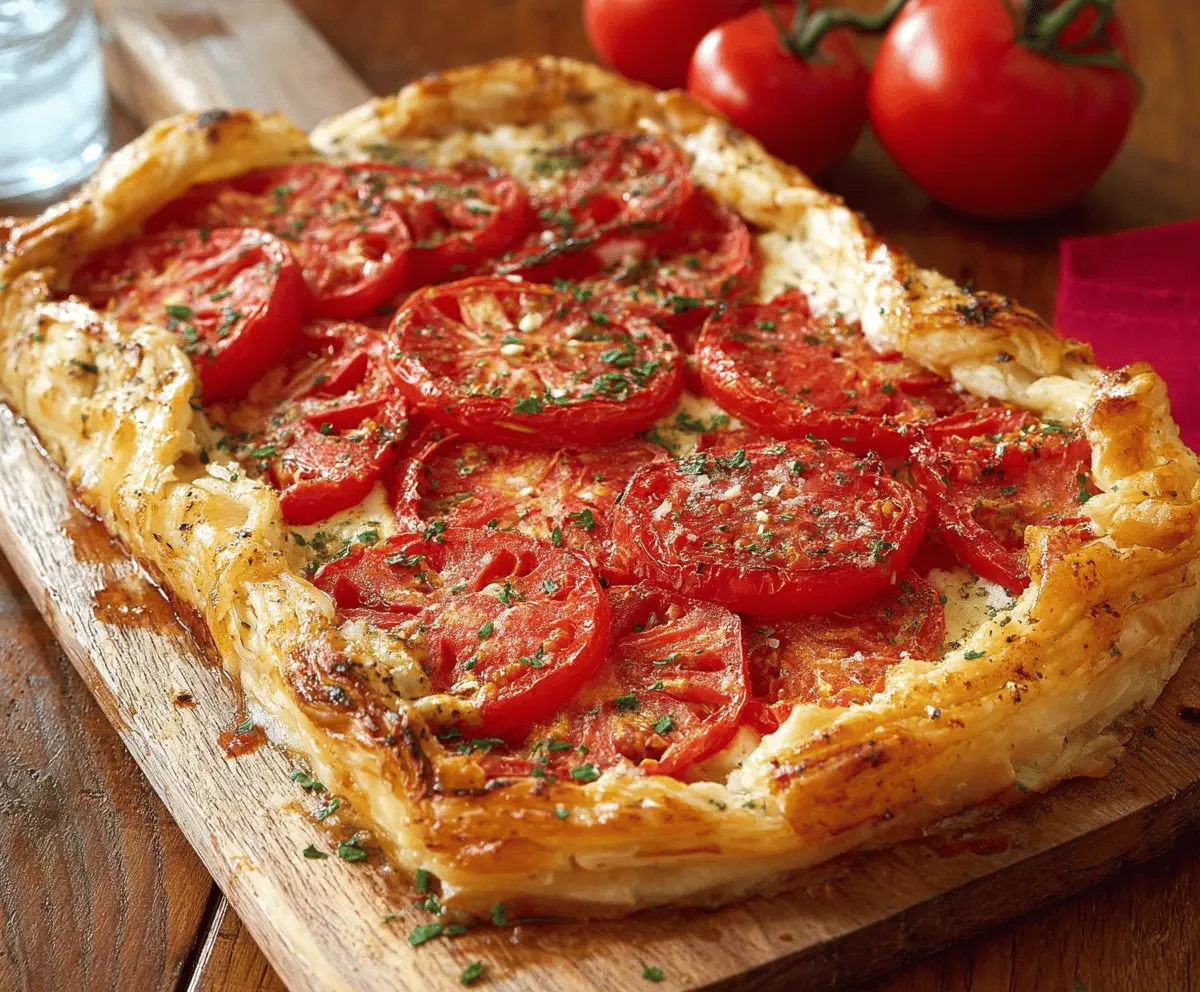
Brush the garlic-herb olive oil evenly over the inner part of the pastry, avoiding the border. Next, sprinkle the shredded cheese evenly over the oiled area to create a delicious base for your tomatoes. Then, arrange your sliced tomatoes on top of the cheese, covering it nicely. Finally, sprinkle grated Parmesan cheese over the tomatoes and season with a little extra salt and pepper, if desired.
6. Brush the Edges:
Take the beaten egg and brush it over the exposed border of the pastry. This egg wash will give your tart a beautiful golden color when it bakes.
7. Bake the Tart:
Place the tart in the preheated oven and bake for 20-25 minutes, or until the pastry is puffed and golden brown, and the cheese is melted and bubbly. Keep an eye on it, as every oven is a bit different!
8. Serve and Enjoy:
Once it’s done, remove the tart from the oven and let it cool slightly before slicing. For an extra touch, drizzle some balsamic glaze over the top and garnish with fresh basil leaves if desired. Cut into pieces and enjoy the deliciousness!
Bon appétit! Your Easy Rustic Tomato and Cheese Tart is ready to be shared and savored! 🍅🧀
Frequently Asked Questions (FAQ)
Can I Use Different Types of Cheese?
Absolutely! While mozzarella and cheddar are great choices, feel free to experiment with cheeses like feta, goat cheese, or even ricotta for a creamier texture. Just remember to adjust the amount based on the saltiness of the cheese!
What Type of Tomatoes Work Best in This Tart?
Ripe heirloom or cherry tomatoes provide great flavor and texture, but you can use any type of ripe tomatoes you have on hand. If using larger tomatoes, slice them thinly and remove excess moisture to prevent a soggy tart.
How Should I Store Leftovers?
If you have any leftovers, store them in an airtight container in the refrigerator for up to 3 days. To reheat, place the tart in the oven at 350°F (175°C) until warmed through, about 10-15 minutes. This will help maintain the pastry’s crispness!
Can I Make This Tart in Advance?
You can prepare the tart ahead of time! Assemble it as directed and store it uncooked in the fridge for a few hours or overnight. Bake it just before serving for a fresh and flaky treat! Just be sure to adjust the baking time if it’s cold from the fridge.