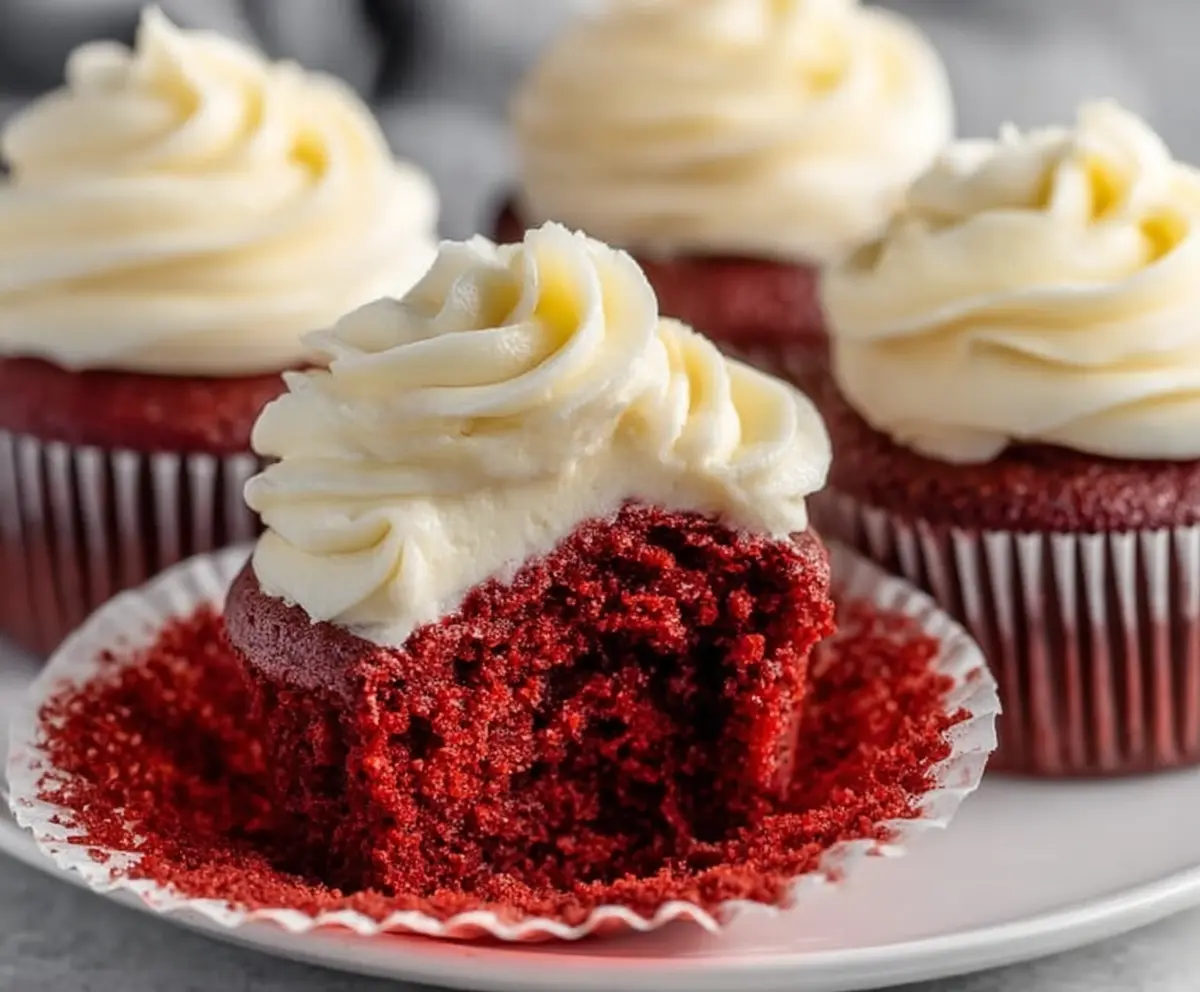
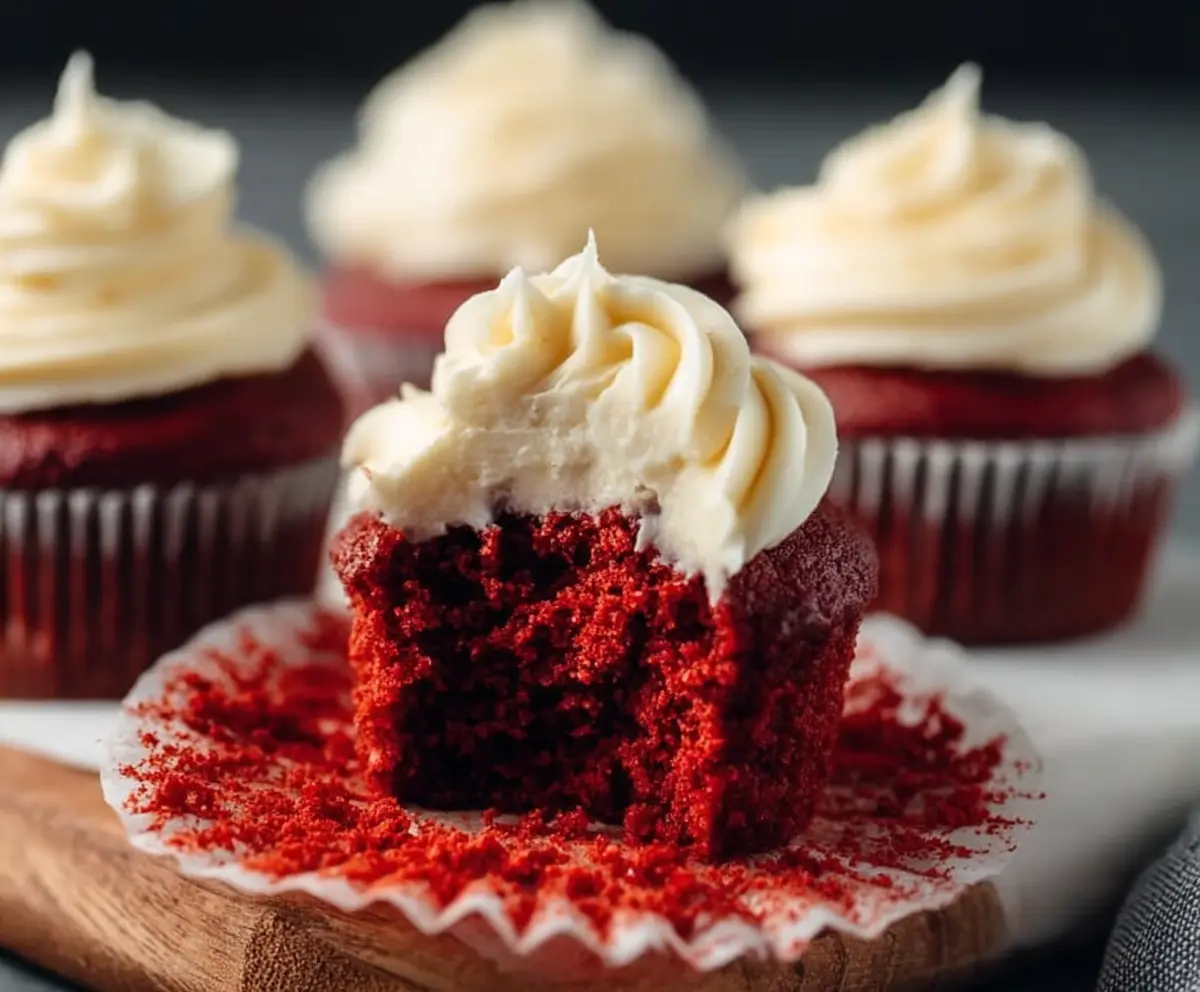
These Small Batch Red Velvet Cupcakes are everything you need for a sweet treat! Soft, spongy, and topped with creamy cream cheese frosting, they are sure to delight.
Making just a few means you won’t have leftovers calling your name! I love baking these for a special snack or mini celebration. Because who can resist a cute cupcake? 🧁
Key Ingredients & Substitutions
All-Purpose Flour: This is the base for your cupcakes, providing structure. If you’re looking for a gluten-free option, try using a gluten-free all-purpose blend, which can work well in this recipe.
Cocoa Powder: Unsweetened cocoa gives that signature red velvet taste. You can substitute with Dutch-processed cocoa for a smoother flavor, but it may alter the color a bit.
Vegetable Oil: This keeps the cupcakes moist. If you prefer, you could use melted coconut oil or melted butter for a richer taste.
Buttermilk: Buttermilk adds tenderness and tang. If you don’t have buttermilk, mix 1/2 cup of regular milk with 1/2 tablespoon of vinegar or lemon juice. Let it sit for about 5 minutes before using.
Red Food Coloring: This ingredient gives the cupcakes their signature red color. You can use gel coloring for a more vibrant hue, or natural beet juice for a healthier but less vivid alternative.
Cream Cheese: I love to use full-fat cream cheese for the frosting—it’s rich and creamy! If you want a lighter option, you can try Neufchâtel cheese.
How Do I Achieve the Perfect Cupcake Texture?
Getting the texture just right is crucial. Start by mixing the oil and sugar well to incorporate air, which helps in achieving a fluffy cupcake. When you add the dry ingredients and buttermilk, mix gently. Overmixing can lead to dense cupcakes.
- Preheat your oven properly to ensure even baking.
- Fill each cupcake liner about two-thirds full to allow for rising.
- Check for doneness by inserting a toothpick; it should come out clean with no wet batter.
Cooling them slowly in the pan helps set their shape. Enjoy your perfect Small Batch Red Velvet Cupcakes!
Small Batch Red Velvet Cupcakes
Ingredients You’ll Need:
For the Cupcakes:
- 1 cup (125g) all-purpose flour
- 1/4 cup (20g) unsweetened cocoa powder
- 1/2 teaspoon baking soda
- 1/4 teaspoon salt
- 1/2 cup (100g) granulated sugar
- 1/4 cup (60ml) vegetable oil
- 1 large egg
- 1/2 teaspoon pure vanilla extract
- 1/2 cup (120ml) buttermilk, room temperature
- 1 tablespoon red food coloring
- 1 teaspoon white vinegar
For the Cream Cheese Frosting:
- 4 oz (115g) cream cheese, softened
- 1/4 cup (57g) unsalted butter, softened
- 1 1/2 cups (180g) powdered sugar, sifted
- 1/2 teaspoon pure vanilla extract
How Much Time Will You Need?
This delightful recipe takes about 15 minutes to prep, plus about 18-20 minutes to bake and an additional 30 minutes for cooling and frosting. In total, you’re looking at around 1 hour to make your delicious small batch red velvet cupcakes!
Step-by-Step Instructions:
1. Preheat the Oven:
Start by preheating your oven to 350°F (175°C). Line a muffin tin with 6 cupcake liners to prepare for baking these scrumptious cupcakes.
2. Prepare the Dry Ingredients:
In a medium bowl, sift together the all-purpose flour, unsweetened cocoa powder, baking soda, and salt. This step is important as it helps to aerate and combine the dry ingredients. Once mixed, set this bowl aside.
3. Combine Sugar and Oil:
In a large bowl, whisk together the granulated sugar and vegetable oil until fully combined. This will help to incorporate air, which is crucial for the fluffy cupcake texture.
4. Add Egg and Vanilla:
Add the large egg and pure vanilla extract to the sugar-oil mixture. Whisk well to incorporate these ingredients until the mixture is smooth.
5. Mix the Wet Ingredients:
In a separate small bowl, mix together the buttermilk, red food coloring, and white vinegar. This colorful mixture is what gives your cupcakes that lovely red hue!
6. Combine Wet and Dry Mixtures:
Gradually add the dry ingredients to the wet mixture in three portions, alternating with the colored buttermilk mixture. Start and end with the dry ingredients. Gently mix until just combined; be careful not to overmix, which could lead to dense cupcakes!
7. Fill the Cupcake Liners:
Evenly divide the batter among the prepared cupcake liners, filling each about two-thirds full. This allows room for the cupcakes to rise while baking.
8. Bake!
Place the muffin tin in the preheated oven and bake for 18-20 minutes. To check if they’re done, insert a toothpick into the center of one cupcake; it should come out clean.
9. Cool the Cupcakes:
Once baked, remove the cupcakes from the oven and let them cool in the pan for about 5 minutes. After that, transfer them to a wire rack to cool completely.
10. Make the Cream Cheese Frosting:
To prepare the frosting, use an electric mixer to beat the softened cream cheese and butter together until smooth and creamy. This will be the delicious topping for your cupcakes!
11. Combine with Powdered Sugar:
Gradually add the sifted powdered sugar to the cream cheese mixture and continue mixing until fully combined and fluffy. Mix in the vanilla extract for extra flavor.
12. Frost the Cupcakes:
Once the cupcakes are completely cool, generously frost them with the cream cheese frosting. You can use a piping bag for a beautiful presentation or simply spread it on with a knife.
13. Serve and Enjoy:
You can serve the cupcakes right away, or refrigerate them until you’re ready to enjoy. If stored in the fridge, let them come to room temperature before serving for the best texture.
Enjoy your delicious small batch red velvet cupcakes topped with rich cream cheese frosting!
Can I Use Regular Milk Instead of Buttermilk?
Yes, you can! To make a buttermilk substitute, mix 1/2 cup of regular milk with 1/2 tablespoon of vinegar or lemon juice. Let it sit for about 5 minutes before using it in the recipe.
How Can I Make This Recipe Gluten-Free?
You can substitute the all-purpose flour with a gluten-free flour blend. Make sure to use a blend that contains xanthan gum or add some separately to achieve the right texture!
What’s the Best Way to Store Leftover Cupcakes?
Store leftovers in an airtight container in the fridge for up to 3 days. To maintain their softness, you might also want to place a slice of bread in the container with them, which helps keep moisture.
Can I Freeze the Cupcakes?
Absolutely! You can freeze the unfrosted cupcakes. Place them in an airtight container or wrap them tightly in plastic wrap. When ready to enjoy, thaw them in the refrigerator and frost them once they’re at room temperature.