
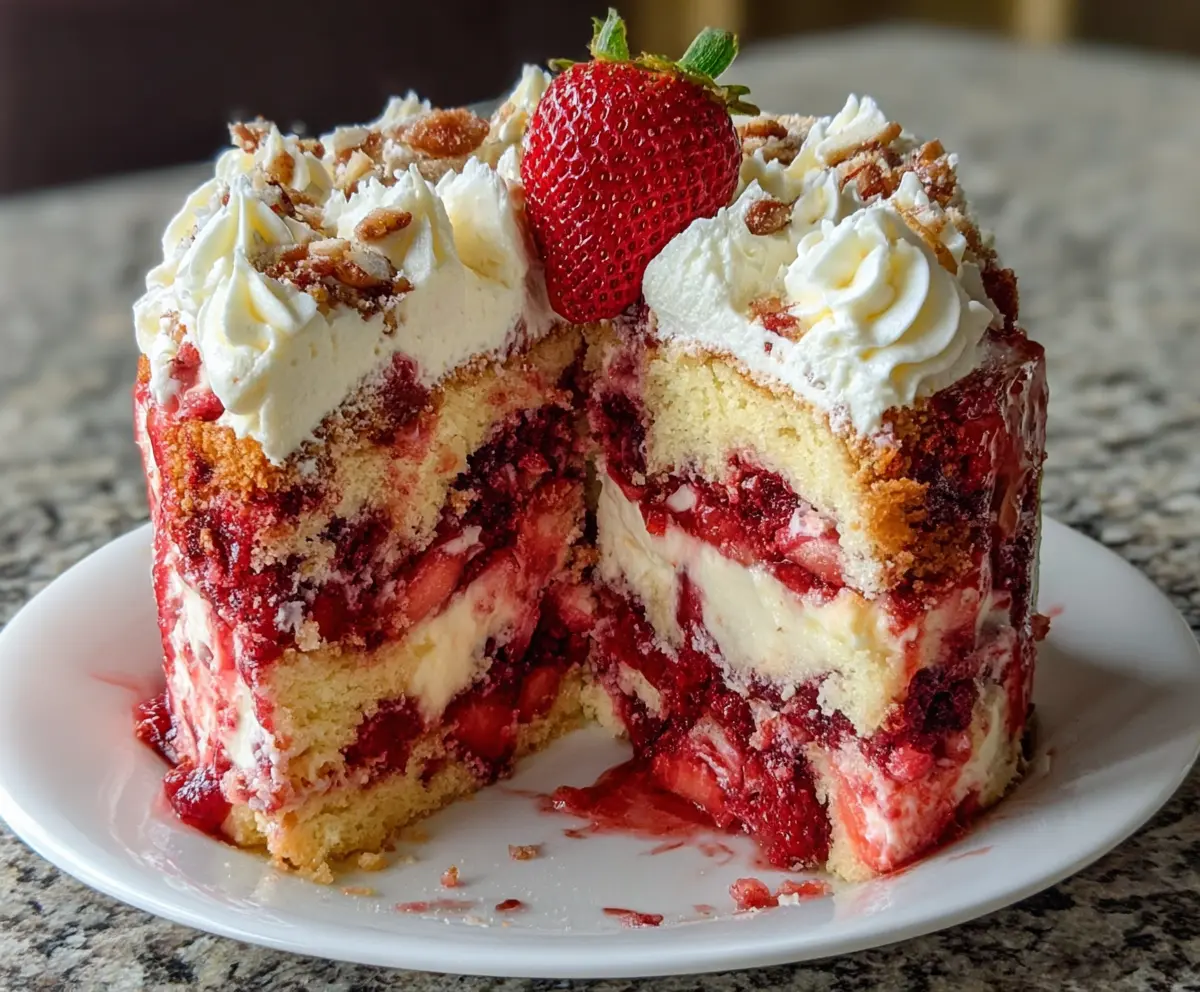
This Strawberry Earthquake Cake is a fun and tasty treat! It combines moist cake with gooey cream cheese and sweet strawberries for a delightful surprise.
Honestly, the burst of strawberry flavor is like a little party in your mouth! I can’t resist having a piece whenever I make it. Perfect for sharing or keeping all to yourself! 😄
Key Ingredients & Substitutions
Cake Mix: A box of white or yellow cake mix is easy to use. If you prefer homemade, substitute with your favorite vanilla cake recipe. Gluten-free cake mix is a great alternative for dietary needs.
Strawberries: Fresh strawberries are ideal, but you can use frozen if that’s what you have. Just thaw and drain well to avoid excess moisture. Raspberries or blueberries can also replace strawberries for a twist!
Cream Cheese: Regular cream cheese works best, but consider choosing low-fat or vegan cream cheese for a healthier version. It’ll still add that creamy texture we love.
Heavy Whipping Cream: For a lighter option, use whipped topping instead. If you want to keep it dairy-free, try using coconut cream as an alternative.
Pecans or Walnuts: They add a nice crunch, but if you prefer not to use nuts, feel free to skip. You could also use crushed graham crackers or oreos for a sweet twist!
How Do I Ensure the Perfect Layering for My Cake?
Layering is key to the “earthquake” effect. Start by baking the first layer so it’s set but still soft enough to absorb flavors from the strawberry gelatin. Spread the cream cheese mixture evenly to avoid any gaps.
- Bake the first layer (half the batter) until it’s lightly golden and a toothpick comes out clean.
- Let the gelatin cool to room temperature; pouring it hot can ruin the cake structure.
- After adding the strawberries, pour the top layer gently, spreading it to cover all the strawberries.
- Chill the cake thoroughly so the gelatin can set properly, lending to that lovely texture.
Follow these tips, and you’ll be sure to impress with beautiful layers and a delicious cake! Enjoy your baking adventure!
How to Make Strawberry Earthquake Cake
Ingredients You’ll Need:
For the Cake:
- 1 box white or yellow cake mix (plus ingredients called for on box: usually eggs, oil, water)
- 1 lb fresh strawberries, sliced (plus extra for garnish if desired)
For the Cream Cheese Layer:
- 8 oz cream cheese, softened
- 1 cup powdered sugar
For the Whipped Cream:
- 2 cups heavy whipping cream, cold
For the Gelatin Layer:
- 1 package (3.4 oz) instant strawberry gelatin
- 1 cup boiling water
For Topping:
- 1/2 cup crushed pecans or walnuts (optional)
- Whipped cream for topping
How Much Time Will You Need?
This recipe takes about 15 minutes of prep time, 1 hour of cooking time (including the two baking phases), and at least 4 hours (or overnight) to chill. Make sure to give yourself enough time to let all those delicious flavors combine!
Step-by-Step Instructions:
1. Preheat the Oven:
Start by preheating your oven to 350°F (175°C). While it’s warming up, prepare a 9×13 inch baking pan by greasing it well or lining it with parchment paper.
2. Prepare the Cake Batter:
Next, make the cake mix according to the instructions on the box. Pour half of the cake batter into your prepared pan and bake it in the oven for about 25 minutes. Check it with a toothpick; when it comes out clean, it’s ready!
3. Make the Strawberry Gelatin:
While your cake is baking, mix the strawberry gelatin powder with 1 cup of boiling water in a bowl. Stir until it is fully dissolved. Set it aside to cool to room temperature.
4. Prepare the Cream Cheese Mixture:
In a large bowl, beat the softened cream cheese and powdered sugar together until the mixture is smooth and creamy. This will be your delicious filling!
5. Whip the Cream:
In a separate bowl, whip the heavy cream until stiff peaks form. This will help keep the cream cheese mixture light and fluffy.
6. Combine the Mixtures:
Gently fold the whipped cream into the cream cheese mixture until everything is combined well. This creates a sweet, fluffy layer.
7. Layer It Up:
Once the first cake layer is baked and cooled a bit, spread half of the cream cheese mixture evenly over the top. Then, scatter the sliced strawberries on top of the cream layer.
8. Add the Second Cake Layer:
Carefully pour the remaining cake batter over the strawberries, spreading it gently to cover them completely. This helps keep everything together.
9. Bake Again:
Pop the cake back in the oven and bake for another 30 minutes or until the top is a light golden color and a toothpick inserted in the center comes out mostly clean.
10. Cool and Chill:
Let the cake cool completely in the pan. Once cooled, pour the now-cooled strawberry gelatin evenly over the entire cake. This is where the “earthquake” magic happens!
11. Set It in the Fridge:
Chill the cake in the refrigerator for at least 4 hours, or overnight if you can wait. This allows the flavors to meld together beautifully.
12. Serve and Enjoy:
Before serving, top the cake with dollops of whipped cream and sprinkle crushed nuts if using. Slice into squares, serve, and enjoy the lovely layers of moist cake and delicious strawberry cream!
This cake gets its “earthquake” name from the delightful layers and gelatin that create a beautiful and tasty treat. Perfect for gatherings or a special dessert at home!
Can I Use Frozen Strawberries Instead of Fresh?
Yes, you can use frozen strawberries, but be sure to thaw and drain them well to avoid extra moisture in the cake. Fresh strawberries will provide a better flavor, but frozen ones will work in a pinch!
How Should I Store Leftover Cake?
Store any leftover Strawberry Earthquake Cake in an airtight container in the refrigerator for up to 3 days. The flavors will continue to meld as it sits, making it even tastier!
Can I Make This Cake Gluten-Free?
Absolutely! Just substitute the regular cake mix with a gluten-free cake mix. Make sure to check the other ingredients, like the gelatin, for any gluten content!
How Can I Make This Cake Ahead of Time?
This cake is perfect for making ahead! You can bake it a day or two in advance. Just follow the instructions up until chilling, and then store it in the refrigerator until you’re ready to serve it.