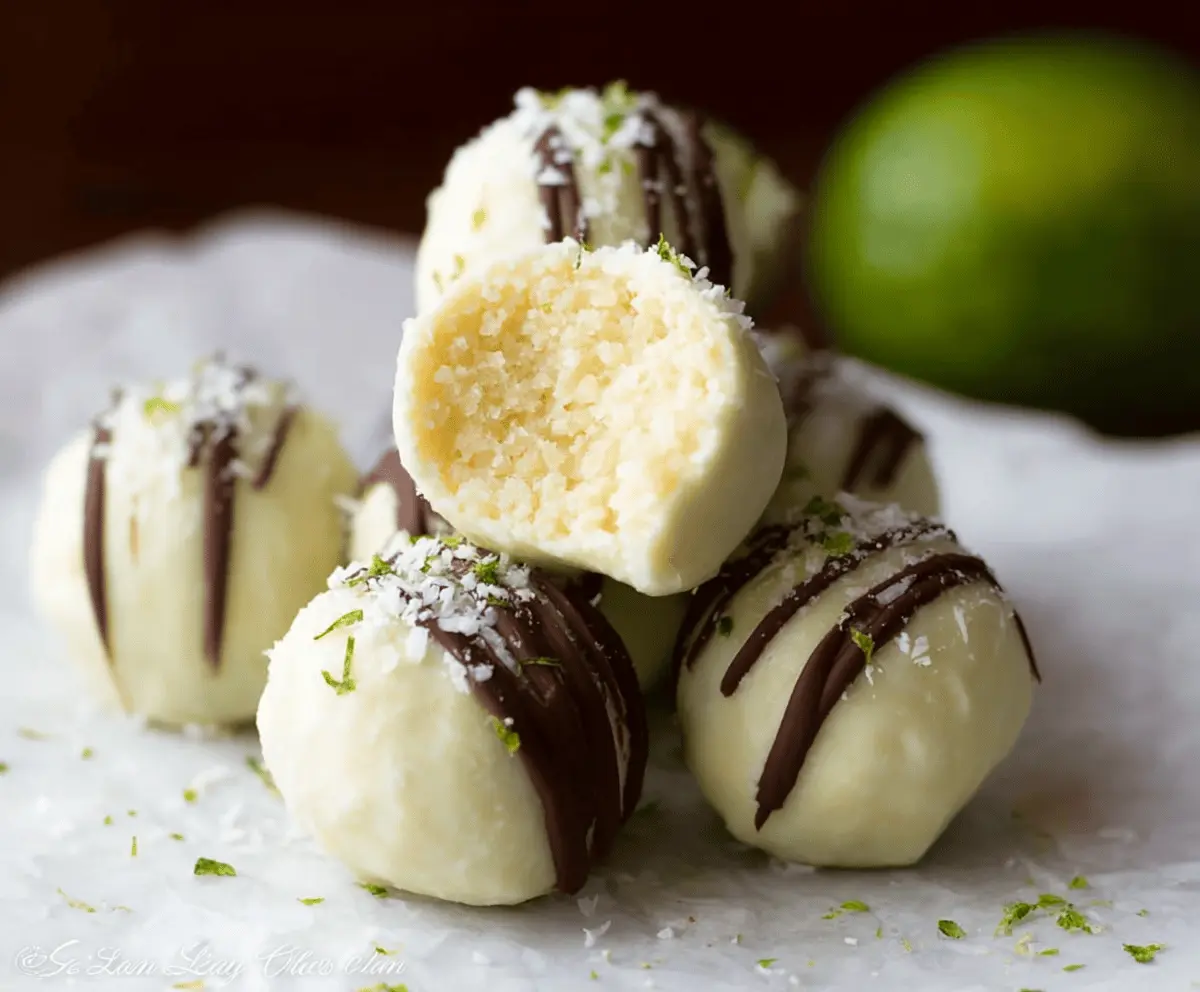
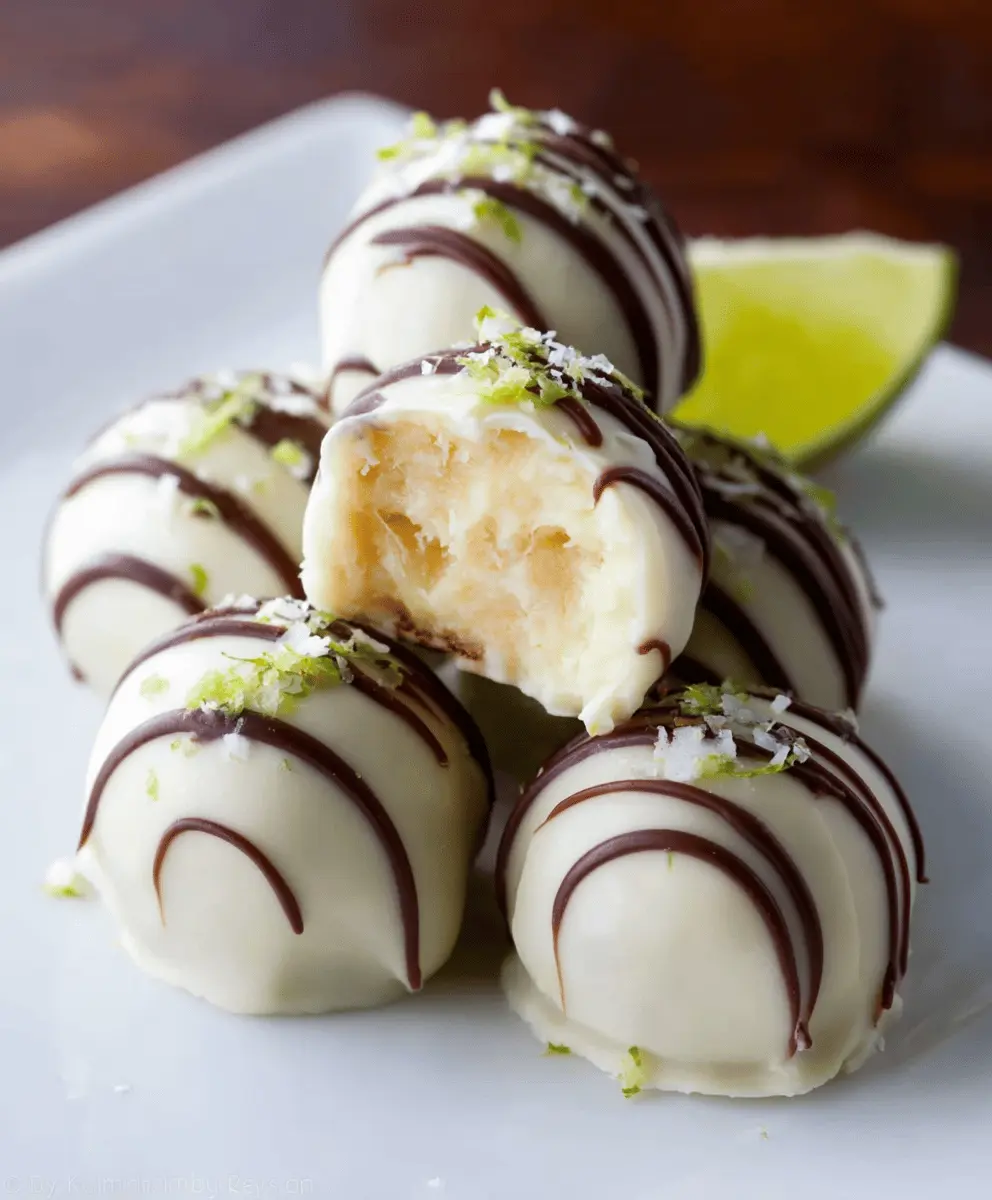
These creamy key lime truffles are little bites of sunshine! With a zesty lime flavor wrapped in a rich white chocolate shell, they are sure to brighten your day.
Making these truffles is super fun and easy! Just mix, chill, and roll them into cute balls. I love bringing them to parties—everyone just can’t resist a second (or third) one! 😋
Key Ingredients & Substitutions
White Chocolate: This gives the truffles their sweet, creamy base. If you’re looking for a different flavor, you can use milk chocolate instead, but the result will be less zesty.
Heavy Cream: This adds richness. For a lighter option, substitute with coconut cream. It ties well with key lime’s flavors!
Key Lime Juice: Freshly squeezed juice is best for that vibrant flavor. If key limes are hard to find, regular limes work too, but the taste will differ slightly.
Vanilla Extract: This enhances the flavor. If you’re avoiding alcohol, look for pure vanilla extract with no additives. It makes a difference!
How Do You Get the Perfect Truffle Coating?
The coating can be tricky, but with a few tips, you’ll master it! After forming your truffle balls, it’s essential to chill them. This keeps them firm while you dip them.
- Once the truffles are firm, melt the coating slowly. Avoid overheating.
- Dip each truffle in the melted chocolate, let excess drip off, and place on parchment.
- Sprinkle any toppings immediately after coating for better adhesion.
Make sure your truffles are fully cooled before serving to enjoy the smooth shell and creamy center!
>1/2 teaspoon vanilla extract
For the Coating:
- 1 cup white chocolate or candy melts for coating
Optional Garnish:
- Lime zest
- Shredded coconut
- Graham cracker crumbs
Time Needed:
This delicious treat takes about 2 hours and 30 minutes to prepare, including a 2-hour chilling time. The hands-on work is quick and easy—only about 30 minutes of active preparation! Refrigerate your truffles for the best results before serving.
Step-by-Step Instructions:
1. Prepare the Chocolate Mixture:
Start by placing the finely chopped white chocolate in a heat-proof bowl. This is where the magic begins!
2. Heat the Cream:
In a small saucepan over medium heat, warm the heavy cream until it just starts to simmer (make sure it doesn’t boil!). This will create a rich base for your truffles.
3. Combine and Mix:
Pour the hot cream over the chopped white chocolate. Let it sit for about 2 minutes without stirring. This will help the chocolate melt perfectly. After 2 minutes, stir gently until the mixture is completely smooth and creamy.
4. Add the Zesty Flavor:
Now it’s time to add the zing! Incorporate the freshly squeezed key lime juice, optional key lime zest, vanilla extract, and a pinch of salt into your mixture. Mix well until everything is combined.
5. Chill the Mixture:
Cover the bowl and place it in the refrigerator for at least 2 hours. This will give the mixture time to firm up so it’s easy to scoop later.
6. Scoop the Truffles:
Once the mixture has chilled enough, use a small scoop or teaspoon to form the chilled mixture into 1-inch balls. Place them neatly on a parchment-lined tray. They’ll look so cute!
7. Freeze to Firm Up:
Pop those little truffles in the freezer for about 15 minutes. This will help them maintain their shape when you start coating them.
8. Melt the Coating:
While the truffles are freezing, melt your white chocolate or candy melts in a double boiler or microwave until smooth. Be careful not to overheat it!
9. Dip and Decorate:
Take each truffle ball out of the freezer and dip it into the melted chocolate. Use a fork to lift it out and let the excess chocolate drip off before placing it back on the parchment paper.
10. Add Toppings (Optional):
If you’d like to add a little flair, sprinkle lime zest, shredded coconut, or graham cracker crumbs on top while the coating is still wet. Get creative!
11. Final Chill:
Refrigerate the coated truffles until the chocolate is set, about 30 minutes. Your patience will be rewarded!
12. Serve and Enjoy:
Once set, keep the creamy key lime truffles refrigerated until you’re ready to serve them. Enjoy these delicious little bites of sunshine with friends and family!
Creamy Key Lime Truffles
Ingredients You’ll Need:
For the Truffle Filling:
- 8 oz (225g) white chocolate, finely chopped
- 1/4 cup (60ml) heavy cream
- 2 tablespoons key lime juice (freshly squeezed)
- 1 teaspoon key lime zest (optional, for extra flavor)
Can I Use Regular Lime Juice Instead of Key Lime Juice?
Yes, you can substitute regular lime juice if key limes are not available. However, the flavor will be slightly different—key limes have a more distinct tartness. If using regular limes, try to opt for fresh juice for the best flavor!
How Long Can I Store the Truffles?
You can store these truffles in an airtight container in the fridge for up to one week. If you want to make them ahead, they also freeze well—just wrap them tightly in plastic wrap and place them in a freezer-safe container for up to 3 months!
Can I Make These Truffles Dairy-Free?
Absolutely! To make dairy-free truffles, use dairy-free white chocolate and coconut cream instead of heavy cream. Check the labels to ensure they’re suitable for your dietary needs.
What Is the Best Way to Serve Them?
These truffles are delightful when served chilled, making them perfect for hot weather. Consider arranging them on a nice plate and garnishing with extra lime zest or coconut flakes for a pretty presentation. Enjoy with friends over coffee or as a dessert after dinner!