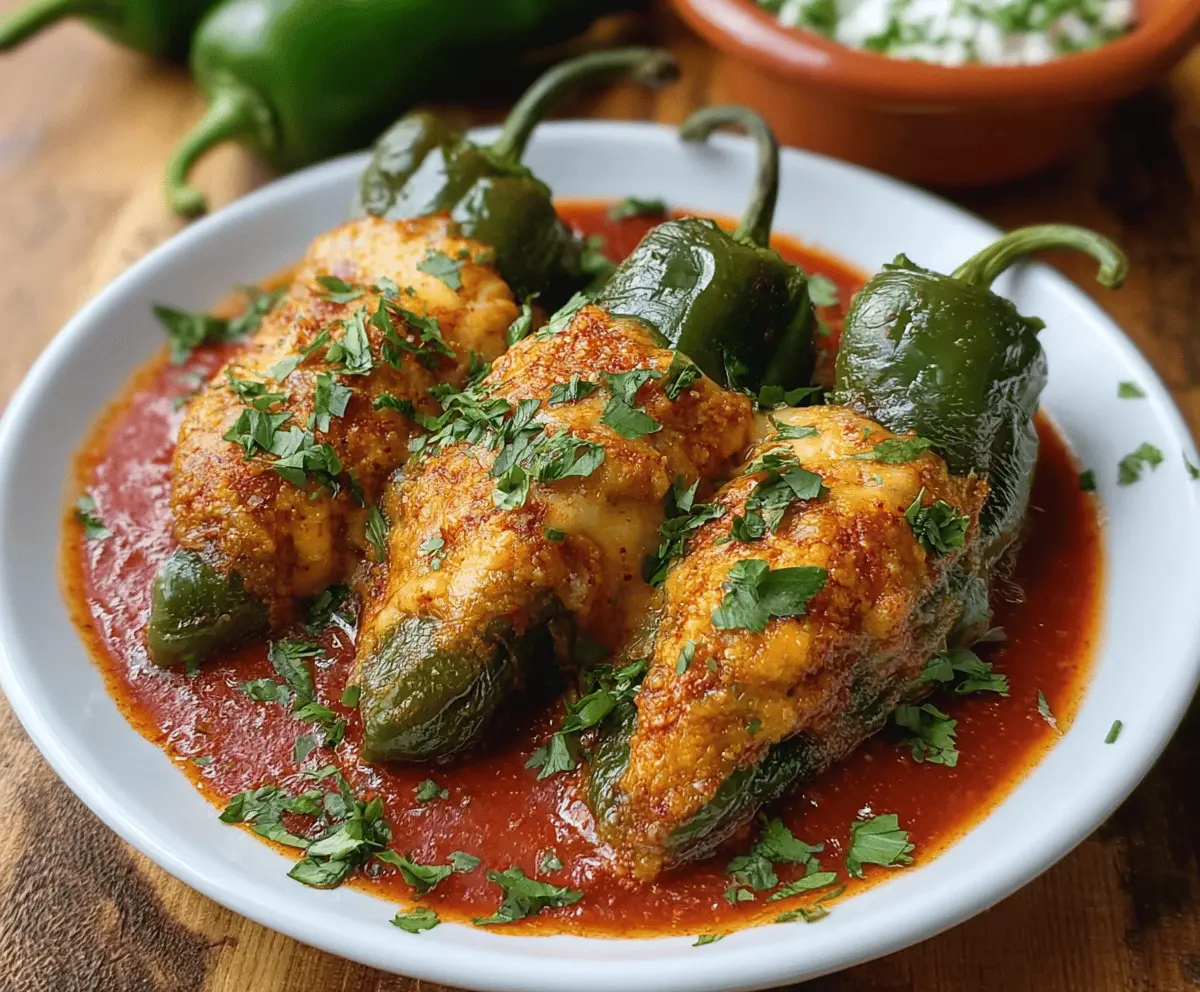
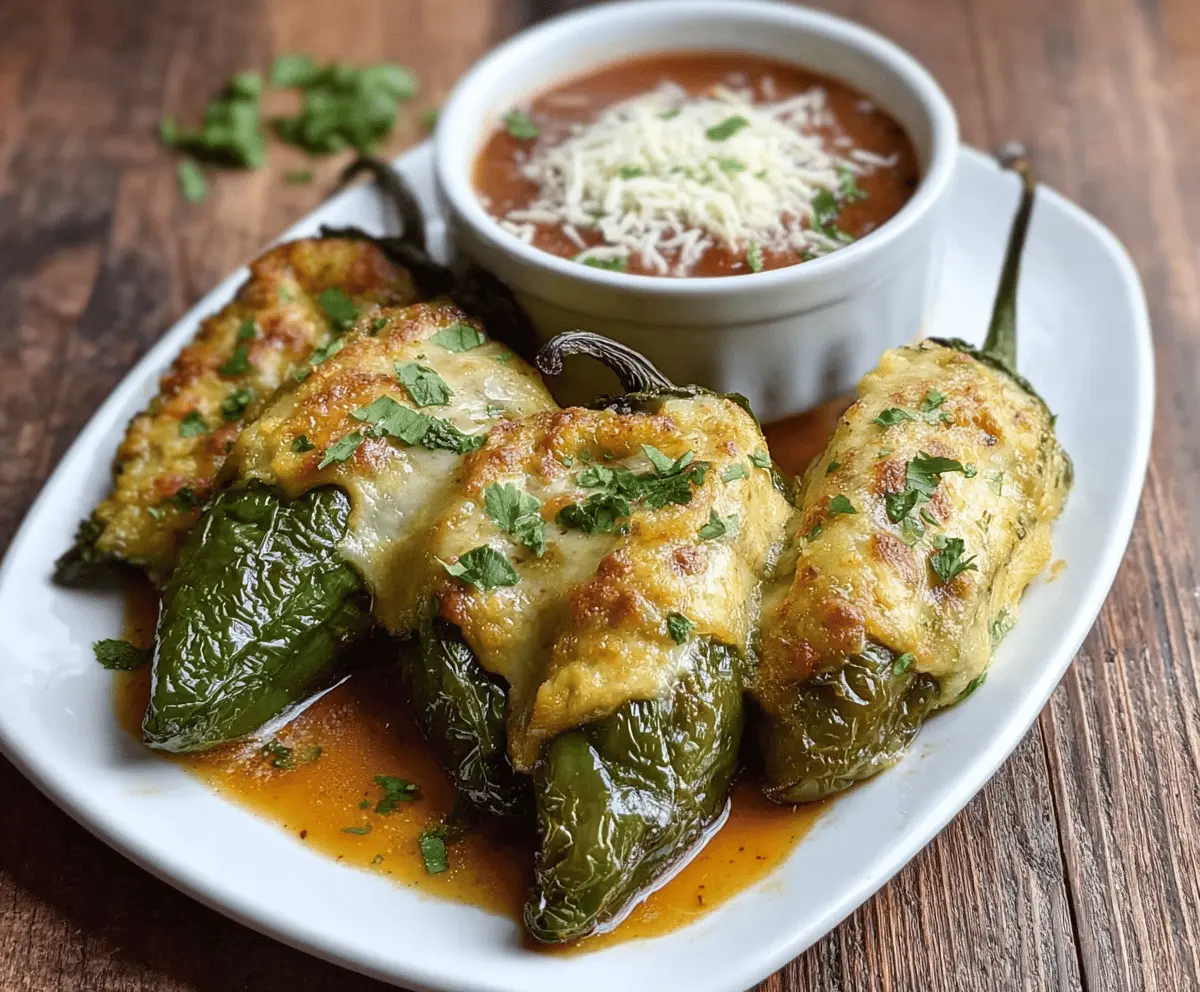
These Simple Hatch Chile Rellenos are stuffed with cheese, making them cheesy and delicious! They’re roasted, slightly spicy, and perfect for any meal.
Honestly, who can resist warm, gooey cheese wrapped in a tasty pepper? I love serving them with salsa for an extra kick—it’s like a fiesta on a plate! 🎉
Key Ingredients & Substitutions
Hatch Green Chiles: These chiles are known for their unique flavor and mild heat. If you can’t find them, poblano or Anaheim peppers work well as substitutes. Just know they have slightly different flavors!
Cheddar and Monterey Jack Cheese: This combo creates a great flavor balance with melty goodness. If you’re looking for alternatives, try pepper jack for a bit of heat, or mozzarella for a creamier texture.
Eggs: They help bind everything together and create a fluffy batter. If you need a vegan option, try replacing the eggs with aquafaba (chickpea brine) for the egg whites and a plant-based alternative for the yolks.
Vegetable Oil: Good for frying, but if you prefer a healthier option, you could also bake the rellenos instead. Just brush or spray them lightly with oil before baking until crispy.
How Can I Roast and Peel the Chiles Perfectly?
Roasting chiles can be a game-changer for enhancing their flavor. To do this effectively, follow these easy steps:
- Preheat your broiler or grill to high—this helps char the skins.
- Arrange the chiles on a baking sheet and roast, flipping occasionally, until blackened and blistered (about 7-10 minutes).
- After roasting, place them in a sealed plastic bag or cover them with a towel. This steaming process helps loosen the skins.
- Once they’re cool enough, gently peel off the charred skin, keeping the chiles intact and then slit open to remove seeds.
Taking your time here pays off—perfectly roasted chiles make a big difference in your final dish! Enjoy the warm, smoky flavors they bring!

Simple Hatch Chile Rellenos
Ingredients:
- 6 large Hatch green chiles
- 8 oz cheddar cheese, shredded
- 8 oz Monterey Jack cheese, shredded
- 4 large eggs, separated
- 1/4 teaspoon cream of tartar
- 1/2 cup all-purpose flour, for dredging
- Salt, to taste
- Black pepper, to taste
- 1 cup vegetable oil (for frying)
- Fresh cilantro, chopped (for garnish)
- 1 cup red enchilada sauce or tomato sauce (optional, for serving)
- Crumbled queso fresco or shredded cheese (optional, for garnish on sauce)
How Much Time Will You Need?
This recipe should take you about 30 minutes to prepare and cook, plus a little extra time for prepping the chiles. The good news? You can make these delicious stuffed peppers in no time at all, making them perfect for a quick dinner or gathering!
Step-by-Step Instructions:
1. Roast and Peel the Hatch Chiles:
Start by preheating your broiler or grill to high. Place the chiles on a baking sheet and roast them, turning occasionally, until the skins are charred and blistered all over—this usually takes about 7-10 minutes. Once they’re done, transfer them to a sealed plastic bag or cover with a kitchen towel for about 10 minutes. This steaming process helps make peeling easier!
2. Prep the Chiles:
When the chiles are cool enough to handle, carefully peel off the charred skin. Try to keep the chiles intact. Make a vertical slit along one side of each chile, then remove the seeds and membranes to prepare them for stuffing.
3. Stuff the Chiles:
In a bowl, mix together the shredded cheddar and Monterey Jack cheeses. Stuff each chile generously with this cheese mixture. Be careful not to overstuff them, or they might burst while frying!
4. Prepare the Batter:
In a clean bowl, beat the egg whites with the cream of tartar until soft peaks form. In another bowl, beat the egg yolks with a pinch of salt and pepper until thick. Gently fold the beaten yolks into the egg whites to create a fluffy batter.
5. Heat the Oil:
In a deep skillet, heat the vegetable oil until it reaches 350°F (175°C). You want it hot enough to fry crispy chiles!
6. Dredge and Coat the Chiles:
Lightly dredge each stuffed chile in flour, ensuring it is evenly coated. Then, dip each one into the prepared egg batter, making sure it’s well coated all around.
7. Fry the Chiles:
Carefully fry the chiles in the hot oil until they turn golden brown on all sides. This should take about 3-4 minutes per side. Use tongs to turn them gently to avoid breaking them.
8. Drain and Serve:
Once golden, remove the chiles from the oil and set them on paper towels to drain any excess oil. If you’re using enchilada sauce, warm it up while the chiles are frying.
9. Garnish and Enjoy:
To serve, pour the warm enchilada sauce onto a plate, place the fried chile rellenos on top, and sprinkle with chopped cilantro and additional cheese or queso fresco if desired. Serve immediately while hot, and enjoy your delicious creation!
These Simple Hatch Chile Rellenos are a delightful combination of smoky, cheesy goodness with a crispy exterior, perfect for any occasion!
img src=”https://tastyhomejournal.com/wp-content/uploads/2025/09/simple-hatch-chile-rellenos.webp” alt=””>
Can I Use Other Types of Chiles?
Absolutely! While Hatch chiles are delicious, you can substitute them with poblano or Anaheim peppers. Just keep in mind that substitutions may slightly alter the flavor and heat level.
What Can I Do If I Don’t Have Cream of Tartar?
No worries! If you don’t have cream of tartar, you can skip it or substitute it with an equal amount of lemon juice or vinegar. This will help stabilize the egg whites while you whip them.
How to Store Leftover Chile Rellenos?
Store leftovers in an airtight container in the fridge for up to 3 days. To reheat, place them in an oven at 350°F (175°C) for about 10-15 minutes to regain their crispiness.
Can I Bake These Instead of Frying?
Yes, baking is a healthier option! Preheat your oven to 400°F (200°C), place the stuffed and battered chiles on a greased baking sheet, and bake for about 20-25 minutes, or until golden and crispy.
