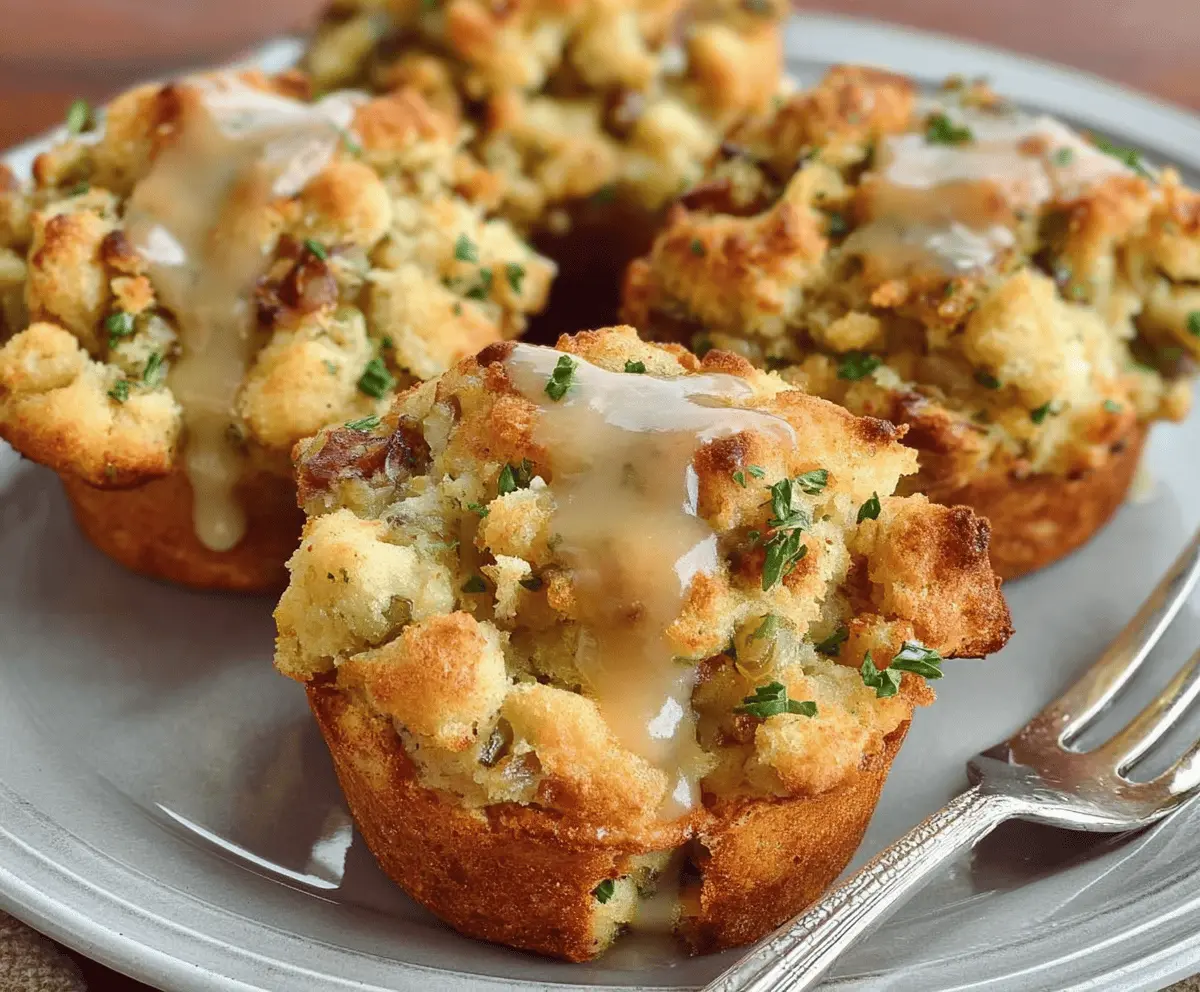
Stuffing muffins are a fun twist on classic stuffing! They’re made with delicious bread, herbs, and veggies, all baked into cute little muffin shapes. Perfect for any holiday table!
Who knew stuffing could be so adorable? I love serving these at family dinners. They’re easy to grab and even easier to enjoy. Everyone wants seconds, and I can’t blame them! 😄
Key Ingredients & Substitutions
Cubed Bread: Day-old or slightly stale bread works best. I love using sourdough for its flavor, but any white bread will do. If you’re gluten-free, try a gluten-free bread mix or cornbread.
Butter: Unsalted butter is standard, but feel free to use olive oil or coconut oil for a dairy-free option. They’ll add a different flavor but keep the muffins moist!
Onion and Celery: These are key for flavor. If you’re short on time, onion powder and celery salt can be a quick substitute. However, nothing beats the fresh taste!
Herbs: Fresh herbs add a wonderful aroma, but dried herbs work too. If you only have dried sage, thyme, or rosemary, use a third of the amount since dried herbs are more potent.
Dried Cranberries or Raisins: These add a sweet touch, but you can also use chopped apples or nuts for a nice variation. It’s all about what you love!
How Do You Get the Perfect Texture for Stuffing Muffins?
Getting the right texture is key for stuffing muffins. The goal is a crispy top with a soft inside. Here’s how to nail it:
- Use day-old bread, as it absorbs moisture without getting soggy.
- Toast the bread cubes lightly to help them hold their shape. This step is crucial!
- Mix ingredients gently. You want everything combined without smashing the bread. A light hand goes a long way.
- Pack the mixture into the muffin tin firmly but not too tightly. This way, they’ll hold their shape but have air to create that perfect fluffy texture.
By following these simple tips, your stuffing muffins will come out deliciously golden and perfectly textured!
How to Make Stuffing Muffins
Ingredients You’ll Need:
For the Muffins:
- 10 cups cubed bread (day-old or slightly stale, white or sourdough)
- 1/2 cup unsalted butter
- 1 medium onion, finely chopped
- 3 celery stalks, finely chopped
- 3 cloves garlic, minced
- 1/2 cup fresh parsley, chopped
- 1 tbsp fresh sage, chopped (or 1 tsp dried sage)
- 1 tbsp fresh thyme, chopped (or 1 tsp dried thyme)
- 1/2 tsp dried rosemary (optional)
- 2 cups low sodium chicken or vegetable broth
- 2 large eggs, beaten
- Salt and black pepper, to taste
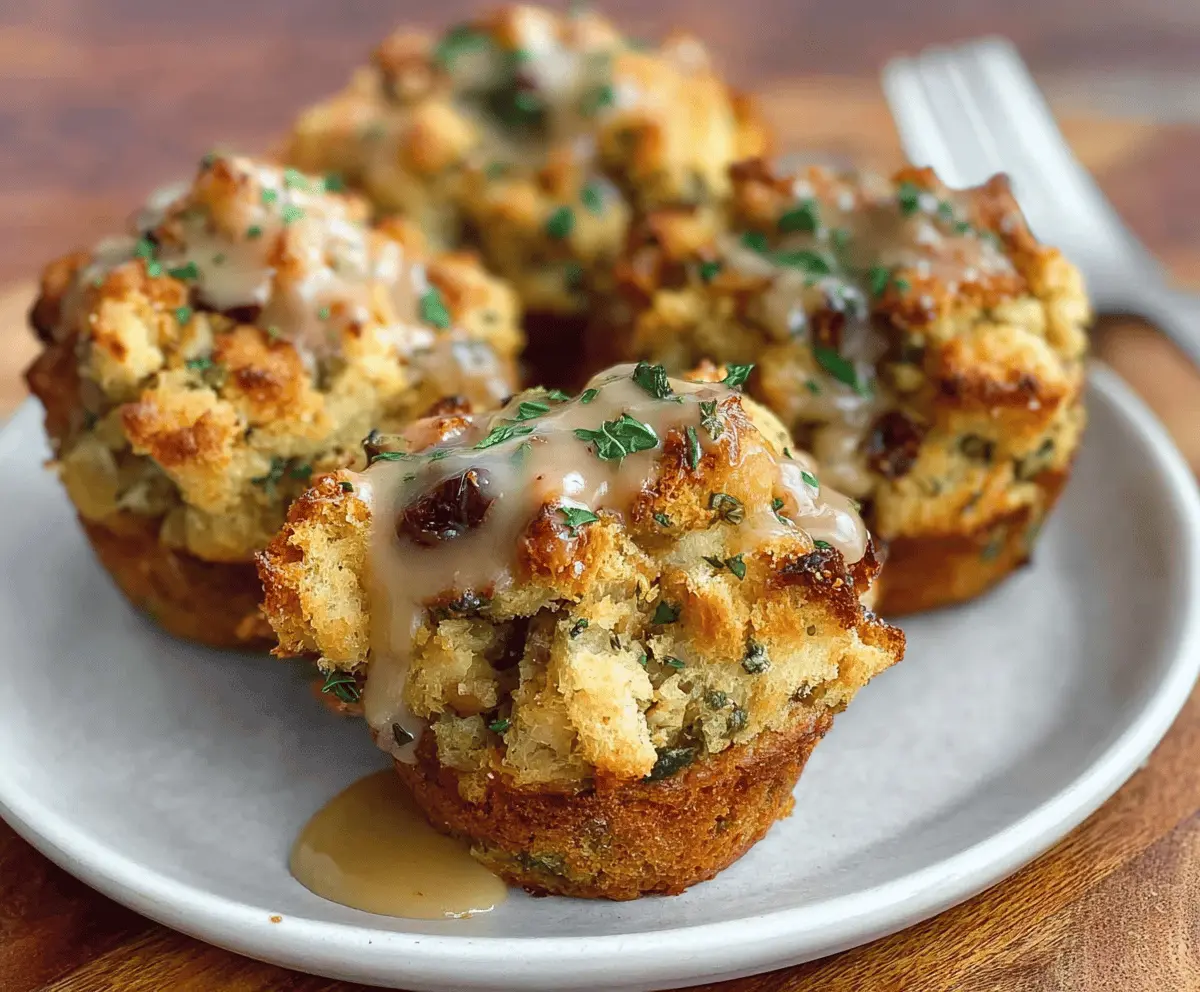
- 1/2 cup dried cranberries or raisins (optional)
- Gravy (optional for serving)
How Much Time Will You Need?
This recipe takes about 15 minutes to prep and about 30 minutes to bake, totaling around 45 minutes. After that, let the muffins cool for a few minutes before serving. They’re quick, easy, and so worth it!
Step-by-Step Instructions:
1. Prepping the Oven and Muffin Tin:
First, preheat your oven to 350°F (175°C). While it’s heating up, grease a 12-cup muffin tin with butter or non-stick spray. This helps the muffins pop out easily later!
2. Toast the Bread:
Grab your cubed bread and spread it out on a baking sheet. Pop it in the oven for about 10 minutes, or until it’s lightly browned and a bit crispy. This step helps the muffins have great texture. Once done, take them out and let them cool.
3. Cooking the Veggies:
Now, in a large skillet, melt the butter over medium heat. Add in the chopped onion and celery and cook them for about 5-7 minutes until they are softened. Then stir in the minced garlic and cook for another 1-2 minutes. Your kitchen should smell amazing right about now!
4. Mixing Everything Together:
Transfer those cooked veggies to a large mixing bowl. Add the cooled toasted bread cubes, parsley, sage, thyme, rosemary (if you’re using it), and those optional dried cranberries or raisins. Toss everything gently so that it’s well mixed.
5. Mixing the Wet Ingredients:
In another bowl, whisk together the broth and beaten eggs. Pour this mixture over the bread and veggie mixture, stirring gently until the bread is moistened but still holds its shape. Sprinkle in some salt and pepper to taste!
6. Filling the Muffin Tin:
Spoon the stuffing mixture into the prepared muffin tin. Press it down gently to pack it in a bit, making sure to mound it slightly on top. This will help them rise beautifully while baking.
7. Baking Time:
Now it’s time to bake! Place your muffin tin in the oven and bake for 25-30 minutes, or until the tops are golden brown and crispy. Your house will smell incredible!
8. Cooling and Serving:
After baking, let the muffins cool for a few minutes in the tin. Then carefully remove them from the tin and place them on a wire rack. They might be a bit hot, so be careful!
9. Enjoying Your Muffins:
Serve these warm, and if you like, drizzle some gravy on top. They make a fun, festive side dish for any meal, especially Thanksgiving!
Enjoy your adorable stuffing muffins with family and friends!
Can I Use Different Types of Bread for Stuffing Muffins?
Absolutely! You can use any type of bread you prefer, such as whole wheat, cornbread, or even gluten-free bread. Just make sure it’s day-old or slightly stale for the best texture.
How Should I Store Leftover Stuffing Muffins?
Store any leftovers in an airtight container in the fridge for up to 3 days. To reheat, warm them gently in the oven or microwave until heated through. They’re great reheated!
Can I Add Other Ingredients to the Stuffing Muffins?
Of course! Feel free to customize your muffins by adding ingredients like cooked sausage, mushrooms, or chopped nuts for added texture and flavor. Just make sure not to overload the mixture so they hold together!
Can I Make Stuffing Muffins Ahead of Time?
You can prepare the mixture and store it in the fridge for up to a day before baking. Just make sure to bring it to room temperature before scooping it into the muffin tin to ensure even baking!