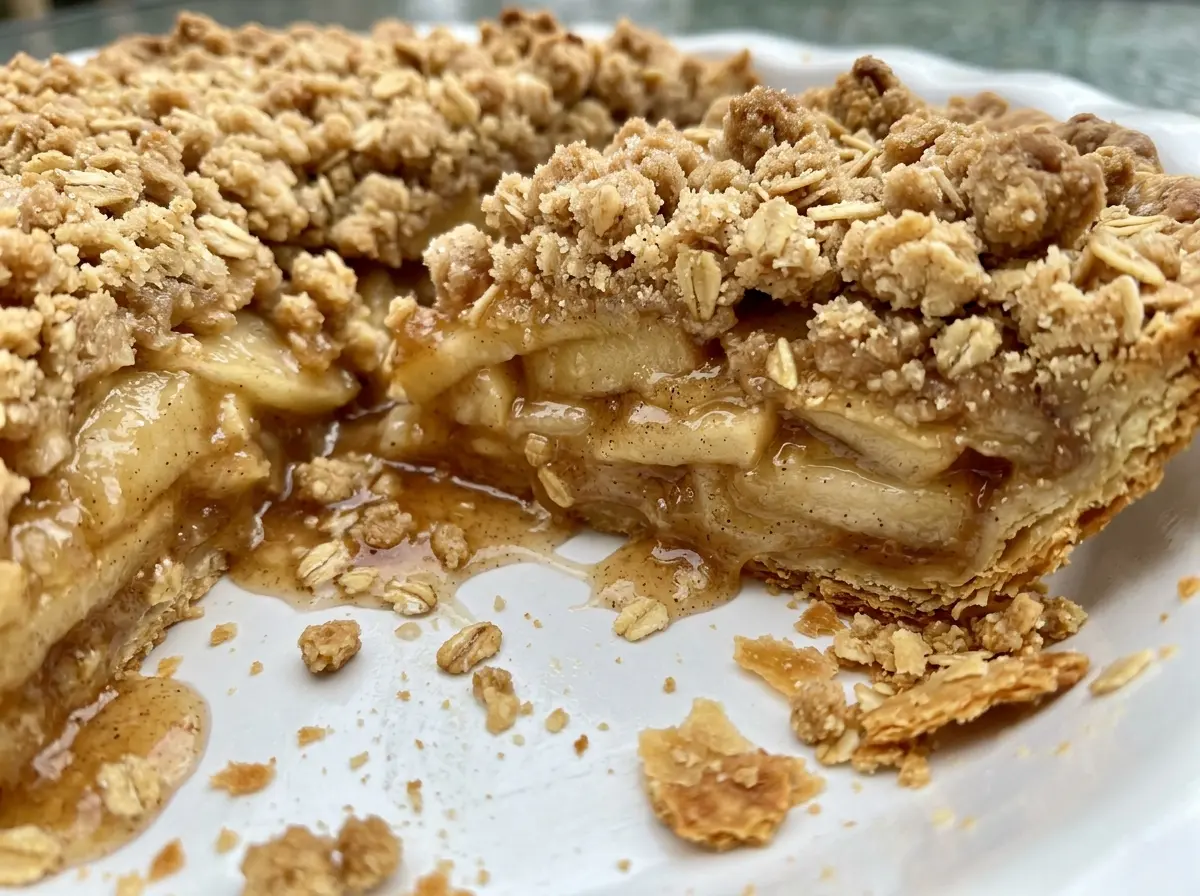
The smell of butter and cinnamon tells me this pie is close, but the first slice can still be a mess if the filling hasn’t had time to settle. I learned to give Apple Crumble Pie a long rest after baking; the apples and their juices need that time to turn into slices instead of sliding onto the plate. It’s worth waiting for a clean cut.
I keep the crust cold and the apple slices even, then let the fruit bake right in the pie shell. There’s no need to cook the filling in a separate pan first. The apples soften beneath a buttery crumble, while the crust holds everything together in a tender, flaky base. Each bite has a little tartness from the apples and warm cinnamon underneath the crisp topping.
Kitchen Note
Don’t rush the cooling time. Let the pie sit on a rack for at least 3 hours before slicing; that pause gives the filling time to set so the wedges hold together.
Save Apple Crumble Pie for a day when you want a flaky crust, tender spiced apples, and a golden buttery topping.
Why the Filling Needs to Bubble Before It Can Set
Apples release juice as they bake, and that liquid needs to thicken rather than run across the plate when you cut a slice. The flour tossed with the fruit helps absorb and thicken those juices, but it needs the heat of the oven to do its job. That’s why the filling goes into the crust uncooked and stays there through the full bake.
The bubbling is a useful sign, not just a dramatic detail. If the topping looks golden but the filling hasn’t begun to bubble, the center may still be loose. Keep baking until the apples are tender when pierced with a knife and you can see bubbles in the filling. A rimmed baking sheet underneath catches any juices that escape and saves you from cleaning baked-on drips from the oven.
What the Apples, Butter, and Flour Each Bring to This Pie
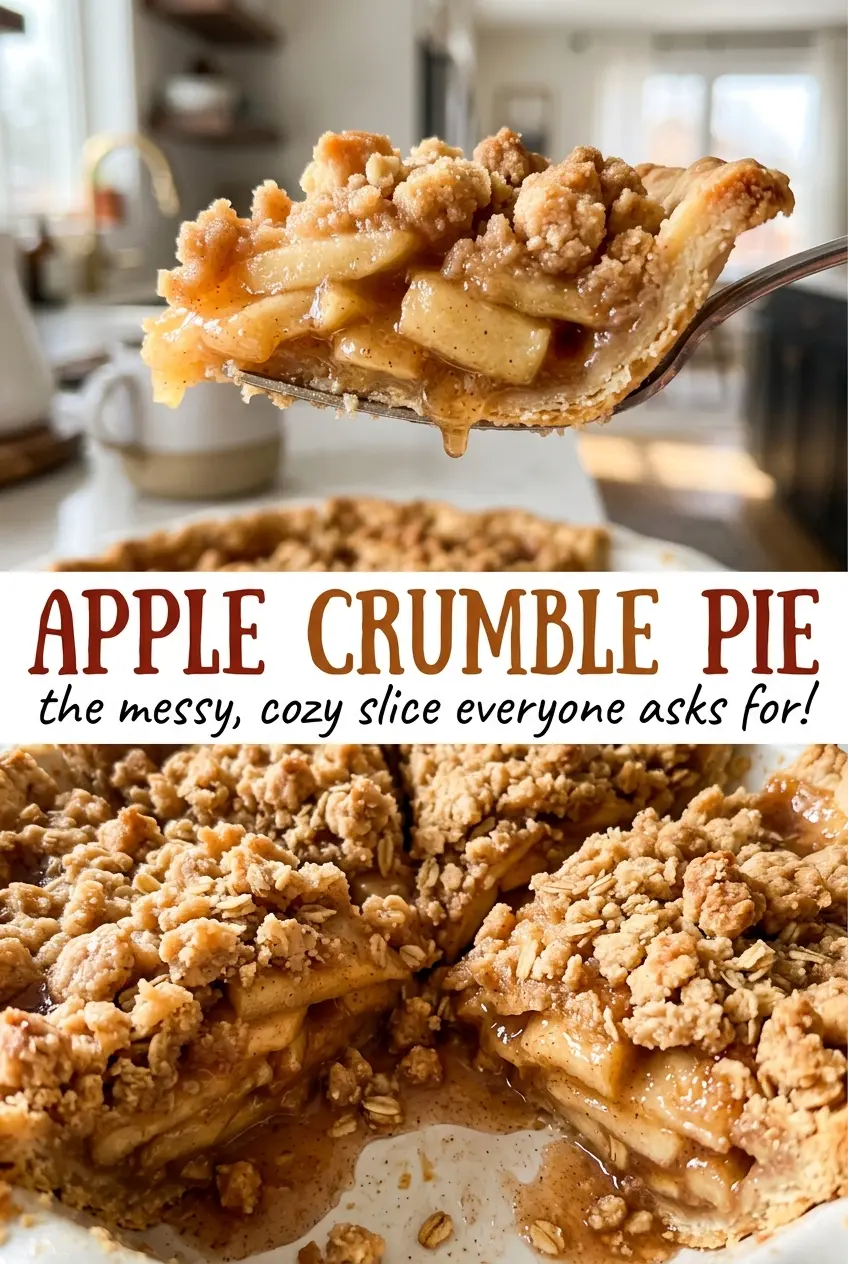
- Baking apples — Granny Smith apples bring a tart bite and hold their shape, while Honeycrisp apples are sweeter and tender. A mix gives the filling more contrast. Pick firm apples without soft spots; the variety matters more than choosing an expensive bag.
- Cold unsalted butter — Butter gives both the crust and topping their rich, tender texture. Unsalted butter lets the measured salt stay in balance. Basic grocery-store butter works well; keep it cold until you cut it into the flour so the crust doesn’t turn greasy and the topping forms crumbs.
- All-purpose flour — The flour has three jobs here: building the crust, helping thicken the apple juices, and forming the crumble. It’s a dependable choice, and there’s no need to buy a specialty brand. Measure each portion for its own part of the pie rather than pouring from one bowl and guessing.
- Lemon juice and warm spices — Lemon juice brightens the apples and keeps their sweetness from feeling flat; fresh or bottled juice works. Cinnamon and nutmeg give the filling its familiar warmth. Ground spices from a fresh, well-sealed jar will have a clearer aroma than an old jar that’s been open for years.
- Light brown sugar — Its mild molasses note gives the crumble a deeper flavor than granulated sugar alone. Pack it into the measuring cup so the topping has the intended sweetness and texture. Dark brown sugar will bring a more pronounced molasses flavor if that’s what you have.
Build the Crust and Crumble Before the Apples Go In
Bring the Crust Together Without Overworking It
Whisk the crust flour and salt in a large bowl, then cut in the cold butter with a pastry cutter or your fingertips. Stop when you have pea-size pieces rather than a smooth, uniform mixture. Sprinkle in the ice water and toss with a fork; add more a tablespoon at a time only until the dough holds when squeezed. Shape it into a disk, wrap it, and refrigerate for at least 1 hour.
Coat the Apple Slices Evenly
Whisk the remaining flour and salt with the granulated sugar, cinnamon, and nutmeg in a large bowl. Add the peeled, cored apples sliced 1/4 inch thick, along with the lemon juice. Toss until the slices are evenly coated, separating any that stick together so there aren’t pockets of dry spice mixture. The slices should look lightly coated, not buried in a paste.
Make Crumbs That Stay Crumbly
Combine the remaining flour and light brown sugar in a medium bowl. Cut in the cold butter until coarse crumbs form, with some pieces about the size of peas. If you rub the mixture until it looks like fine sand, the topping will be denser and less nubbly. Keep a few larger crumbs in the mix for a varied, crisp top.
Fill, Top, and Bake Until the Center Is Tender
Heat the oven to 425°F with a rack in the lower third. Roll the chilled dough into a 12-inch circle on a lightly floured surface, fit it into a 9-inch pie plate, then trim and crimp the edges. Mound the apple filling slightly in the center, scatter the crumble evenly over it, and set the pie on a rimmed baking sheet. Bake for 20 minutes at 425°F, then reduce the oven to 375°F and bake for 40 to 50 minutes more; the topping should be golden, the apples tender when pierced, and the filling bubbling. Loosely cover the edges with foil if they brown too quickly.
Easy Ways to Adapt the Apples or Make a Gluten-Free Crust
Use All Granny Smith Apples
Choose Granny Smiths for a more tart filling with slices that hold their shape well. The pie will taste less sweet than a mix with Honeycrisp, while the cinnamon and brown-sugar crumble stay the same.
Make It Gluten-Free
Replace the all-purpose flour in the crust, filling, and topping with the same amounts of a measure-for-measure gluten-free flour blend that contains xanthan gum. The dough will be more delicate, so roll it between sheets of parchment and transfer it carefully to the pie plate. Expect a slightly more tender, less flaky crust.
Go All-In on Honeycrisp
Honeycrisp apples make a sweeter, milder pie than tart Granny Smiths. Keep the slices an even thickness and use the same baking cues; the fruit still needs to be tender and the filling bubbling before you take the pie out.
Storage and Reheating
- Refrigerator: Cover leftover pie and refrigerate for up to 4 days. The crumble softens a little as it sits.
- Freezer: Freeze fully cooled slices wrapped tightly, then placed in an airtight container, for up to 3 months. Thaw in the refrigerator before reheating.
- Reheating: Warm slices in a 300°F oven until heated through, about 15 to 20 minutes. The microwave is quicker, but it softens the crumble and crust.
Questions That Come Up When Baking Apple Crumble Pie
Apple Crumble Pie
Ingredients
Equipment
Method
- In a large bowl, whisk together 1 1/4 cups flour and 1/4 teaspoon salt.
- Cut in 1/2 cup cold butter with a pastry cutter or your fingertips until the mixture has pea-size pieces.
- Sprinkle in 4 tablespoons ice water and toss with a fork.
- Add more water, 1 tablespoon at a time, just until the dough holds together when squeezed.
- Shape into a disk, wrap, and refrigerate for at least 1 hour.
- In a large bowl, whisk together the remaining 1/4 cup flour, remaining 1/4 teaspoon salt, granulated sugar, cinnamon, and nutmeg.
- Add the apples and lemon juice and toss until evenly coated.
- In a medium bowl, combine the remaining 3/4 cup flour and brown sugar.
- Cut in the remaining 1/2 cup cold butter until coarse crumbs form, with some pieces about the size of peas.
- Heat the oven to 425°F with a rack in the lower third.
- Roll the chilled dough into a 12-inch circle on a lightly floured surface.
- Fit the dough into a 9-inch pie plate, and trim and crimp the edges.
- Spoon the apple filling into the crust, mounding it slightly in the center.
- Scatter the crumble topping evenly over the apples.
- Set the pie on a rimmed baking sheet.
- Bake for 20 minutes at 425°F, then reduce the oven temperature to 375°F and bake for 40 to 50 minutes more, until the topping is golden brown, the apples are tender when pierced with a knife, and the filling bubbles.
- Loosely cover the edges with foil if they brown too quickly.
- Cool the pie on a rack for at least 3 hours before slicing so the filling can set.