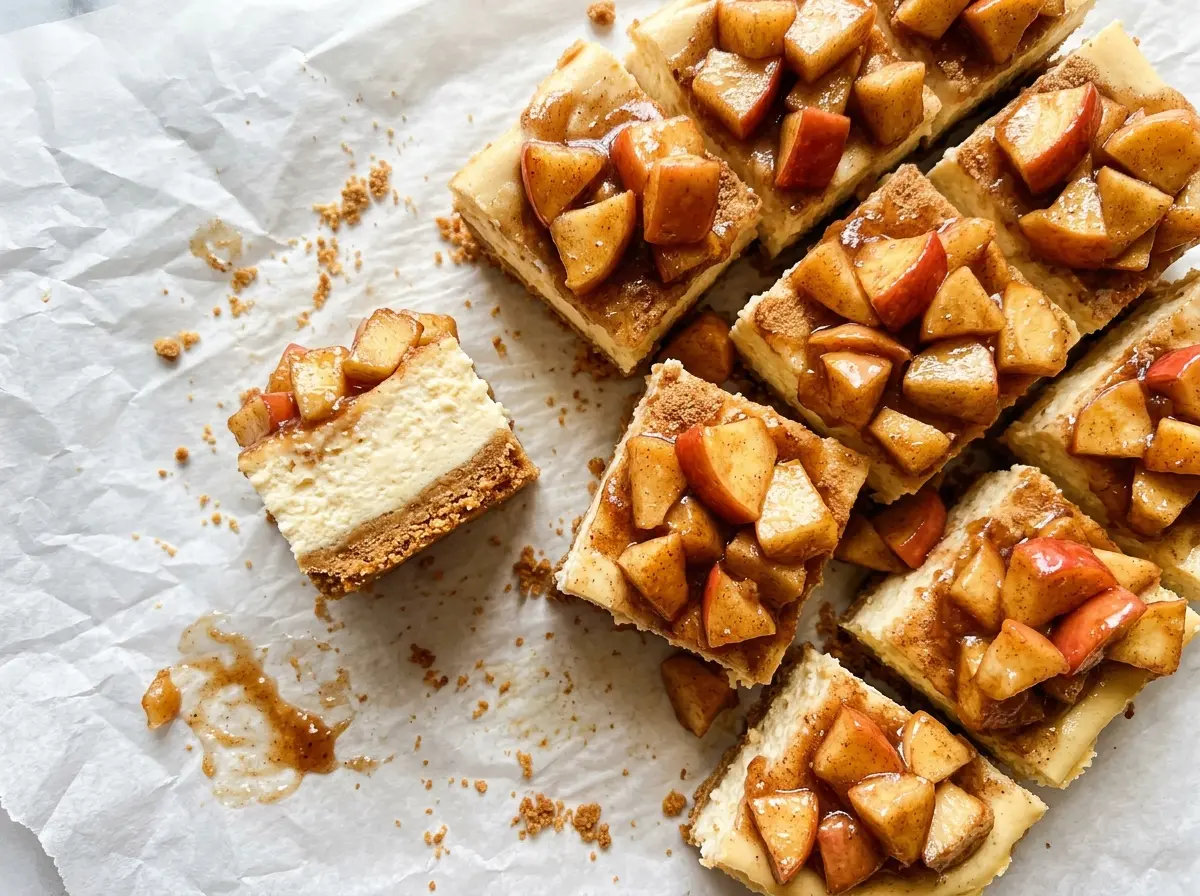
When the graham crusts come out of the oven, they smell toasted but still feel a little loose under a fingertip. That short bake gives each one a sturdy base before the creamy filling goes in. These Apple Pie Cheesecake Bites bring the buttery crunch of a graham crust together with a smooth cheesecake center and tender cinnamon apples, all in a mini size that’s easy to serve.
I keep the filling gentle once the eggs go in: low speed, one egg at a time, then stop as soon as everything is combined. The apple topping gets cooked separately, so the bites can chill until firm before the fruit goes on. That order gives you a clean little cheesecake bite instead of a warm, soft center under a heavy spoonful of apples.
Kitchen Note
Press the crumb mixture firmly into the bottoms of the liners, not just into a loose layer. A compact crust stays together when you peel the paper away, while a lightly pressed one tends to scatter across the plate.
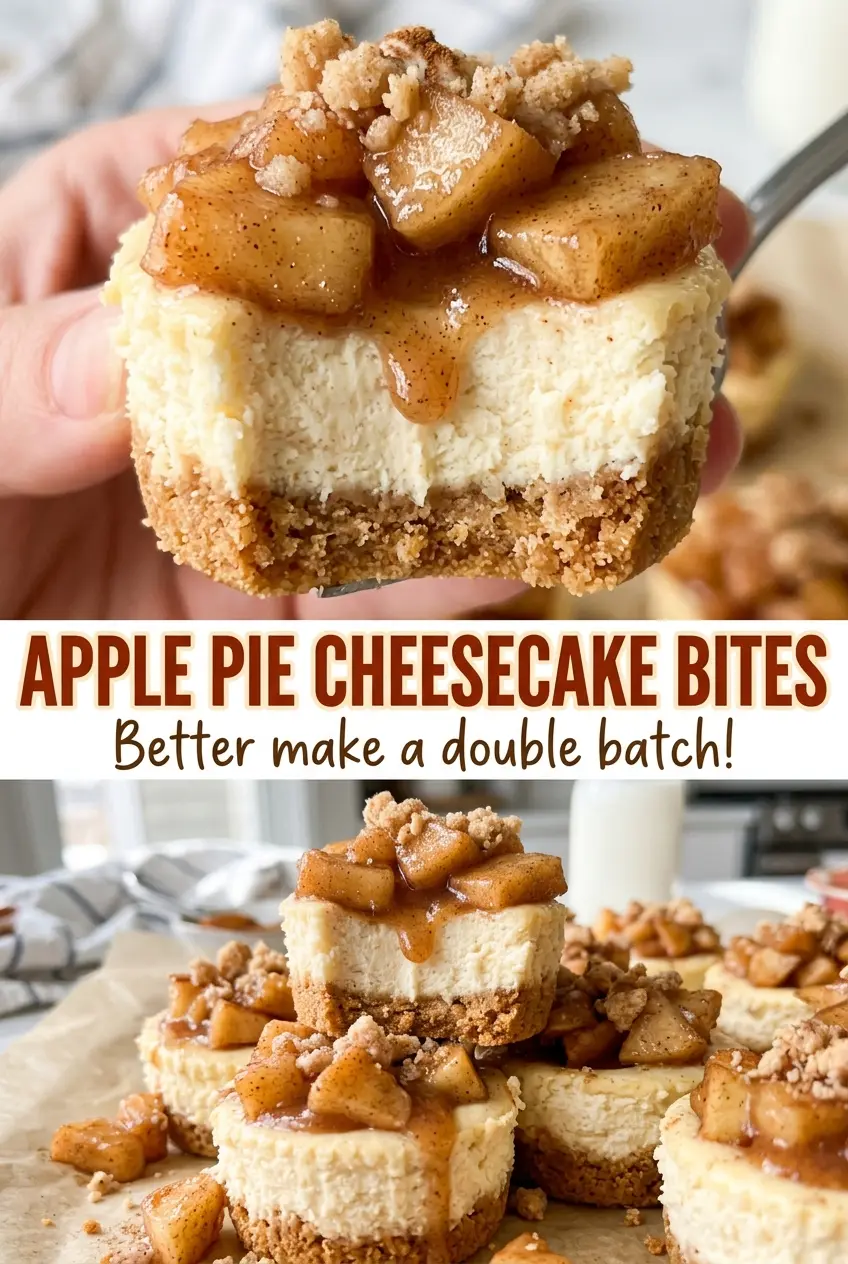
Save these Apple Pie Cheesecake Bites for a make-ahead dessert with crisp graham crusts, creamy centers, and tender cinnamon apples.
Why Low-Speed Eggs Make Better Mini Cheesecakes
Cheesecake filling doesn’t need to be fluffy. Beating the cream cheese and sugar until smooth first gives you a creamy base; once the eggs are added, extra whipping can incorporate air that expands in the oven and then settles as the bites cool. That rise-and-fall can leave little dips or cracks on top. It’s especially noticeable in mini cheesecakes because each portion is small and the filling sets quickly.
Adding the eggs one at a time on low speed helps them blend in without turning the bowl into a foamy batter. Scrape the sides so there aren’t streaks of cream cheese hiding near the bottom, then mix in the sour cream and vanilla only until combined. The finished filling should look even and satiny, not bubbly. This gentle approach also keeps the texture dense and creamy, which gives the apples a firm surface to sit on after chilling.
What Gives Each Layer Its Texture and Flavor
- Graham cracker crumbs — They make a crisp, lightly toasted base that balances the soft filling. Store-brand crumbs work well; if you’re out, finely crushed vanilla wafer crumbs can replace them one-for-one and make the crust sweeter.
- Unsalted butter — Melted butter binds the crumbs so they press into a solid crust. Unsalted butter keeps the crust’s seasoning predictable, and it’s worth melting it fully so no dry pockets remain.
- Cream cheese — This is the structure and richness of the filling. Regular block-style cream cheese is easier to beat smooth than whipped cream cheese, which can leave the batter lighter and softer.
- Granulated sugar — It sweetens the tangy filling and blends smoothly into softened cream cheese. Standard granulated sugar is the right choice here; a coarse sugar takes longer to disappear.
- Eggs — They set the filling as it bakes, so there isn’t a reliable egg-free swap that keeps this cheesecake texture. Bring them into the mixture one at a time rather than adding them all together.
- Sour cream — It adds a gentle tang and keeps the filling from tasting heavy. Plain, unsweetened Greek yogurt can stand in one-for-one, though the filling will taste a little less rich.
- Vanilla extract — Vanilla rounds out the cream cheese and apple flavors. Pure extract is lovely, but imitation vanilla works fine in a baked filling.
- Apples, brown sugar, and cinnamon — The apples bring the fresh fruit texture, while brown sugar and cinnamon turn the topping toward apple pie. Choose apples that hold their shape when cooked, then peel, core, and finely dice them so each bite gets tender pieces.
- Cornstarch — It thickens the apple juices into a topping that stays on the chilled bites instead of running off. Stir it with the water first; adding dry cornstarch straight to the saucepan can leave stubborn lumps.
How to Bake the Bases, Set the Filling, and Finish the Apples
Toast the Pressed Graham Crusts
Heat the oven to 325°F and line a 24-cup mini muffin pan with paper liners. Stir the graham cracker crumbs with the melted butter until the crumbs look evenly damp, then divide the mixture among the liners and press it firmly into the bottoms. Bake the crusts for 5 minutes. Set the pan aside while you mix the filling; the short prebake gives the base a head start without browning it too far.
Mix a Smooth, Even Filling
Beat the softened cream cheese and granulated sugar in a large bowl until smooth, scraping down the sides as needed. Add the eggs one at a time on low speed, then mix in the sour cream and vanilla just until combined. If you see a cream cheese streak, scrape the bowl and mix briefly rather than beating the whole bowl for another long stretch. Divide the filling evenly among the crusts.
Bake Until Set, Then Chill Firm
Bake at 325°F for 18–22 minutes. The centers should look set, and a thermometer inserted into the center of a bite should read 160°F; don’t rely on browned tops as a cue, since these are meant to stay pale. Cool the bites in the pan for 30 minutes, then refrigerate them in the pan for at least 3 hours, until firm. That full chill makes them easier to lift from the liners and gives the topping a stable surface.
Cook the Apples and Top the Bites
Melt the butter in a small saucepan over medium heat, then stir in the apples, brown sugar, and cinnamon. Cook for 5–7 minutes, stirring, until the apples are tender but still hold their diced shape. Stir the cornstarch and water together in a small bowl, add the mixture to the apples, and cook for 1–2 minutes while stirring, until the juices thicken. Let the topping cool to room temperature before spooning it over the chilled bites.
Easy Ways to Adapt the Crust and Apple Topping
Make a Gluten-Free Crust
Replace the graham cracker crumbs with gluten-free graham-style crumbs, keeping the same amount and preparation. The crust may feel a touch more delicate depending on the crumb brand, so press it firmly into the liners before the short prebake.
Choose the Apple Flavor You Like
A tart baking apple gives the sweet cheesecake a sharper contrast, while a sweeter firm apple makes the topping taste rounder and softer. Either way, use apples that hold their shape in the saucepan; very soft apples can cook down before the topping thickens.
Make-Ahead and Storage
- Refrigerator: Store the topped bites in an airtight container for up to 4 days. The apples soften slightly as they sit.
- Freezer: Freeze the chilled bites without topping in a single layer until firm, then transfer them to an airtight container for up to 1 month. Thaw overnight in the refrigerator and add the topping before serving.
- Serving: Keep the bites chilled until you’re ready to serve them. Don’t warm them; the filling softens and loses its neat, creamy bite.
Questions That Come Up With These Cheesecake Bites
Apple Pie Cheesecake Bites
Ingredients
Equipment
Method
- Heat the oven to 325°F.
- Line a 24-cup mini muffin pan with paper liners.
- Stir the graham cracker crumbs and melted butter together.
- Divide the mixture evenly among the liners.
- Press it firmly into the bottoms.
- Bake for 5 minutes.
- Set the pan aside while you make the filling.
- Beat the cream cheese and granulated sugar in a large bowl until smooth, scraping down the sides of the bowl as needed.
- Beat in the eggs one at a time on low speed.
- Mix in the sour cream and vanilla until just combined.
- Divide the filling evenly among the crusts.
- Bake at 325°F for 18-22 minutes, until the centers look set and a thermometer inserted into the center of a bite reads 160°F.
- Cool the bites in the pan for 30 minutes.
- Refrigerate them in the pan for at least 3 hours, until firm.
- Melt the butter in a small saucepan over medium heat.
- Stir in the apples, brown sugar, and cinnamon.
- Cook for 5-7 minutes, until the apples are tender.
- Stir the cornstarch and water together in a small bowl.
- Add the mixture to the apples.
- Cook for 1-2 minutes, stirring, until thickened.
- Cool to room temperature.
- Remove the chilled bites from the pan.
- Spoon the apple topping over them.