When apple juice starts bubbling up through the vents, the crust around the edges is already turning golden and the kitchen smells like cinnamon. That’s the moment I watch for with this Apple Slab Pie: the top should look crisp, but the filling still needs time to settle once it comes out of the oven.
A rimmed baking sheet gives you a generous, shareable pie without piling the apples into a deep dish. I keep the butter cold for a flaky crust, and slice the apples to a consistent thickness so they bake evenly beneath the top crust. Once the pie has cooled and the filling holds its shape, you can cut neat squares with layers of tender apple and buttery pastry.
Kitchen Note
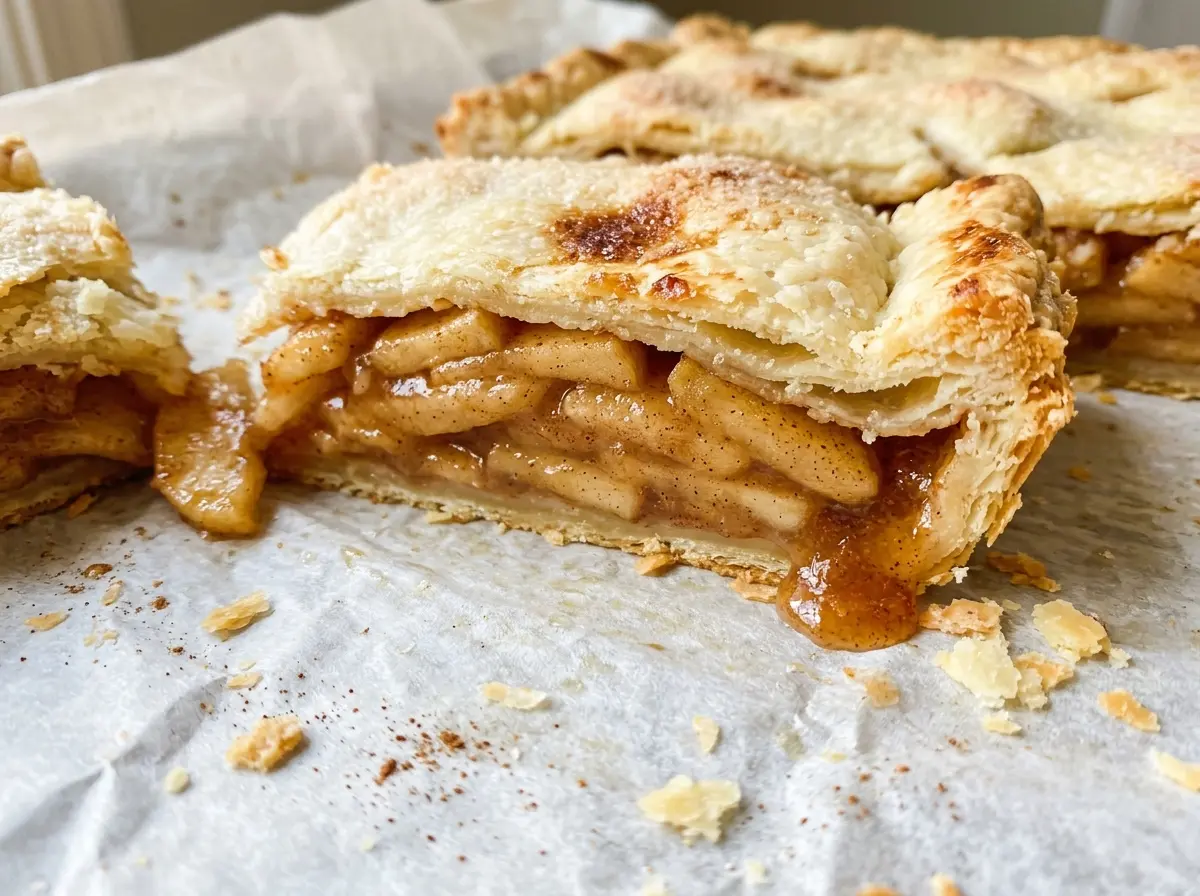
Give the pie the full two hours to cool before cutting. The filling needs that time to set; slice too soon and the apple juices will run into the pan instead of staying tucked between the crusts.
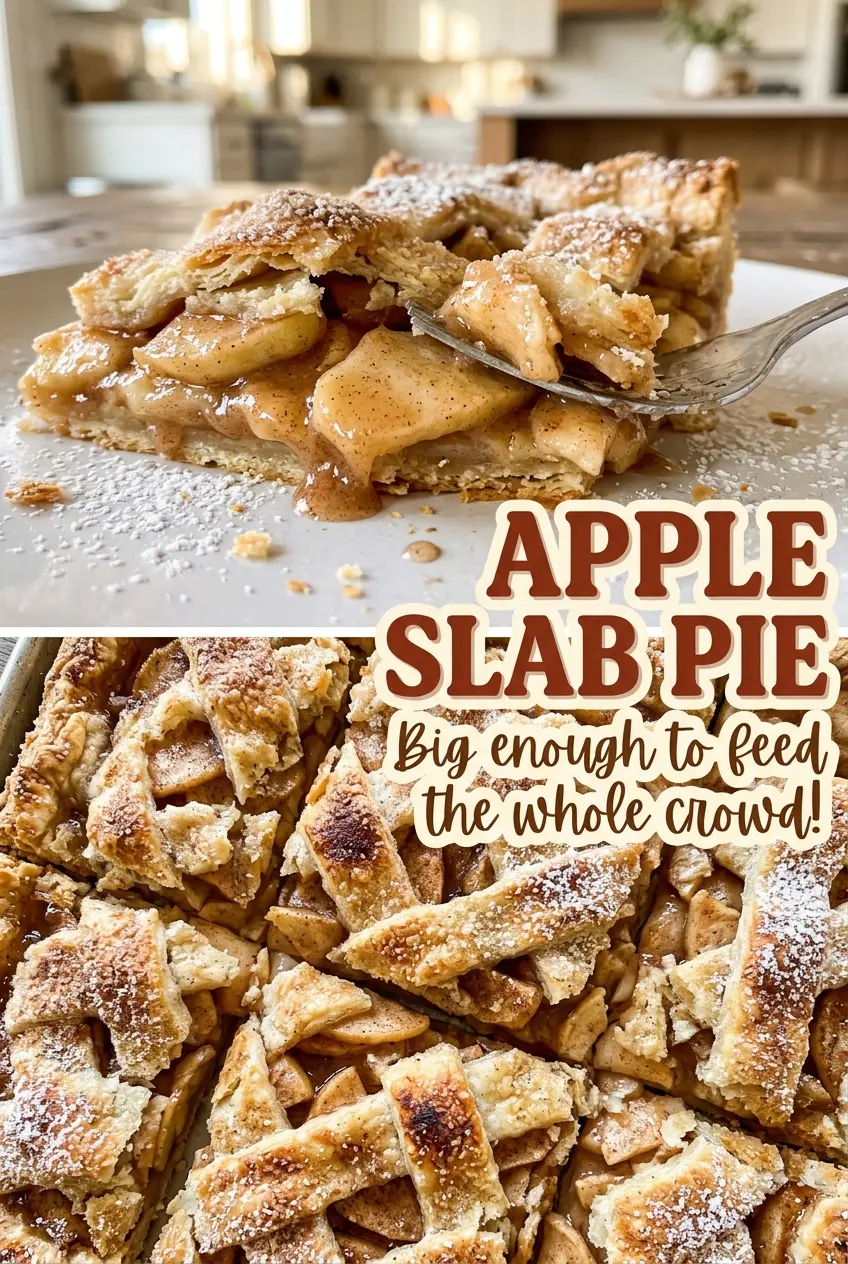
Save this Apple Slab Pie for a crowd-friendly dessert with a flaky double crust and cinnamon-spiced apples in every square.
Why a Rimmed Sheet Pan Matters More Than You Think
A slab pie spreads the filling across a wide, shallow surface instead of stacking it deep in a pie plate. That changes how the apples sit: the slices form a broad layer, and the crust needs to cover that whole rectangle without stretching thin at the corners. The 10×15-inch rimmed baking sheet gives the pie room to bake while its sides hold in any juices that bubble out.
A flat, un-rimmed cookie sheet isn’t an equivalent swap. It can’t contain the filling if juice escapes, and a smaller pan would leave you with a thicker layer of apples and dough than this version is designed for. Keeping the pan size and rim consistent helps the crust brown across the top while the filling cooks through. It also makes the finished pie easy to portion into squares for a group.
What the Apples and Cold Butter Bring to This Slab Pie
- Firm baking apples — They hold their shape better beneath the top crust than soft, mealy apples. Granny Smith is a reliable choice; the apples don’t need to be fancy, but they should feel firm and slice cleanly. Peel, core, and cut them evenly so you don’t end up with a mix of mushy thin pieces and firm thick ones.
- Cold unsalted butter — Small cold pieces create the flaky layers in the crust. A standard grocery-store butter works well; keep it cold and cut it into the size specified rather than letting it soften on the counter. Unsalted butter also lets you control the salt in the pastry.
- All-purpose flour — It gives the crust enough structure to roll into a large rectangle, and it thickens the apple juices in the filling. The everyday store brand is fine here. I wouldn’t swap in a different flour for the crust without adjusting the dough, since its texture depends on the flour and water working together.
- Cinnamon, nutmeg, and lemon juice — Cinnamon leads the spice, nutmeg adds a quieter warmth, and lemon keeps the sweet apple mixture tasting bright. Fresh lemon juice is a nice choice, though bottled lemon juice works in a baked filling.
- Egg and coarse sugar — The egg wash encourages an evenly browned top, while coarse sugar adds a little crunch and sparkle. The egg wash is brushed on the pastry, not mixed into the filling, so it’s easy to adjust the finish if you need an egg-free version.
- Granulated sugar and kosher salt — Sugar sweetens both the pastry and the apples, while salt keeps the crust from tasting flat. Use the salt called for rather than guessing with a finer table salt, which packs differently by volume.
Building the Crust, Filling, and Sealed Top
Keep the Butter in Pea-Size Pieces
Whisk the flour, sugar, and salt in a large bowl, then cut in the cold butter with a pastry cutter or your fingertips. Stop when most pieces are about pea-size; if you work the butter until the mixture looks sandy, the crust won’t have the same flaky texture. Drizzle in the ice water and mix just until the dough begins to clump. Divide it in half, shape each portion into a disk, wrap, and refrigerate for at least 1 hour.
Coat the Apples Evenly
Toss the peeled, cored, quarter-inch apple slices with the sugar, flour, cinnamon, nutmeg, salt, and lemon juice. Keep turning the mixture until there are no dry pockets of flour and the slices have a light, even coating. The apples should still look distinct rather than mashed together. If the bowl has dry spice or flour sitting at the bottom, give it another gentle toss before filling the crust.
Fit the Bottom Crust Without Stretching It
Heat the oven to 400°F with a rack in the center. Roll one chilled dough disk on a lightly floured surface into a 12×17-inch rectangle, then fit it into a 10×15-inch rimmed baking sheet with about 1 inch of overhang. If the dough pulls back as you place it, ease it into the corners instead of tugging it; stretching can leave the edges thin. Spread the apple filling evenly over the crust so the surface isn’t mounded in the middle.
Seal, Vent, and Bake Until the Filling Bubbles
Roll the second disk into a 10×15-inch rectangle and lay it over the apples. Press the edges together, fold the overhang up, and crimp to seal, then cut several vents in the top so steam can escape. Beat the egg with the water, brush it over the pastry, and scatter the coarse sugar on top. Bake for 45 to 55 minutes, until the crust is golden brown and filling bubbles through the vents; loosely cover the edges with foil if they brown too quickly.
Three Simple Ways to Adapt Your Apple Slab Pie
Use a Mix of Firm Baking Apples
Use Granny Smith for part of the filling and another firm baking apple for the rest. The mix gives you a less uniformly tart bite while keeping the slices sturdy enough for the broad filling layer. Avoid soft apples that break down quickly in the oven.
Make the Top Egg-Free
Skip the egg and brush the top crust with the tablespoon of water instead, then add the coarse sugar. The pastry won’t brown as deeply or shine as much, but the sugar still gives the top a little crunch. This changes the topping only; the butter crust still contains dairy.
Leave Off the Coarse Sugar
Brush on the egg wash but omit the coarse sugar for a simpler, less crunchy top. You’ll still get a browned crust, just without the sweet, crisp finish on its surface.
Storage and Reheating
- Refrigerator: Cover leftovers and refrigerate for up to 4 days. The crust softens as it sits.
- Freezer: Freeze the cooled pie whole or in portions, wrapped airtight, for up to 3 months. Thaw in the refrigerator before serving.
- Reheating: Warm a slice briefly in the microwave if you’d like it warm. The filling heats nicely, but the crust will be softer than when freshly baked.
Questions That Come Up When Baking This Slab Pie
Apple Slab Pie
Ingredients
Equipment
Method
- Whisk the flour, granulated sugar, and salt together in a large bowl.
- Cut in the cold butter with a pastry cutter or your fingertips until the pieces are mostly pea-size.
- Drizzle in the ice water and mix just until the dough begins to clump.
- Divide the dough in half and shape each half into a disk.
- Wrap the disks and refrigerate for at least 1 hour.
- Toss the apples with the granulated sugar, flour, cinnamon, nutmeg, salt, and lemon juice until evenly coated.
- Heat the oven to 400°F and set a rack in the center.
- Roll one dough disk on a lightly floured surface into a 12x17-inch rectangle and fit it into a 10x15-inch rimmed baking sheet, leaving about 1 inch of overhang.
- Spread the apple filling evenly over the crust.
- Roll the remaining dough into a 10x15-inch rectangle and lay it over the filling.
- Press the edges together, fold the overhang up, and crimp to seal.
- Cut several vents in the top crust.
- Beat the egg with the water and brush the mixture over the top crust.
- Sprinkle with the coarse sugar.
- Bake for 45 to 55 minutes, until the crust is golden brown and the filling bubbles through the vents; loosely cover the edges with foil if they brown too quickly.
- Cool the pie in the pan for at least 2 hours before cutting so the filling can set.