BBQ chicken thighs hit that sweet spot between weeknight practical and cookout-worthy. The skin turns crisp and deeply browned over the grates, then the barbecue sauce cooks down into a sticky glaze that clings to every bite. Bone-in thighs stay juicy even if the grill runs a little hot, which is exactly why they beat leaner cuts when you want flavor without hovering over the fire.
The real trick is letting the seasoning hit the chicken before the sauce goes on. Smoked paprika and garlic powder build a savory base, while the skin gets enough direct heat to render and crisp before the sugar in the barbecue sauce starts caramelizing. Once the sauce is brushed on, the heat drops from “sear” to “glaze”. That keeps the sugars from burning before the meat is done.
Below you’ll find the part that matters most: how to get charred skin, sticky sauce, and fully cooked thighs at the same time. I also added a few smart swaps for different barbecue sauces and a storage note for the leftovers, since these reheat better than most grilled chicken.
The skin got crisp even with the sauce on, and the thighs stayed juicy all the way through. I basted during the last few minutes like you said, and the glaze turned out sticky instead of burnt.
Sticky, smoky BBQ chicken thighs with crisp skin are worth pinning for your next grill night.
The Reason BBQ Sauce Stays Sticky Instead of Burning
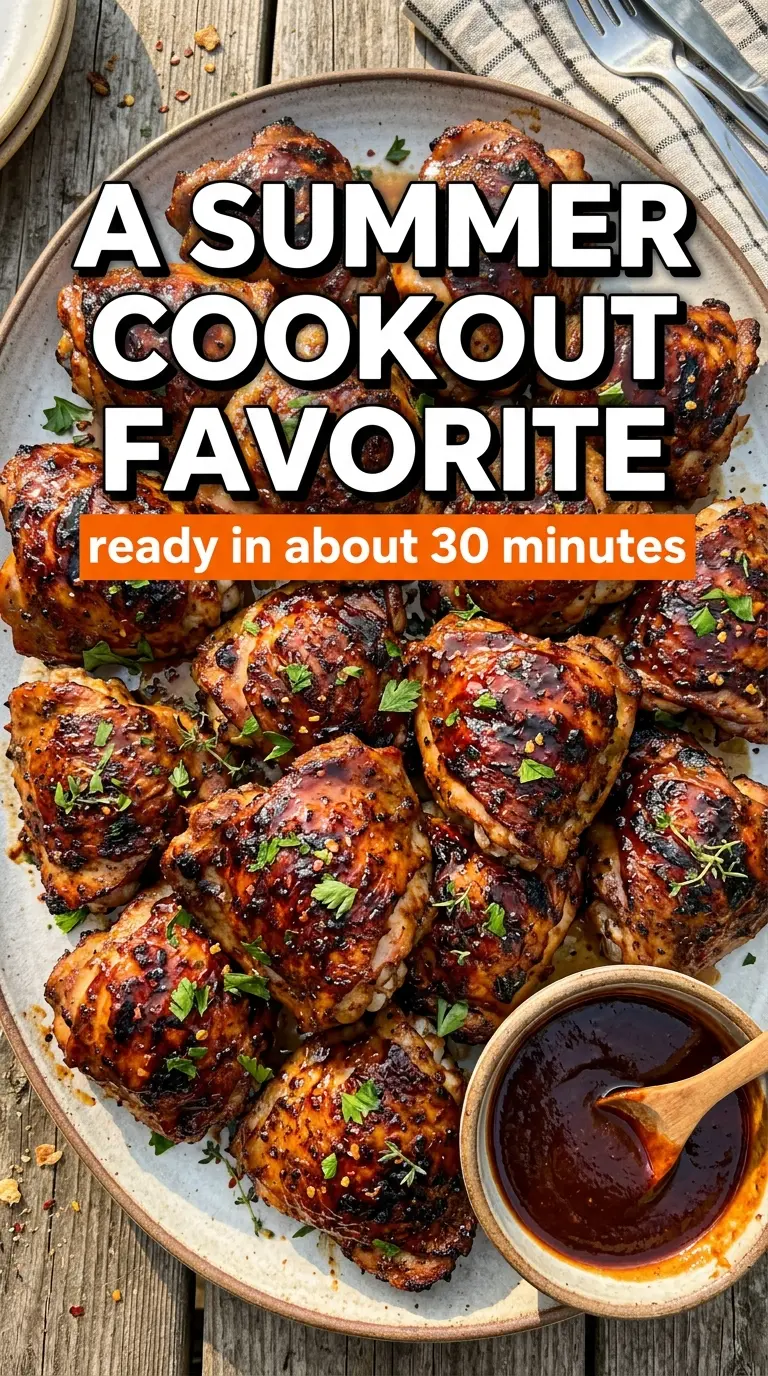
Barbecue sauce is the part that gets people into trouble. It contains sugar, and sugar turns from glossy to scorched fast over direct heat. The chicken needs enough time on the grill to cook through, but the sauce can’t sit over the hottest flame for the whole cook or it turns bitter before the thighs reach temperature.
That is why the chicken goes skin-side down first, bare. You want to render some fat and build color before you introduce sauce. Once the thighs have char and the surface is hot, the glaze clings better and sets into a lacquer instead of sliding off in watery streaks.
- Bone-in, skin-on chicken thighs — This cut stays juicy over the grill and gives you skin worth crisping. Boneless thighs cook faster, but they lose that built-in insurance against dryness.
- Smoked paprika — It gives the rub a grill-smoke note even if your barbecue sauce is milder. Regular paprika works in a pinch, but you lose some depth.
- Olive oil — This helps the seasonings cling and gives the skin a better chance to brown evenly. You don’t need anything fancy here.
- Barbecue sauce — Use a sauce you already like on its own, because the flavor concentrates as it cooks. If yours is very sweet, pull the chicken off the hottest part of the grill a little sooner during the saucing stage.
Getting the Skin Charred Before the Sauce Goes On
Heat the grill and oil the grates
Preheat to medium-high and give the grates a light oiling once they’re hot. You want a surface that sizzles on contact but doesn’t torch the skin before it has time to release. If the grates aren’t hot enough, the chicken sticks. If they’re raging hot, the sugar in the sauce will overcook later and the skin can go bitter.
Season the thighs evenly
Rub the thighs with olive oil, smoked paprika, garlic powder, salt, and pepper until every bit of skin is coated. The seasoning should look like a thin, even dusting, not a wet paste. Uneven coating leads to patchy browning, and any thick clumps of spice can darken too quickly on the grill.
Start skin-side down
Lay the thighs skin-side down and leave them alone for 6 to 7 minutes so the skin can char and tighten. You’ll hear an even sizzle and see the edges turn deep golden before the chicken is ready to flip. If the skin sticks when you try to lift it, give it another minute; it will release once it has enough color.
Build the glaze in layers
After flipping, brush on the barbecue sauce and keep grilling, turning and basting a few times until the thighs reach 165°F. The sauce should look shiny and slightly thickened, not dry or crusted. For the last couple of minutes, add one more coat so the sugars caramelize without blackening. Let the chicken rest for 5 minutes so the juices settle back into the meat instead of running onto the plate.
Three Practical Ways to Work With the Same Grill Formula
Use a smoky-sweet sauce
A Kansas City-style sauce gives you the stickiest finish and the deepest glaze. If you use one with a lot of molasses or honey, keep the thighs over slightly cooler heat during the saucing stage so the sugars don’t burn before the inside is done.
Make it dairy-free and gluten-free without changing the method
This recipe already fits both, as long as your barbecue sauce does too. Check the label for hidden gluten in the sauce, since some brands use soy sauce or malt vinegar. The cooking method stays exactly the same.
Swap in boneless thighs for faster grilling
Boneless thighs work if you need a quicker dinner, but they cook in less time and can dry out if you glaze them too early. Start checking them several minutes sooner, and pull them as soon as they hit temperature with a sticky, lacquered surface.
Storage and Reheating
- Refrigerator: Store leftovers in an airtight container for up to 4 days. The skin softens, but the meat stays juicy.
- Freezer: These freeze well for up to 2 months. Wrap the thighs tightly and freeze without extra sauce if you want the best texture.
- Reheating: Reheat covered in a 325°F oven until hot, then uncover for the last few minutes if you want the skin to firm up. The common mistake is blasting them in the microwave, which makes the glaze sticky in the wrong way and turns the skin rubbery.
Answers to the Questions Worth Asking
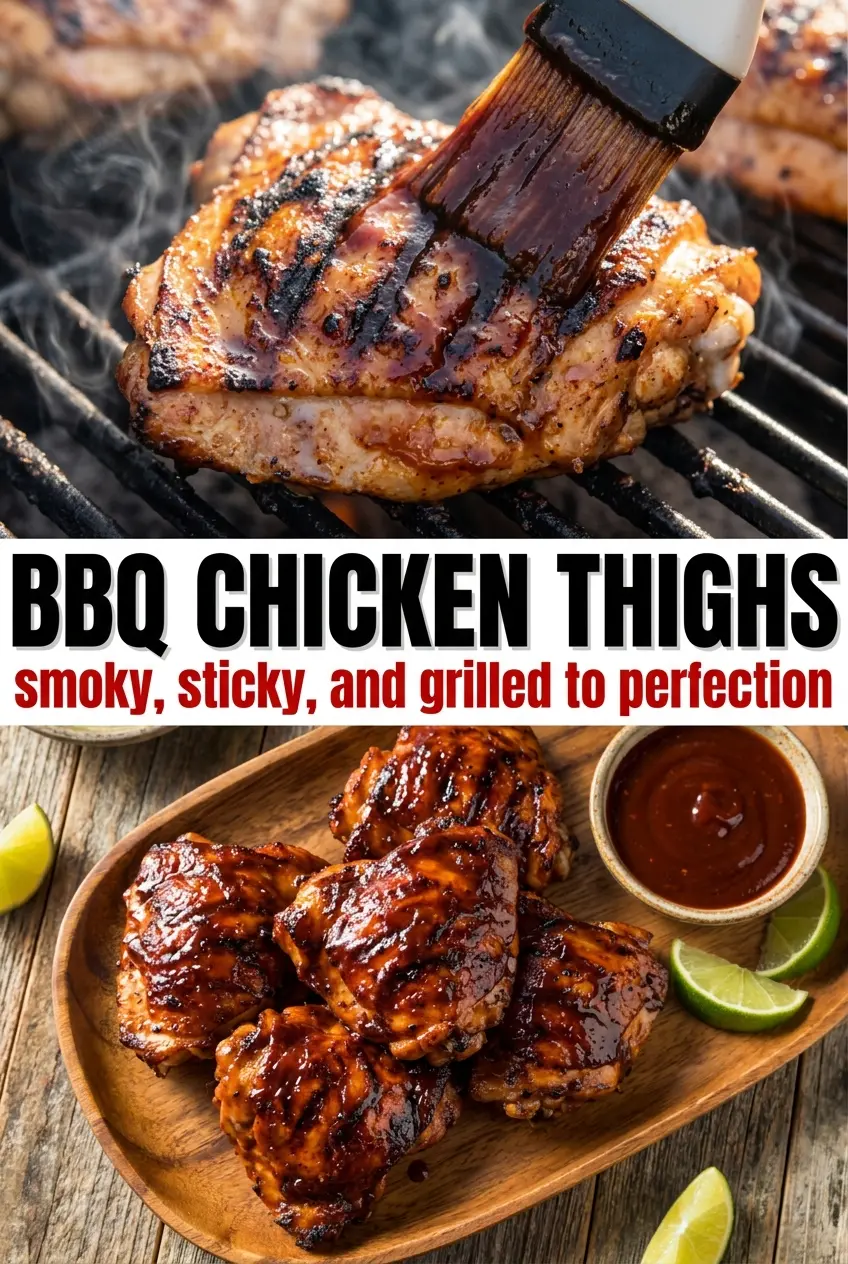
BBQ Chicken Thighs
Ingredients
Equipment
Method
- Preheat the grill to medium-high heat and lightly oil the grates to prevent sticking.
- Rub the chicken thighs with olive oil, smoked paprika, garlic powder, kosher salt, and black pepper so the seasoning adheres evenly.
- Grill the chicken skin-side down for 6–7 minutes, until nicely charred, then flip.
- Brush generously with barbecue sauce and continue grilling for 12–15 minutes, flipping and basting occasionally, until the internal temperature reaches 165°F.
- Brush with one more layer of sauce during the last 2 minutes of cooking for extra caramelization.
- Let the chicken rest for 5 minutes so juices redistribute, then serve with extra barbecue sauce on the side.