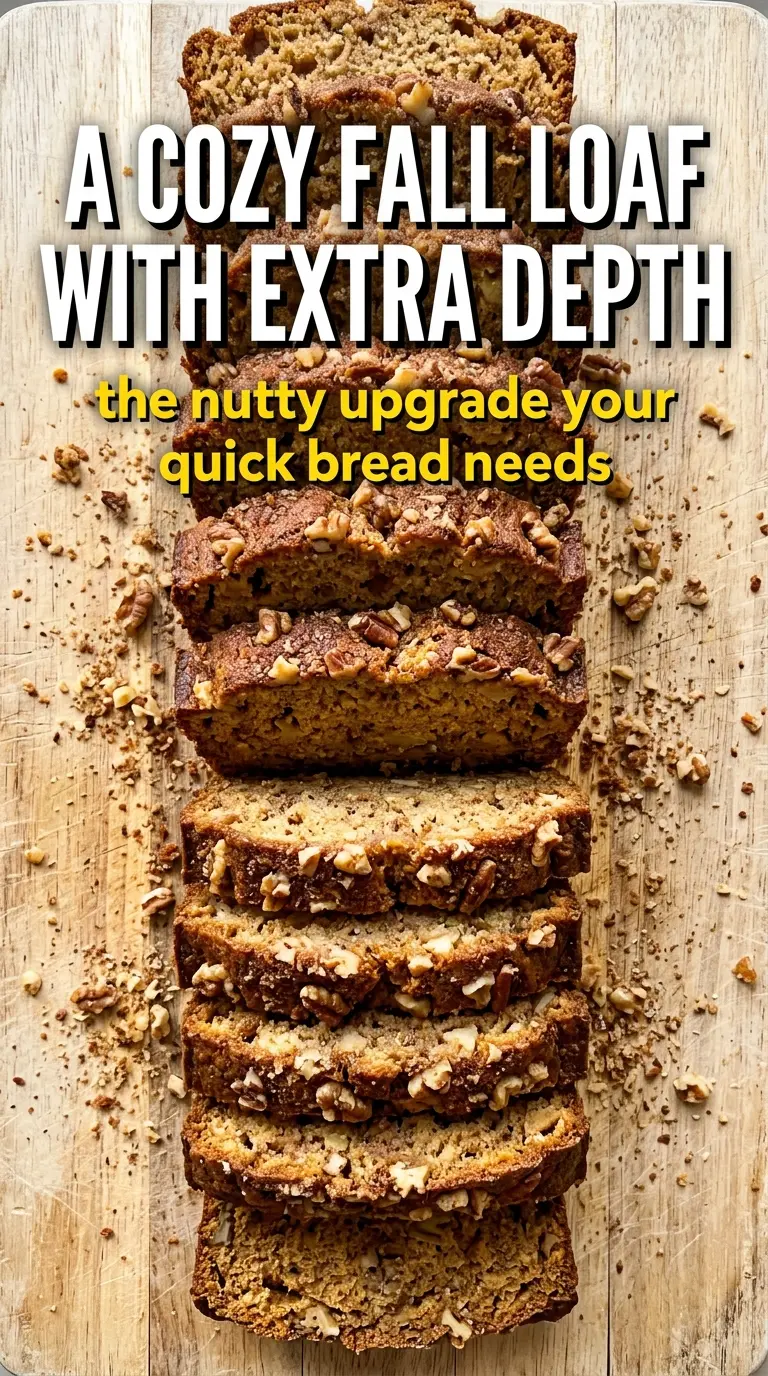
Brown butter and apple cider turn a simple loaf into something with a deep, nutty aroma and a crumb that stays tender for days. The butter brings a toasted, almost caramel-like note that plain melted butter can’t touch, and the cider keeps the bread moist without making it heavy. What you get is a quick bread with a soft, fine crumb, a crackly top, and enough spice to make the kitchen smell like it’s been working overtime.
The trick here is treating the butter like an ingredient with a job, not just fat. Browning it adds flavor, but it also needs a minute to cool before it goes into the bowl so it doesn’t scramble the eggs. The batter comes together fast, and that’s the point. Once the flour goes in, stop as soon as the streaks disappear. Overmixing turns a tender loaf into a tight one.
Below you’ll find the exact visual cues for browning the butter, plus a few smart swaps if your cider is a little more tart or you want to make this loaf dairy-free.
The brown butter gave it such a rich, toasted taste and the loaf stayed moist for three days. Mine was done right at 52 minutes and sliced cleanly after cooling, which never happens for me with quick bread.
Save this brown butter apple cider quick bread for the days when you want a tender, spiced loaf with a toasted, buttery crumb.
The Browning Step Is Where the Flavor Lives
Quick bread can taste flat when the fat is just melted and stirred in. Browning the butter changes that. The milk solids toast on the bottom of the pan and give you a deep, nutty flavor that reads as richer, sweeter, and more finished even though the ingredient list stays short. That one extra step is what makes this loaf taste like it took more work than it did.
The only thing to watch is the heat. Use a light-colored saucepan so you can see the color shift from pale gold to amber with little brown flecks at the bottom. Once it smells nutty, pull it off the burner right away. If it goes past amber into dark brown, the loaf can pick up a bitter edge, and there’s no fixing that after the fact.
What Each Ingredient Is Actually Doing in This Loaf
- Unsalted butter — Browning it is what gives the bread its signature nutty flavor. Salted butter can work in a pinch, but unsalted gives you better control over the final seasoning.
- Apple cider — Use actual cider, not apple juice, if you can. Cider has a sharper apple flavor and a little more body, which helps the loaf taste more aromatic instead of just sweet.
- Packed brown sugar — This adds moisture and a gentle molasses note that plays well with the browned butter. Light or dark brown sugar both work; dark brown sugar will give you a deeper caramel flavor.
- All-purpose flour — This keeps the crumb tender but sturdy enough to slice cleanly. A 1:1 gluten-free baking blend should work if it includes xanthan gum, though the loaf may be a touch more delicate.
- Eggs — They hold the batter together and give the bread enough structure to rise without becoming dense. Bring them to room temperature if you can so they blend in smoothly with the warm butter mixture.
- Cinnamon and nutmeg — These don’t make the bread taste heavily spiced; they just round out the apple and butter flavors. Freshly grated nutmeg is worth it if you have it, because a little goes a long way here.
Mixing the Batter Without Losing the Tender Crumb
Cooling the Brown Butter Enough to Use It
After the butter browns, let it sit long enough to stop sizzling and cool slightly. It should still be liquid, but not scorching hot. If you whisk hot butter straight into the eggs, you’ll end up with little streaks of cooked egg instead of a smooth batter.
Combining the Wet Ingredients
Whisk the brown butter, apple cider, brown sugar, eggs, and vanilla until the sugar starts to dissolve and the mixture looks glossy. It won’t be perfectly silky, and that’s fine. If you rush this part, the sugar can stay grainy and the loaf may bake up a little unevenly.
Stopping the Mix at the Right Moment
Fold the dry ingredients into the wet ingredients just until the flour disappears. A few small streaks are better than overworking the batter. Once the flour gets overmixed, the loaf turns tight and chewy instead of soft and sliceable.
Knowing When the Loaf Is Done
Bake until the top is domed and the center springs back lightly when touched. A toothpick should come out clean or with just a few moist crumbs. If the top is browning too quickly before the center is set, tent it loosely with foil for the last 10 to 15 minutes.
How to Adapt This Loaf for Different Kitchens and Different Diets
Dairy-Free Version
Use a plant-based butter that browns well if you can find one, or swap in melted coconut oil for the fat. You’ll lose some of the toasted dairy notes, but the loaf will still be moist and warmly spiced.
Gluten-Free Swap
A cup-for-cup gluten-free flour blend works best here, especially one with xanthan gum already mixed in. The texture will be a little more delicate, so let the loaf cool fully before slicing or it may crumble.
Using Apple Juice Instead of Cider
Apple juice works if that’s what you have, but the bread will taste a little sweeter and less tangy. If your juice is very sweet, cut the brown sugar back by 1 to 2 tablespoons so the loaf doesn’t turn cloying.
Making Mini Loaves
Divide the batter among mini loaf pans and start checking much earlier, usually around the 25-minute mark. Mini loaves dry out fast, so pull them as soon as the center is set and a tester comes out with a few moist crumbs.
Storage and Reheating
- Refrigerator: Store tightly wrapped for up to 4 days. The crumb stays moist, but the top loses some of its light crispness.
- Freezer: This loaf freezes well. Wrap individual slices or the whole cooled loaf in plastic, then foil, and freeze for up to 2 months.
- Reheating: Warm slices in a toaster oven or 300°F oven for a few minutes. The biggest mistake is microwaving too long, which makes the crumb rubbery instead of soft.
Answers to the Questions Worth Asking
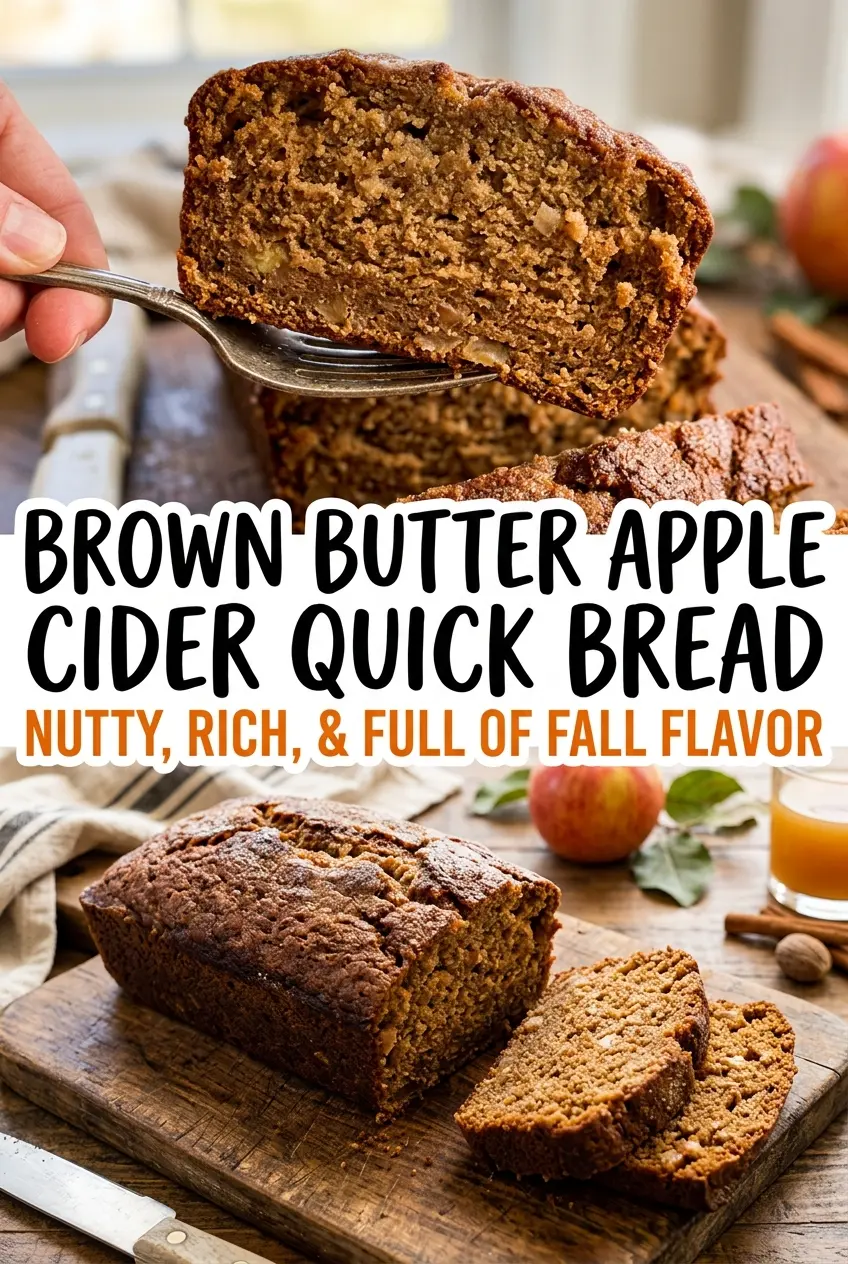
Brown Butter Apple Cider Quick Bread
Ingredients
Equipment
Method
- Preheat the oven to 350°F and grease a 9x5-inch loaf pan with a thin coating so the loaf releases cleanly after baking.
- Melt the butter in a light-colored saucepan over medium heat, swirling occasionally, until golden brown and nutty smelling, about 5–6 minutes.
- Let the browned butter cool slightly before using so it won’t scramble the eggs.
- Whisk together the all-purpose flour, baking soda, cinnamon, nutmeg, and salt until evenly combined with no visible streaks.
- Whisk the browned butter, apple cider, packed brown sugar, eggs, and vanilla extract until smooth and fully blended.
- Fold the dry ingredients into the wet ingredients until just combined, stopping as soon as no dry flour remains.
- Pour the batter into the prepared loaf pan and smooth the top so it bakes evenly.
- Bake for 50–55 minutes at 350°F, until a toothpick inserted in the center comes out clean with no wet batter clinging.
- Cool in the pan for 10 minutes before slicing so the loaf firms up and slices cleanly.