The carrots soften under the lid while the water gently simmers, and the fork test tells you when they’re ready: tender all the way through, but still holding their shape. That short covered cook is what gives these candied carrots a soft bite without turning the slices to mush. After that, butter and brown sugar coat them in a glossy glaze right in the skillet.
I like this side dish because the finish happens quickly, but it still feels special enough to put on the table with a roast or a weeknight dinner. The slices cook evenly when they’re cut to the same thickness, and the glaze comes together with just a few minutes of stirring. You don’t need a separate saucepan or a complicated syrup; the carrots, butter, and sugar do the work in one pan.
Kitchen Note
Keep the carrot slices close to the same 1/4-inch thickness. Even slices reach fork-tender at roughly the same time, so you’re less likely to have some pieces go soft while thicker ones are still firm.
Save these candied carrots for a simple skillet side with tender slices and a glossy brown sugar finish.
Why the Glaze Turns Watery When You Skip the Drain
The carrots simmer in water first, which gives them time to become tender before the butter and brown sugar go into the pan. That cooking liquid has done its job by then. If you leave it behind, the butter and sugar have to mingle with extra water, and the coating can stay thin instead of clinging to the carrots.
Drain off any water that remains, then return the skillet to medium heat before adding the butter and sugar. Stir as the butter melts so the sugar disperses and the carrots get coated all over. The glaze isn’t a separate caramel that needs to reach a certain stage; it’s a quick coating built around the carrots in the skillet. That keeps the finish manageable and helps the slices stay intact instead of getting tossed around in a deep pot of syrup.
There’s a useful difference between tender carrots and a finished glaze. The covered simmer handles the first part, while the uncovered time with butter and sugar creates the shine. Treating those as two stages gives you more control over both the texture and the coating.
What the Carrots, Butter, and Brown Sugar Each Bring

- Carrots — Ordinary fresh carrots are a good fit here; there’s no need to seek out a specialty variety. Peeling them gives the finished slices a smooth surface for the glaze, and cutting them into coins keeps each piece easy to coat and serve. If the carrots are unusually thick, cut them into manageable sections before slicing so the coins stay a consistent thickness.
- Unsalted butter — Butter gives the sugar a rich, rounded base and helps the coating cling to the carrots. Unsalted butter also lets the kosher salt stay in control, since salt levels in salted butter vary by brand. Use a fresh stick from the refrigerator; there’s no need for a specialty butter in this quick skillet glaze.
- Light brown sugar — Its mild molasses flavor sweetens the carrots without taking over their taste. Pack it into the measuring cup so the amount is consistent. Dark brown sugar works as a swap if you want a deeper molasses note, though the finish will taste a little more pronounced.
From Tender Simmer to Glossy Skillet Glaze
Start the Covered Simmer
Combine the sliced carrots, water, and kosher salt in a 12-inch skillet and bring the mixture to a boil over medium-high heat. Once it boils, cover the skillet, reduce the heat to medium-low, and let the carrots simmer for 8–12 minutes. The lid traps steam while the water simmers around the slices. Check tenderness by piercing a carrot with a fork; it should go in easily.
Drain the Remaining Water
When the carrots are tender, drain off any water left in the skillet. Take care not to leave a puddle in the bottom, and return the skillet to medium heat. The carrots should be moist from cooking, but they shouldn’t be sitting in liquid. This is a short transition before the butter and sugar go in, so have them ready nearby.
Coat the Carrots in the Glaze
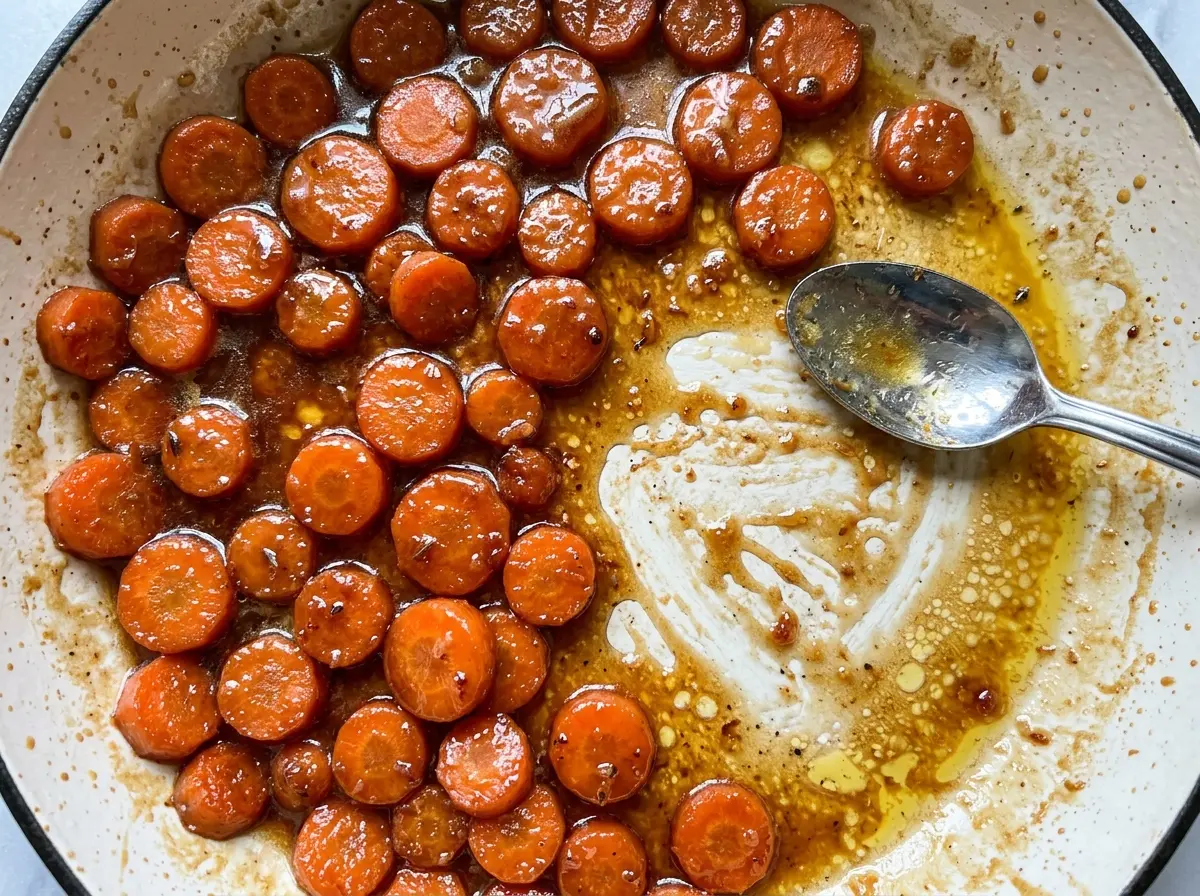
Add the butter and brown sugar to the skillet and stir as the butter melts. Keep the carrots moving gently so the coating reaches the slices without breaking them up. In about 3–5 minutes, the mixture should look glossy and cling to the carrots rather than pooling as separate liquid. Take the skillet off the heat once the carrots are coated and shiny.
Three Small Changes That Give These Carrots a Different Spin
Use dark brown sugar for a deeper finish
Replace the light brown sugar with the same amount of packed dark brown sugar. Its stronger molasses flavor makes the glaze taste richer, so the carrots come across a little less delicate and more deeply sweet.
Make a dairy-free skillet
Use an equal amount of dairy-free butter in place of the unsalted butter. The glaze will still coat the carrots, though the finished taste depends on the brand and may be less buttery. Choose a plant-based butter made for cooking rather than a low-fat spread, which can make the coating thinner.
Storage and Reheating
- Refrigerator: Store cooled leftovers in a covered container for up to 3–4 days. The butter-and-sugar coating will firm up when cold.
- Freezer: They can be frozen in an airtight container for up to 2–3 months, though thawed carrots will be softer and the glaze may look less glossy.
- Reheating: Warm them gently in a skillet over low heat with a small splash of water, stirring until the coating loosens and the carrots are hot. Avoid high heat, which can scorch the sugar before the centers warm through.
Questions That Come Up With Candied Carrots
Candied Carrots
Ingredients
Equipment
Method
- Combine the carrots, water, and salt in a 12-inch skillet; bring to a boil over medium-high heat. Cover, reduce the heat to medium-low, and simmer for 8–12 minutes, until the carrots are tender when pierced with a fork.
- Drain off any remaining water and return the skillet to medium heat. Add the butter and brown sugar, stirring until the butter melts and coats the carrots in a glossy glaze, about 3–5 minutes.