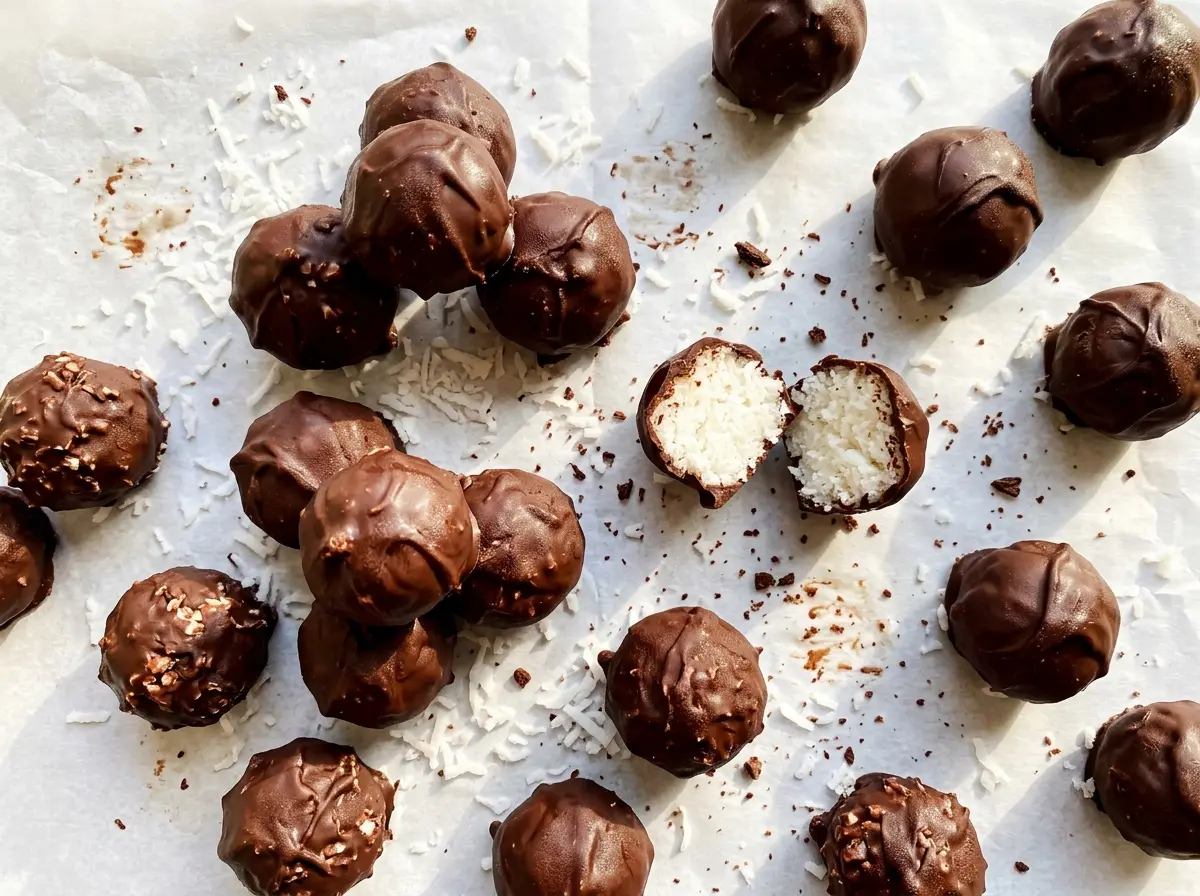
The chocolate coating is the first thing you notice: it looks thin and shiny in the bowl, then turns into a crisp shell around each coconut center as it chills. These Chocolate Coconut Balls have a soft, sweet middle with enough coconut texture to keep every bite from feeling like plain frosting.
I mix the centers until they hold together when pressed, then give them a full chill before dipping. That wait makes the balls much easier to handle in the melted chocolate, and the coconut oil helps the coating stay smooth enough to cover them without a thick, clumsy layer. Once the chocolate sets, the finished candies are tidy to store and easy to share.
Kitchen Note
Stir the chocolate between every 20-second microwave burst, even if some chips still look like they haven’t melted. The warmth already in the bowl finishes the job as you stir, and those short rounds give you much more control than one long blast.
Save these Chocolate Coconut Balls for a homemade candy plate: sweet, chewy coconut centers tucked inside a smooth semisweet chocolate shell.
Why These Centers Can Feel Soft Before They’re Ready to Roll
The coconut mixture doesn’t need to feel stiff in the bowl. Butter and powdered sugar make a soft base, while the shredded coconut gives it body; the useful test is whether a squeezed portion stays together when you press it. If it does, it’s ready to shape, even if the mixture still feels pliable in your hands.
Chilling changes the handling, not the ingredients. The butter firms in the refrigerator, so the shaped centers become much less delicate before they meet the warm chocolate. Skipping that pause is when a ball is most likely to slump or leave coconut behind in the coating. Give the centers time to firm, and dip them while they’re still chilled.
There’s no need to pack the mixture into a hard, dense ball. Roll gently until each portion is round, keeping the pressure light enough that the coconut texture remains tender. This balance—mixture that holds together, followed by a firm chill—is what makes the centers easy to coat and pleasant to bite through.
What the Coconut, Butter, and Chocolate Each Bring
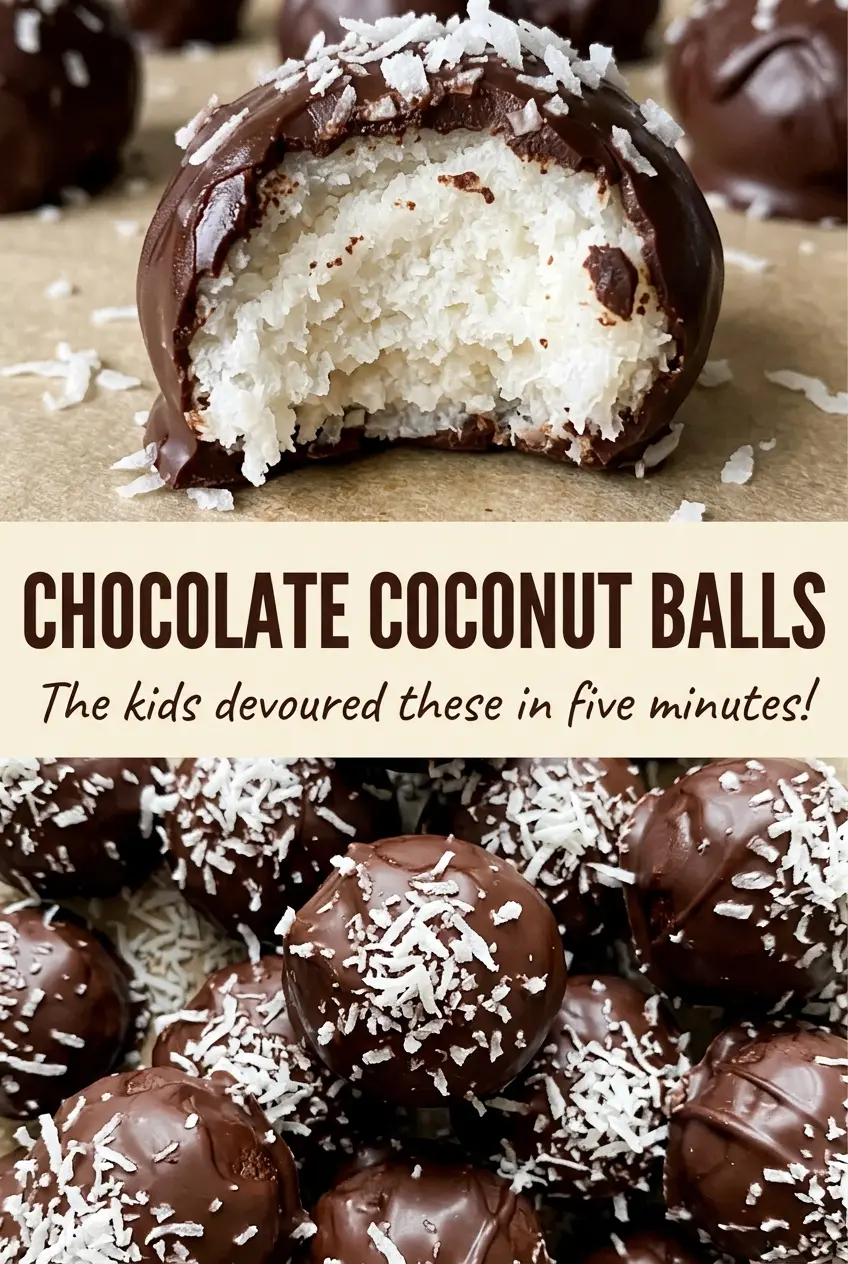
- Sweetened shredded coconut gives the centers their unmistakable chew and supplies much of their sweetness. A regular bag from the baking aisle works well; choose shredded coconut rather than large flakes so it blends into a round, cohesive center. Unsweetened coconut is possible, but it makes a less-sweet, drier filling; the variation below explains how to adjust.
- Softened unsalted butter blends smoothly with powdered sugar and helps the centers firm when chilled. Use softened butter, not melted: melted butter makes the mixture greasy and harder to shape. A standard grocery-store butter is fine here, so there’s no need to seek out a specialty brand.
- Powdered sugar gives the coconut mixture a fine texture that granulated sugar can’t match. It dissolves into the softened butter without leaving a gritty feel, while also helping the centers hold their shape. Keep this one as written for the intended texture.
- Milk, vanilla, and kosher salt round out the filling. Milk brings the coconut and sugar together, vanilla adds a warm background note, and salt keeps the sweetness from tasting flat. The milk doesn’t need to be a particular brand; measure it accurately so the mixture stays shapeable.
- Semisweet chocolate chips and coconut oil make a balanced coating that sets around the chilled centers. Standard chips are a practical choice, and the coconut oil loosens the melted chocolate for dipping. A premium chocolate isn’t necessary for a good shell.
From Soft Coconut Mixture to a Set Chocolate Shell
Beat the Butter and Powdered Sugar Smooth
Start by beating the softened butter and powdered sugar in a large bowl until they’re well combined. Stop to scrape the bowl if you see dry sugar gathered at the bottom or streaks of butter along the sides. The mixture should look evenly blended rather than powdery. Starting with softened butter helps it incorporate without leaving hard pieces behind.
Mix Until the Coconut Holds Together
Add the shredded coconut, vanilla, milk, and kosher salt, then mix until everything is distributed. Press a small amount between your fingers to check the texture; it should hold together instead of falling apart. If loose coconut is still visible in the bowl, keep mixing so the butter-and-sugar base coats it evenly. Don’t begin rolling until the mixture passes that press test.
Shape the Centers and Let Them Firm
Roll the mixture into 24 balls and arrange them on a parchment-lined baking sheet. Keep the portions similar in size so they chill and coat evenly. Refrigerate the tray for 30 minutes, until the balls feel firm rather than soft when handled. If a center is still tender enough to flatten under light pressure, leave the tray in the refrigerator until the chill is complete.
Dip, Drain, and Chill the Coating
Combine the semisweet chocolate chips and coconut oil in a microwave-safe bowl. Microwave in 20-second intervals, stirring between each, until the mixture is smooth. Dip each chilled ball, let the excess chocolate drip back into the bowl, and return it to the parchment-lined sheet. Refrigerate for 15 to 20 minutes, until the coating is set.
Three Thoughtful Ways to Adapt the Coconut Centers and Coating
Make the candies dairy-free
Use vegan butter in place of the butter, unsweetened plant milk instead of dairy milk, and dairy-free semisweet chocolate chips in place of the regular chips. Keep the coconut oil in the coating. The centers may feel a little softer depending on the vegan butter, so rely on the full refrigerator chill before dipping.
Use a darker chocolate shell
Swap the semisweet chips for bittersweet chocolate chips in the same amount and keep the coconut oil. The coating will taste less sweet against the coconut filling, which is a nice choice if you prefer a more pronounced chocolate finish. Melt it in the same short microwave intervals and stir until smooth.
Dial back the sweetness with unsweetened coconut
Replace the sweetened shredded coconut with the same volume of unsweetened shredded coconut for a less-sweet center. Because unsweetened coconut is drier, mix in the listed milk gradually and stop once the mixture holds together when pressed. The finished center will be less sweet and a little less plush.
Storage and Reheating
- Refrigerator: Keep the balls in an airtight container for up to 5 days. The centers stay firm when cold, while the coconut remains pleasantly chewy.
- Freezer: Freeze in an airtight container with parchment between layers for up to 2 months. Thaw them in the refrigerator, keeping the container covered while they come to temperature.
- Reheating: These are best served chilled, so don’t reheat them. Warmth softens the butter-based centers and the chocolate shell, making the balls messy to handle.
Questions That Come Up When Making Chocolate Coconut Balls
Chocolate Coconut Balls
Ingredients
Equipment
Method
- In a large bowl, beat the softened butter and powdered sugar until well combined.
- Mix in the coconut, vanilla, milk, and salt until the mixture holds together when pressed.
- Roll the mixture into 24 balls.
- Arrange the balls on a parchment-lined baking sheet and refrigerate for 30 minutes, until firm.
- In a microwave-safe bowl, combine the chocolate chips and coconut oil.
- Microwave in 20-second intervals, stirring between each, until smooth.
- Dip each chilled ball in the melted chocolate.
- Let the excess drip back into the bowl, and return the ball to the baking sheet.
- Refrigerate for 15 to 20 minutes, until the coating is set.