A pan of cookie dough can look deceptively simple: spread it out, add candy, and bake. The tricky part is getting the center baked through without waiting so long that the edges turn hard. These Christmas Cookie Bars solve the one-cookie-at-a-time problem, too. The dough goes into a 9×13-inch pan, so there’s no need to portion individual cookies or manage several baking sheets.
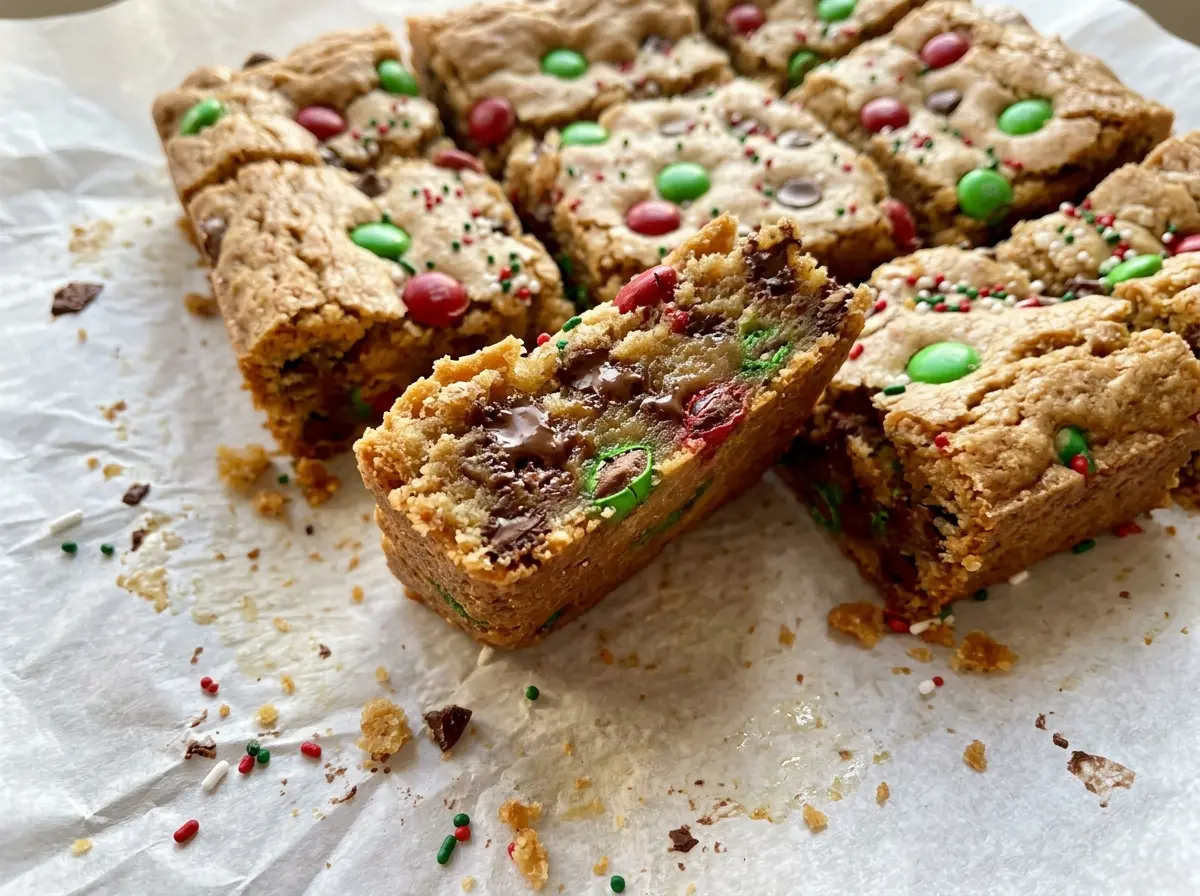
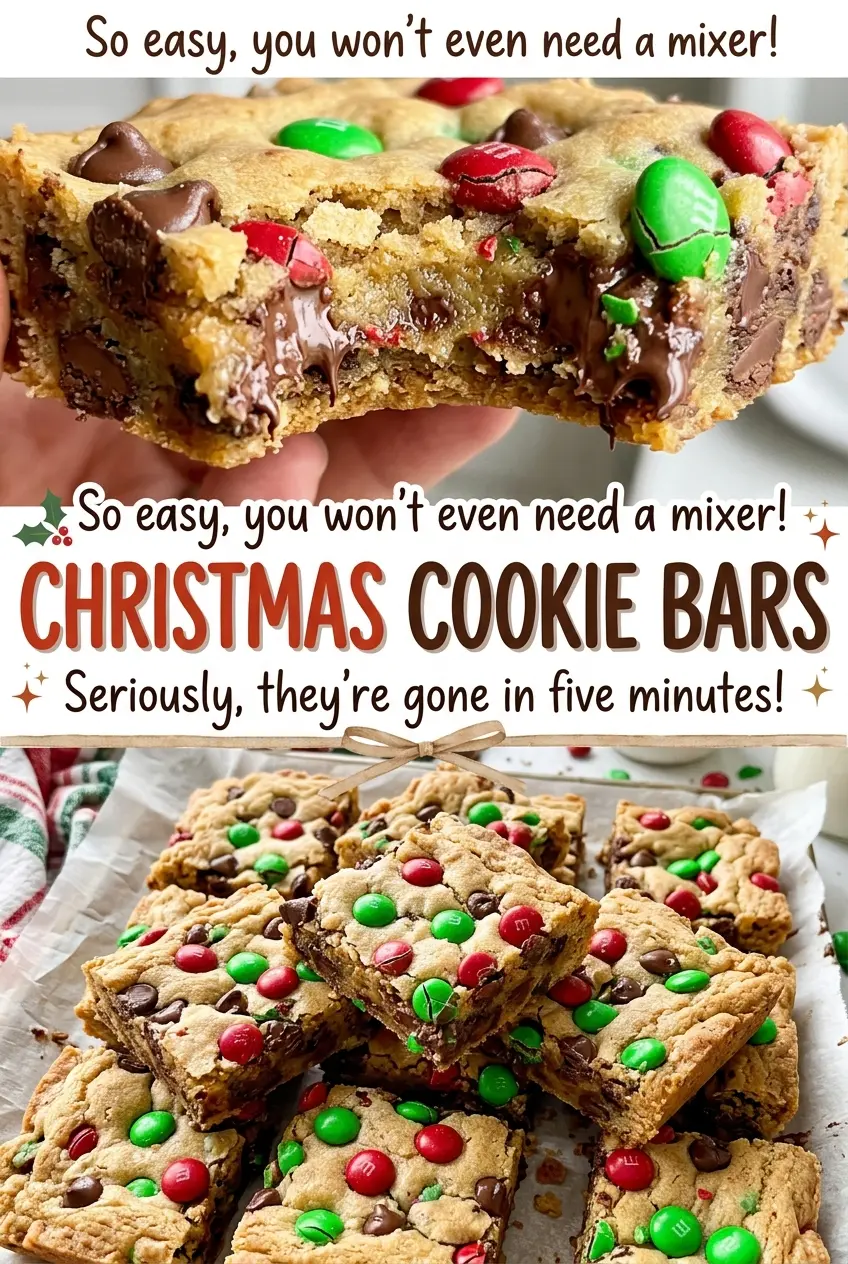
I like the contrast here: brown sugar gives the bars a soft, rich base, while red and green M&M’s bring a little crunch and color in every slice. Some candies go into the dough; the rest sit on top, where they make the bars look festive before you even cut them. Once cooled, the pan yields 24 bars that are easy to serve and easy to pack. The edges turn lightly golden, and the tops stay dotted with bright candy.
Kitchen Note
Wait until the bars are completely cool before lifting them from the pan. Warm cookie bars are soft enough to bend or break when you move them, while a full cool-down lets the slab hold together for neat cuts.
Save these Christmas Cookie Bars for a holiday bake — one pan makes 24 colorful, candy-topped treats.
Why an Even Layer Matters More Than Extra Baking Time
Cookie bars bake as one slab, not as separate rounds with hot air moving all the way around each cookie. That means the middle and edges need to finish together. If the dough is thicker in one area, that spot takes longer to set while the thinner parts keep baking. Waiting for the slowest patch can leave the edges darker and firmer than you want.
Spread the dough evenly from corner to corner before it goes into the oven. Take a moment to check the middle and the edges rather than judging the surface by one spot. The goal is a level layer and a pan where the dough reaches the sides without a mound in the center. The bars should come out when the edges are lightly golden and the center looks set; baking well past that point trades a tender bite for a dry one.
This is also why a single pan is useful for holiday baking: the dough stays together, and the candy is distributed through the slab instead of needing to be pressed onto every individual cookie. A level layer gives those pieces a more consistent bake from edge to center.
What the Butter, Sugars, and Candy Contribute
- Unsalted butter — Softened butter creams smoothly with the sugars and gives the dough its rich base. Let it soften enough to beat easily, but don’t melt it; melted butter won’t cream in the same way. The unsalted version keeps the recipe’s added salt under control.
- Light brown and granulated sugars — The brown sugar brings moisture and a warm, caramel-like note, while granulated sugar balances the mixture and helps the edges brown. Pack the brown sugar into its measuring cup so the amount stays consistent. Because both sugars shape the bars’ texture, reducing or replacing one changes more than sweetness.
- Large eggs — Eggs bind the dough and help it set into bars that can be lifted and cut. Bring them to room temperature if you have time; they blend into the creamed butter more readily than cold eggs. Add them one at a time so each is incorporated before the next goes in.
- All-purpose flour, baking soda, and salt — This combination gives the bars structure and lift while keeping the sweetness in check. Whisk the dry ingredients together before adding them so the baking soda and salt don’t collect in one patch. Measure flour without packing it into the cup; too much can make the dough stiff and the baked bars dry.
- Red and green M&M’s — The candies add a crisp shell and chocolate center, with some mixed through the dough and the rest pressed over the surface. Use candies that are intact rather than crushed so you get clear pops of color. Dividing them between the dough and top gives you candy in each bar as well as a bright finish.
- Vanilla extract — Vanilla rounds out the buttery, brown-sugar flavor. A standard pure or imitation vanilla both work here; there isn’t a need to use an expensive bottle for a baked bar.
From Creamed Butter to Bars That Lift Cleanly
Prepare the pan and cream the sugars
Heat the oven to 350°F and line a 9×13-inch baking pan with parchment, leaving enough overhang to lift the cooled slab later. Lightly grease the parchment so the dough releases easily. In a large bowl, beat the softened butter with the brown sugar and granulated sugar until creamy, about 2 minutes. If the mixture still looks lumpy with visible pieces of butter, keep beating until it looks cohesive and fluffy.
Build a smooth dough without overmixing
Beat in the eggs one at a time, then mix in the vanilla. In a separate medium bowl, whisk the flour, baking soda, and salt so they are evenly combined before they meet the butter mixture. Add the dry ingredients and mix just until no dry flour remains. Stop there; continuing to beat after the flour disappears can make the bars tougher than they need to be.
Spread the dough and divide the candy
Fold 1 1/4 cups of the M&M’s into the dough, distributing them without crushing the candies. Transfer the dough to the prepared pan and spread it evenly all the way to the corners. Press the remaining 1/4 cup M&M’s over the top so the candies show after baking. If the dough gathers in the middle, smooth it outward rather than leaving a thicker mound.
Bake until the center sets, then cool
Bake for 23 to 28 minutes, watching for lightly golden edges and a center that looks set. The exact point within that range can vary slightly from oven to oven, so use the appearance of the bars along with the timer. Don’t wait for the whole top to turn deeply golden; the edges color first. Cool the pan completely, then use the parchment overhang to lift the slab out and cut it into bars.
Three Ways to Change the Cut or Keep the Candy Out
Cut small squares for a dessert tray
Cut the cooled slab into 48 smaller squares instead of 24 bars. The smaller portions are handy on a mixed dessert tray and let people take a few different treats without committing to a full bar.
Make longer cookie fingers
Cut the slab into long, narrow fingers after it cools. This keeps the same cookie-bar texture and candy distribution but gives each piece a shape that’s easy to hold alongside a cup of coffee or cocoa.
Leave out the M&M’s for plain cookie bars
For a simple vanilla-brown-sugar bar without candy, omit the M&M’s from both the dough and the topping. The bars will lose the chocolate bites and colorful finish, but the butter-and-sugar base still bakes into a sliceable treat.
Storage and Reheating
- Refrigerator: Store cooled bars in an airtight container for up to 5 days. The refrigerator firms the butter, so let a bar sit at room temperature briefly before serving if you prefer a softer bite.
- Freezer: These freeze well for up to 2 months. Wrap individual bars or stack them with parchment between layers in an airtight freezer container, then thaw at room temperature.
- Reheating: Reheating isn’t necessary. Skip the microwave if you want the M&M’s to keep their shape; the candy coating can soften or get hot before the bar warms evenly.
Questions That Come Up While Baking Christmas Cookie Bars
Christmas Cookie Bars
Ingredients
Equipment
Method
- Heat the oven to 350°F.
- Line a 9x13-inch baking pan with parchment paper, leaving an overhang, and lightly grease the parchment.
- Beat the butter, brown sugar, and granulated sugar until creamy, about 2 minutes.
- Beat in the eggs one at a time.
- Mix in the vanilla.
- Whisk together the flour, baking soda, and salt.
- Add the dry ingredients to the butter mixture and mix just until no dry flour remains.
- Fold in 1 1/4 cups of the M&M's.
- Spread the dough evenly in the prepared pan.
- Press the remaining 1/4 cup M&M's over the top.
- Bake for 23 to 28 minutes, until the edges are lightly golden and the center looks set.
- Cool completely in the pan.
- Lift out using the parchment and cut into bars.