Crispy, golden country fried chicken covered in peppery white gravy has a way of making dinner feel complete. The crust stays shatteringly crisp for just long enough to get to the table, and the gravy brings that rich, savory finish that turns a simple skillet meal into something people remember. This version keeps the coating light and crunchy instead of heavy, and the gravy is cooked from the drippings so every spoonful tastes like it belongs there.
Buttermilk is doing more than tenderizing the chicken. It helps the seasoned flour cling in a rough, craggy layer, which is what gives you those browned ridges instead of a flat breading. The other thing that matters here is the heat: the oil needs to stay hot enough to set the crust quickly, or the coating drinks up the fat and turns greasy before the chicken is cooked through. The gravy follows the same rule. It starts with the browned bits left in the skillet, then gets whisked with flour before the milk goes in so it thickens smooth instead of turning lumpy.
The chicken came out with that really crisp, craggy coating, and the gravy thickened up perfectly without getting pasty. I used the cayenne in the gravy and it gave just enough heat to keep it from tasting flat.
Save this country fried chicken with white gravy for the night you want crispy cutlets, a skillet gravy that clings, and a dinner that feels straight from a Southern diner.
The Crust Stays Crisp When the Chicken Goes in Dry and the Gravy Waits
The biggest mistake with country fried chicken is letting the coating sit around after dredging. The flour hydrates, the surface goes damp, and the crust turns patchy instead of crisp. Frying right after coating keeps those dry flour ridges intact, and that is what gives you the crunchy, craggy finish people want from this dish.
The second mistake is pouring gravy over the chicken too soon. The crust is at its best in the first few minutes after frying, so the gravy should be ready, hot, and waiting. That way you get a crisp bite under the sauce instead of a soggy shell that falls apart before it reaches the plate.
- Buttermilk — This tenderizes the chicken and helps the flour cling in a thick, uneven layer. Regular milk works in a pinch, but it won’t give the same tang or coating grip.
- All-purpose flour — Use it for both the crust and the gravy. It browns well for frying and thickens the sauce without making it heavy.
- Vegetable oil — A neutral oil keeps the flavor clean and lets the seasoning on the chicken come through. Any frying oil with a high smoke point works here.
- Whole milk — The gravy needs the fat in whole milk to taste smooth and full. Lower-fat milk will thicken, but the sauce can taste thin and a little flat.
Getting the Coating Crisp Before the Gravy Starts
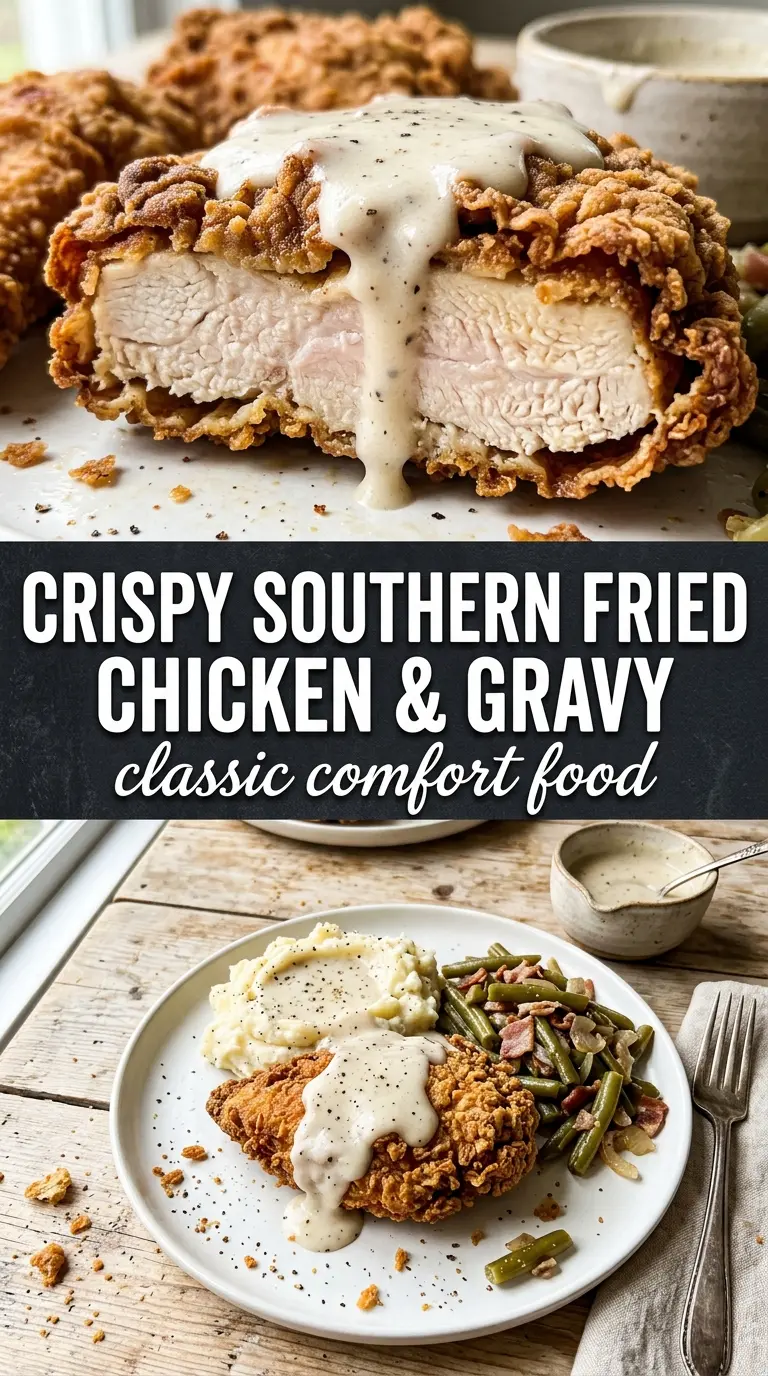
The Buttermilk Soak
Let the chicken sit in the buttermilk long enough to take on some tenderness, but don’t leave it so long that the texture turns soft and loose. Thirty minutes is enough to do the job, and a few hours in the fridge gives you a little more insurance if the breasts are thick. Pull the chicken out and let the excess drip off before dredging, because a wet surface can turn the flour paste-like instead of rough and shaggy.
Pressing on the Flour
Season the flour well, then press the chicken firmly into it on both sides. The pressure matters more than a quick toss because it creates those dry, uneven pockets that fry into a crisp crust. If the flour looks gummy or clumped with wet spots, shake it off and re-dredge in fresh flour so the coating doesn’t fry up heavy.
Frying to a Deep Golden Color
Heat the oil to 350°F and keep it there. If the oil is too cool, the chicken soaks up grease before the coating sets; if it’s too hot, the outside browns before the center is done. Fry until the crust is a deep golden color and the chicken hits 165°F in the thickest part, then move it to a wire rack so steam doesn’t soften the bottom.
Building the White Gravy in the Same Skillet
Reserve three tablespoons of drippings and whisk the flour into them over medium heat for about a minute. That step cooks off the raw flour taste and gives the gravy a nutty base. Add the milk slowly while whisking, and keep stirring until the sauce thickens enough to coat a spoon; if you dump the milk in all at once, you’ll spend longer chasing lumps.
Three Ways to Make This Work for Your Kitchen
Gluten-Free Coating
Swap the all-purpose flour for a gluten-free 1:1 baking blend that contains xanthan gum. The crust will still brown and crisp, though it may look a little less rugged than the classic flour version. Use the same method for the gravy if your blend thickens well; otherwise, thicken the gravy with a gluten-free flour blend or cornstarch slurry instead.
Dairy-Free Version
Use an unsweetened, unflavored non-dairy milk with some body, like oat milk, in place of the buttermilk soak and the gravy milk. Add a small splash of lemon juice or vinegar to the soaking liquid so it still tenderizes the chicken. The gravy will be a little lighter and less rich, but it still works well if you season it confidently.
Baking Instead of Frying
If you want to skip frying, arrange the dredged chicken on a wire rack set over a sheet pan, mist it lightly with oil, and bake at 425°F until cooked through. The crust won’t have the same shatteringly crisp texture, but it will still be browned and flavorful. Keep the gravy on the stovetop exactly as written so the dish still has that classic country comfort feel.
Storage and Reheating
- Refrigerator: Store the chicken and gravy separately for up to 3 days. The crust softens in the fridge, which is normal.
- Freezer: The chicken freezes better than the gravy. Freeze the fried chicken on a tray, then wrap it well and store it for up to 2 months; freeze the gravy only if you don’t mind a slight texture change after reheating.
- Reheating: Warm the chicken on a rack in a 375°F oven until hot and crisp again. Reheat the gravy slowly on the stove with a splash of milk, whisking as it warms so it doesn’t turn gluey or separate.
Answers to the Questions Worth Asking
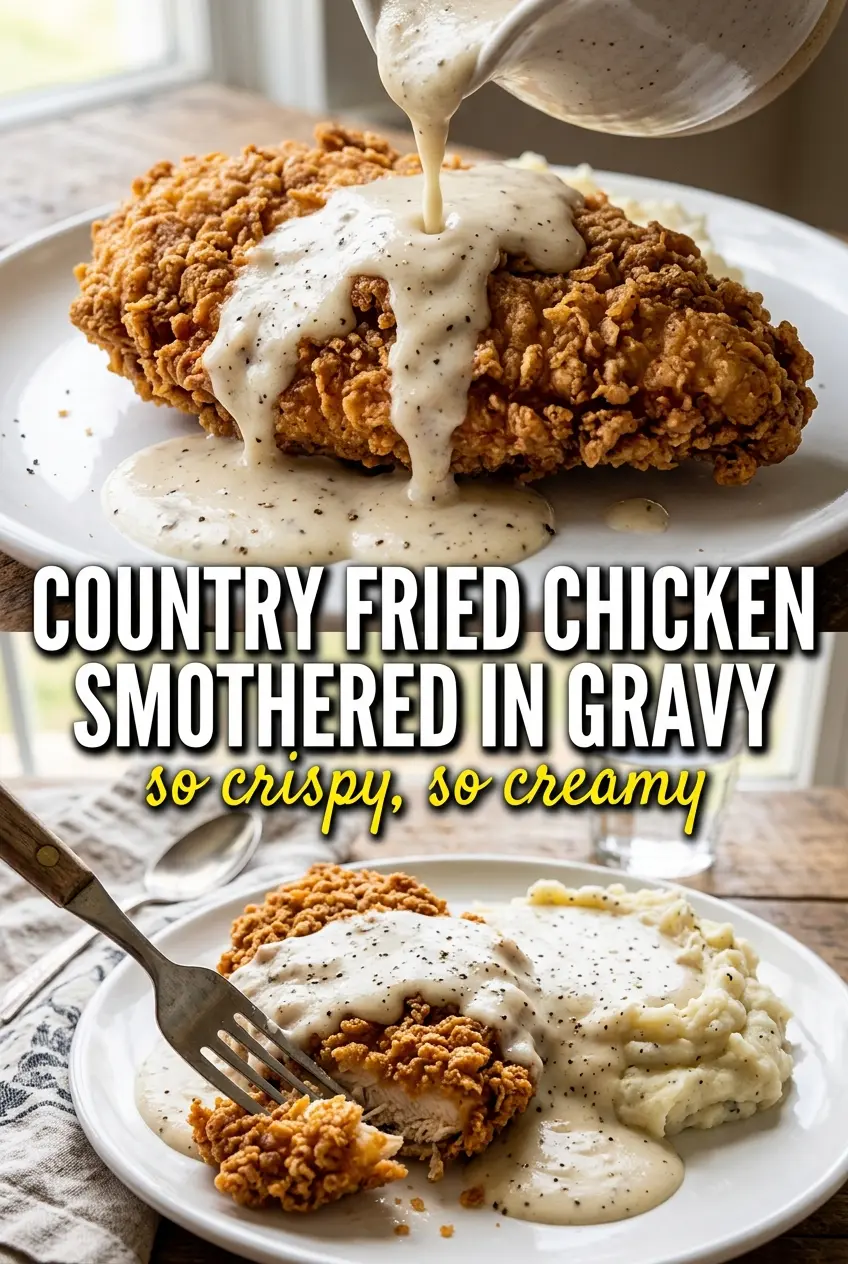
Country Fried Chicken with White Country Gravy
Ingredients
Equipment
Method
- Soak the chicken breasts in buttermilk for at least 30 minutes, or up to 4 hours in the fridge, keeping the chicken chilled while it rests in the liquid.
- Whisk together the flour, garlic powder, paprika, ½ teaspoon salt, and ¼ teaspoon pepper in a shallow dish until evenly combined, with no visible dry pockets.
- Dredge each chicken breast in the flour mixture, pressing firmly to coat well so the crust looks thick and even.
- Heat about ½ inch of oil in a heavy skillet to 350°F, then fry the chicken for 5–6 minutes per side until golden and the internal temperature reaches 165°F.
- Drain the fried chicken on a wire rack while reserving 3 tablespoons of drippings in the skillet for the gravy.
- Whisk the 3 tablespoons of reserved pan drippings and 3 tablespoons all-purpose flour together, cooking for 1 minute until the raw flour smell cooks off.
- Slowly whisk in the whole milk and simmer for 4–5 minutes, stirring until thickened, then season with the remaining salt, pepper, and cayenne if using.
- Spoon the warm gravy generously over the fried chicken and serve immediately while the crust is crisp.