Deep purple elderberry jelly sets up with a glossy finish and a clean, tart-sweet bite that lands somewhere between jam and candy. It spreads without tearing bread, holds its shape on a biscuit, and still tastes like the fruit instead of just sugar. That balance is what keeps a jar of it disappearing fast once it’s opened.
The part that matters most is getting the juice strong enough before the sugar goes in. Elderberries need a proper simmer and a thorough strain so the jelly has flavor and not just color, and the lemon juice helps sharpen the fruit while pectin gives the mixture a reliable set. Once the sugar is added, the boil has to stay hard and steady for just long enough to activate everything without cooking the jelly down past the point where it wants to gel.
Below you’ll find the little details that make elderberry jelly set properly the first time, plus the best way to handle substitutions, storage, and the questions that come up when the jars are cooling on the counter.
The jelly set beautifully and stayed clear instead of turning cloudy, and the elderberry flavor came through even after canning. I followed the boil time exactly and got a perfect spoonable texture.
Save this elderberry jelly for the days when you want a jewel-toned spread with a clean set and bright tart flavor.
The Part That Decides Whether Elderberry Jelly Sets
The biggest mistake with fruit jelly is treating the boil like a suggestion instead of the whole job. Once the pectin goes in, the mixture needs a full rolling boil that doesn’t quit when you stir it. If the boil drops to a lazy simmer, the pectin won’t activate cleanly and you’ll end up with syrup instead of jelly.
Juice concentration matters just as much. Elderberries are full of flavor, but they still need a short simmer and a proper strain to get enough liquid out of the fruit and enough body into the final jelly. If you squeeze the cheesecloth too hard, the jelly can turn cloudy. Cloudy jelly still tastes good, but if you want that deep clear look, let gravity do more of the work.
What Each Ingredient Is Actually Doing in This Jelly
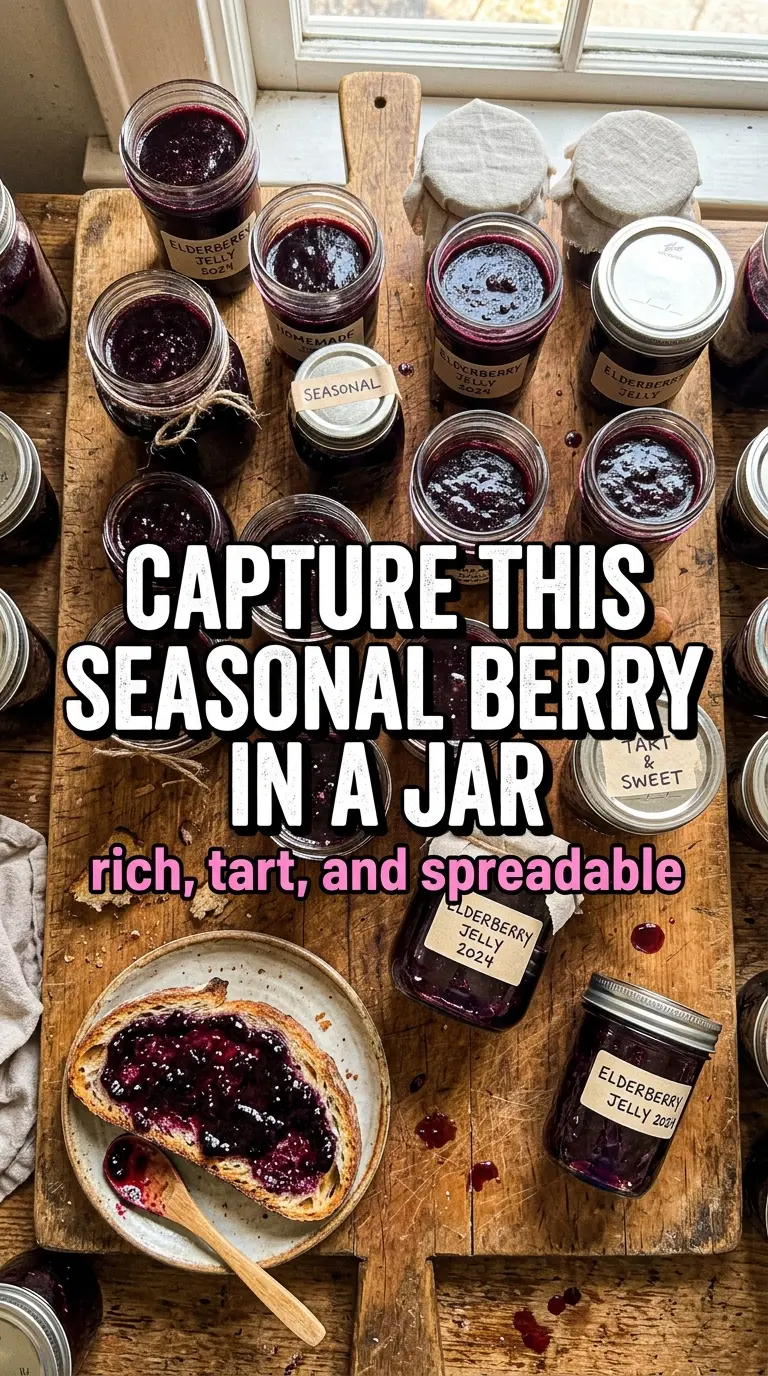
- Elderberry juice — This is the whole personality of the jelly. Fresh juice from simmered berries gives you the tart, dark fruit flavor you can’t fake with water or bottled juice. If your elderberries are especially tart, the sugar balances them; if they’re a little weak, reduce the juice only by simmering more berries, not by cooking the finished jelly longer.
- Granulated sugar — Sugar isn’t just sweetness here. It helps the pectin gel and gives the jelly that smooth, glossy finish. Don’t cut it back in this kind of recipe unless you’re using a low-sugar pectin designed for it, because the set will suffer.
- Powdered fruit pectin — This is what gives the jelly its reliable texture. Elderberries don’t always have enough natural pectin to set firmly on their own, so the boxed pectin takes the guesswork out. Add it before the sugar and keep the mixture moving so it dissolves evenly.
- Lemon juice — The lemon brightens the flavor and helps the acid level where pectin works best. It doesn’t make the jelly taste lemony; it makes the elderberry taste sharper and cleaner. Bottled lemon juice is fine here because consistency matters more than fresh-squeezed aroma.
How to Cook Elderberry Jelly Until It Reaches the Right Set
Making the Elderberry Juice
Simmer the berries with just enough water to keep them from scorching, then mash them as they soften so the color and juice release without a fight. You want a concentrated, dark liquid, not a watery berry soup. Strain it through cheesecloth until you have 4 cups, and stop there; overworking the pulp can push solids through and cloud the jelly.
Bringing the Pectin to Life
Stir the juice, lemon juice, and pectin together in a large pot and bring it to a rolling boil. The mixture should be bubbling all across the surface, not just around the edges. If the boil is weak when the sugar goes in, the jelly can set unevenly or stay loose in the jar.
Cooking the Sugar to the Set Point
Add the sugar all at once and stir constantly until the boil returns at full strength. Hold that rolling boil for exactly 1 minute once it can’t be stirred down. That’s the window where the pectin, sugar, and acid lock together; go much longer and the jelly can get stiff or start tasting cooked.
Jarring and Sealing Cleanly
Skim off any foam before ladling the jelly into sterilized jars. Leave 1/4-inch headspace so the lids can seal properly during the water bath. Wipe the rims carefully, because even a thin smear of jelly can keep a jar from sealing, and process the jars for 10 minutes in boiling water.
How to Adapt Elderberry Jelly for Different Kitchens and Lifestyles
Making It With Frozen Elderberries
Frozen berries work well and often break down faster than fresh ones. Thaw them first so they release liquid more evenly, then simmer and strain the same way. The flavor stays strong, and you won’t lose much beyond a little extra liquid from the thaw.
Using Low-Sugar Pectin
If you want a less-sweet jelly, use a low-sugar pectin made for reduced sugar recipes and follow that package’s ratio closely. Standard pectin depends on a specific sugar level to set properly, so swapping the sugar without changing the pectin can leave you with a loose batch.
No Water Bath Shortcut
For refrigerator use, you can skip the boiling water bath and store the filled jars in the fridge once they’ve cooled enough to handle. The texture will still set, but the shelf life drops to a few weeks instead of months. That method works best when you’re making a small batch to eat right away.
Storage and Reheating
- Refrigerator: Sealed jars keep for several weeks after opening. The jelly may firm up a little more as it chills.
- Freezer: Jelly can be frozen in freezer-safe containers with a little headspace, though the texture may loosen slightly after thawing.
- Reheating: Jelly doesn’t need reheating, but if it becomes too firm after chilling, let the jar sit at room temperature for a few minutes before spreading. Microwaving can make it weep and lose that clean set.
Answers to the Questions Worth Asking
Elderberry Jelly
Ingredients
Equipment
Method
- Simmer elderberry berries with a small amount of water in a large pot for 10–15 minutes, mashing to release juice, until you have a fragrant purple liquid. Strain through cheesecloth to yield 4 cups of juice.
- Combine elderberry juice, lemon juice, and powdered fruit pectin in a large pot and bring to a rolling boil while stirring constantly at high heat (about 212°F/100°C).
- Add granulated sugar all at once and return to a full rolling boil while stirring constantly, then boil for 1 minute at high heat (about 212°F/100°C).
- Remove the pot from heat and skim off any foam until the surface is clearer.
- Ladle the hot jelly into sterilized jars, leaving 1/4-inch headspace, and keep the jars steady to prevent spills. Wipe jar rims clean so lids seal properly.
- Seal with lids and process in a boiling water bath for 10 minutes. Start timing once the water returns to a steady boil.
- Let jars cool completely, undisturbed, then check seals before storing. Press each lid lightly—sealed lids should not flex.