The crust comes out of the oven with just a hint of gold at the edges, and the pumpkin filling goes on while it’s still warm. That short head start is what gives these gluten free pumpkin pie bars a sturdy base instead of a damp, crumbly one. They’re cut into squares, but the filling has the familiar smooth, spiced texture of pumpkin pie.
I like this bar format because you get a clean layer of crust beneath every slice of filling. The gluten-free flour blend needs to be mixed with melted butter until there are no dry pockets, then pressed firmly into the pan. Once the pumpkin mixture is smooth, it pours easily over the crust and bakes into an even layer.
Give the bars time to cool and chill before cutting. That wait helps the pumpkin set all the way through, so each square holds its shape with a tender crust and a soft, spiced center.
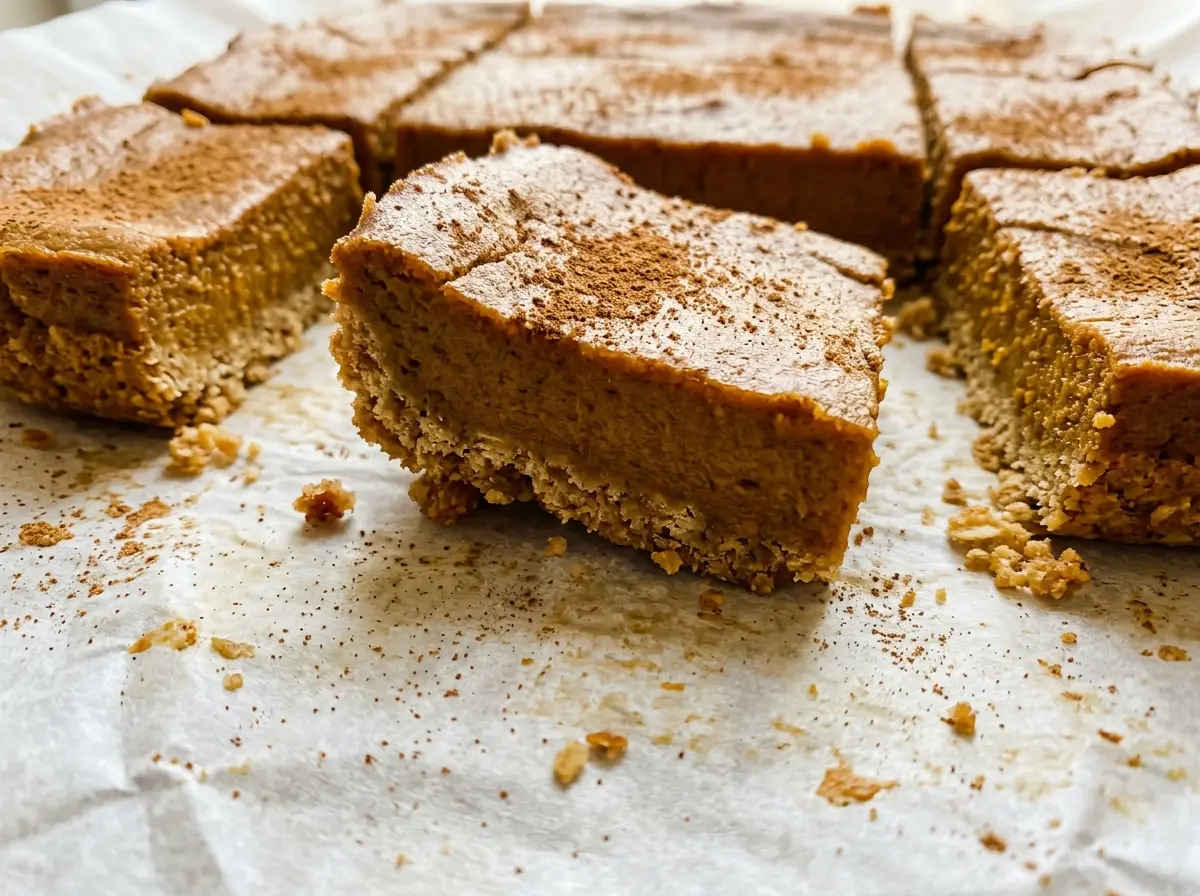
Kitchen Note
Grease the corners and sides of the baking dish, not just the flat bottom. The crust reaches all the way to the edges, and a little attention here helps those first bars release without losing their corners.
Save these gluten free pumpkin pie bars for a make-ahead dessert with a tender crust and a smooth, warmly spiced center.
Why the Crust Gets a Head Start Before the Pumpkin Goes In
Pumpkin filling is moist, and a gluten-free crust doesn’t have the same structure as a wheat-based one. Putting the filling onto raw crust means the bottom has to bake while it’s covered by a wet layer. Giving the crust its own time in the oven lets it begin setting before that filling goes on.
Watch the edges rather than waiting for the whole crust to turn brown. At 350°F, they should just begin to look golden after 15–18 minutes. The center won’t be fully baked at this point, and that’s fine; it will bake again under the pumpkin layer.
This is also why the filling goes onto the crust while it’s warm. You can pour it across the base without waiting for the dish to cool, then return everything to the oven for the longer bake. The two-stage approach gives the crust a chance to firm up without asking it to bake until crisp before the filling is ready.
What the Gluten-Free Crust and Pumpkin Filling Need From Their Ingredients
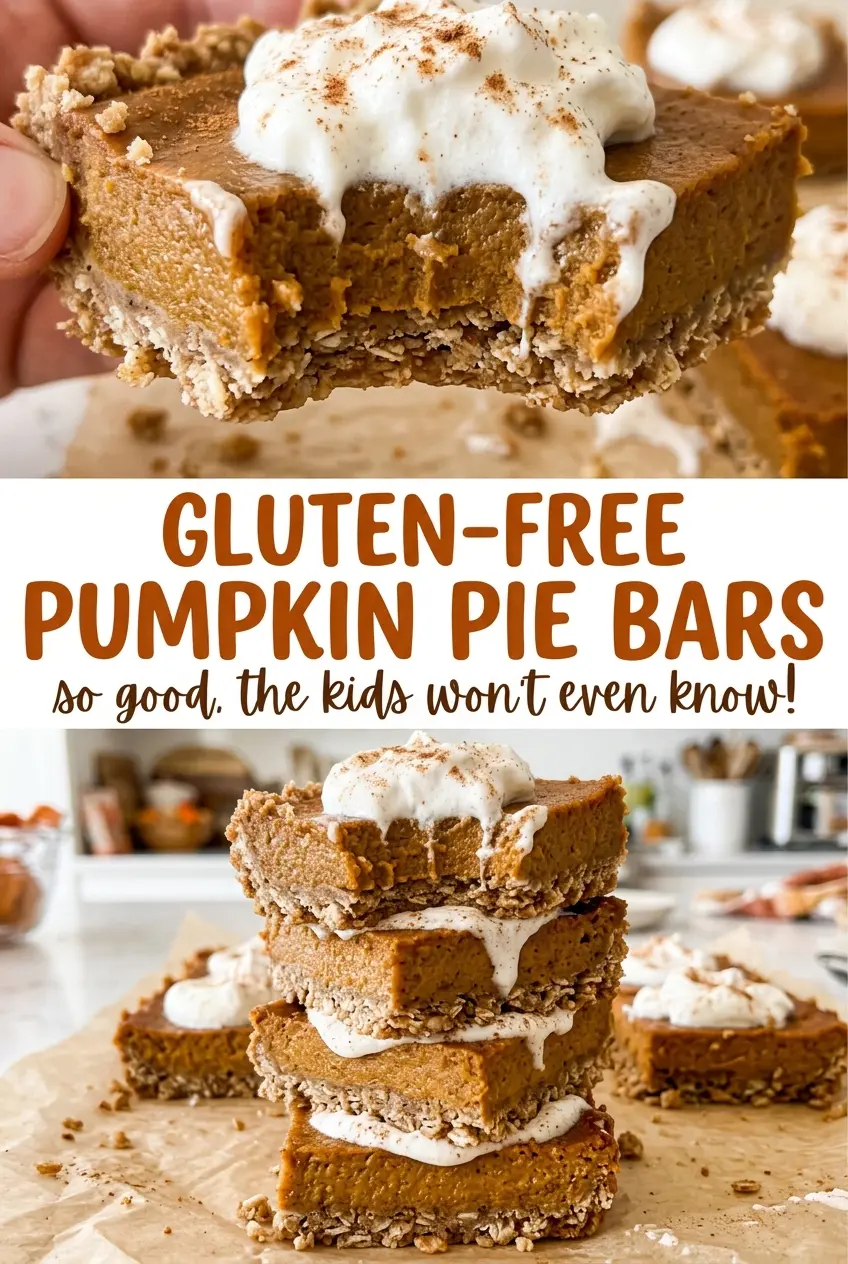
- Gluten-free flour blend with xanthan gum — This blend forms the crust, and the xanthan gum helps it hold together once baked. Use a blend that includes xanthan gum; almond or coconut flour isn’t a direct replacement for this crust.
- Salted butter — Melted butter coats the flour and sugar so the crust mixture presses into a cohesive layer. Since the butter is salted and the filling also has fine salt, stick with salted butter rather than making an unaccounted salt adjustment.
- Pure pumpkin — Canned pure pumpkin gives the filling a consistent texture. Pumpkin pie filling is already sweetened and spiced, so it would change the balance of the sugar and spices here.
- Cinnamon, ginger, and nutmeg — Together, these give the filling its warm pumpkin-pie character. Fresh spices smell more vivid when you open the jar; older spices still work, but their aroma may be less pronounced.
- Eggs — Eggs help the filling set into sliceable bars rather than staying loose like a sauce. Whisk them into the pumpkin mixture with the evaporated milk so the filling is smooth before it goes into the pan.
- Evaporated milk — This adds richness while keeping the filling pourable. It isn’t the same as sweetened condensed milk, which contains added sugar and would make the filling much sweeter and thicker.
From Crumbly Crust to a Set Pumpkin Center
Mix the Crust Until It Holds Together
Heat the oven to 350°F and grease a 9×13-inch baking dish. Stir the gluten-free flour blend and sugar together, then mix in the melted butter until the mixture is evenly moistened. It should look like damp crumbs rather than dry flour with a few buttery clumps. Press it firmly across the bottom of the dish so the layer is even.
Give the Crust Its First Bake
Bake the crust for 15–18 minutes, until the edges are just beginning to turn golden. The center may still look pale, so don’t wait for a deep color across the whole surface. If you bake it until it’s fully browned now, it will spend another 35–45 minutes in the oven beneath the filling. Take the dish out when that first hint of gold appears at the edges.
Whisk the Pumpkin Filling Smooth
In a large bowl, whisk together the pumpkin, sugar, cinnamon, ginger, nutmeg, and fine salt. Add the eggs and evaporated milk, then whisk until no streaks of egg or pockets of spice remain. The mixture should look uniform and pourable. Whisking the pumpkin and dry ingredients first helps distribute the spices before the liquid thins everything out.
Bake Until the Center Reaches 160°F
Pour the filling over the warm crust and return the dish to the 350°F oven for 35–45 minutes. Look for edges that are set, then check that the center reaches 160°F; a thermometer gives you a more reliable cue than color alone. The filling should be set enough to hold together once chilled, not browned heavily on top. Remove the bars when they reach that temperature.
Cool, Chill, Then Cut
Let the bars cool completely before refrigerating them for at least 3 hours. Cutting while the filling is still warm can leave you with soft, smudged edges instead of defined squares. Once chilled, cut through the firm filling and crust in steady strokes. The center should stay tender while each bar keeps its shape.
Three Spice Shifts That Keep These Pumpkin Bars Familiar
Let Cinnamon Lead
For a softer, familiar pumpkin-pie emphasis, shift the spice balance toward cinnamon and use less ginger and nutmeg. Keep all three spices in the filling so it still tastes rounded rather than one-note.
Make the Ginger More Noticeable
Shift the balance toward ginger and back off the cinnamon and nutmeg. That gives the filling a brighter, more pronounced warmth without introducing a new ingredient or changing the crust.
Keep the Bars Gluten-Free
The bars are made with a gluten-free flour blend that includes xanthan gum, so no wheat-based crust is needed. Keep that specific kind of blend in the crust; changing to a flour without a binder can leave the base more fragile.
Storage and Reheating
- Refrigerator: Keep the bars covered and refrigerated for 3–4 days. The crust gradually softens as it sits beneath the custard-like filling.
- Freezer: They freeze well. Wrap individual bars tightly, place them in a freezer-safe container, and thaw in the refrigerator before serving; the crust may be a little softer after thawing.
- Reheating: These bars are best served chilled, so reheating isn’t needed. Warming them can soften the filling and make the bars harder to handle.
Questions That Come Up When Baking Pumpkin Pie Bars
Gluten Free Pumpkin Pie Bars
Ingredients
Equipment
Method
- Heat the oven to 350°F.
- Grease a 9x13-inch baking dish.
- Stir the gluten-free flour blend and granulated sugar together, then mix in the melted salted butter until the mixture is evenly moistened.
- Press the crust mixture firmly into the prepared dish.
- Bake the crust for 15–18 minutes, until the edges are just beginning to turn golden.
- Whisk the pumpkin, granulated sugar, cinnamon, ginger, nutmeg, and salt in a large bowl.
- Whisk in the eggs and evaporated milk until smooth.
- Pour the filling over the warm crust.
- Bake at 350°F for 35–45 minutes, until the edges are set and the center reaches 160°F.
- Cool completely.
- Refrigerate for at least 3 hours before cutting into bars.