The knife reaches the wooden spoon, and the potato stays in one piece. That little stop is what turns ordinary crosswise cuts into a fan of slices that brown at the edges without falling apart. I use that simple guide whenever I make Hasselback potatoes, especially when I want crisp, browned edges and a tender center from the same potato.
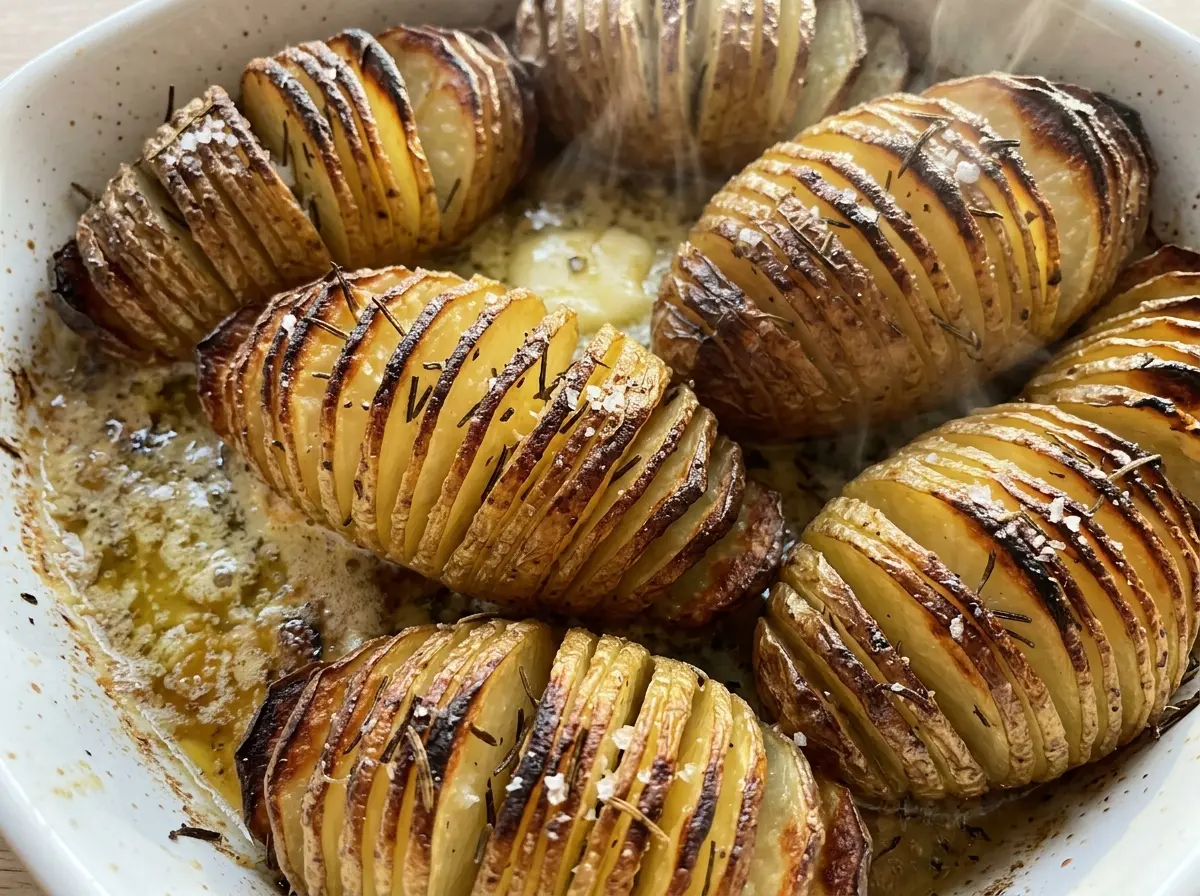
Russets are a good fit because their centers turn soft as the outside roasts, while the thin cut edges get crisp. I brush melted butter and olive oil over the whole potato and work some down into the cuts, so the fat reaches more than just the top. After the potatoes roast, a short rest lets them settle before they go to the table, their edges browned and their centers tender.
Kitchen Note
After 30 minutes, brush the potatoes with the fat that has collected on the pan. It gives the exposed edges another coat without needing to melt more butter.
Save these Hasselback potatoes for the crisp, browned edges and soft russet centers.
Why the Bottom Has to Stay Uncut for Every Slice to Open
The cuts do two jobs at once: they expose more potato surface to the heat, and they let the separate slices fan slightly as the potato roasts. But the bottom needs to stay connected, or the potato loses the support that holds that fan together. You want a row of slices attached to one steady base, not a stack of rounds.
Even cuts help the potatoes cook evenly. At about 1/8 inch, the slices are thin enough to brown along their edges while still being substantial enough to stay attached. A cut that stops too early leaves thick sections that don’t open as readily; a cut that goes through the bottom turns the potato into separate pieces. The spoons or chopsticks act as a physical boundary, so the blade meets the guide before it can slice all the way through.
That intact base also makes the potatoes easier to lift and serve. Treat the guides as a stop, not just a reminder, and keep each potato steady as you work across it. The result should look like one potato with many fine slits, ready for the fat to reach between its layers.
What Russets, Butter, and Olive Oil Each Bring to Hasselback Potatoes
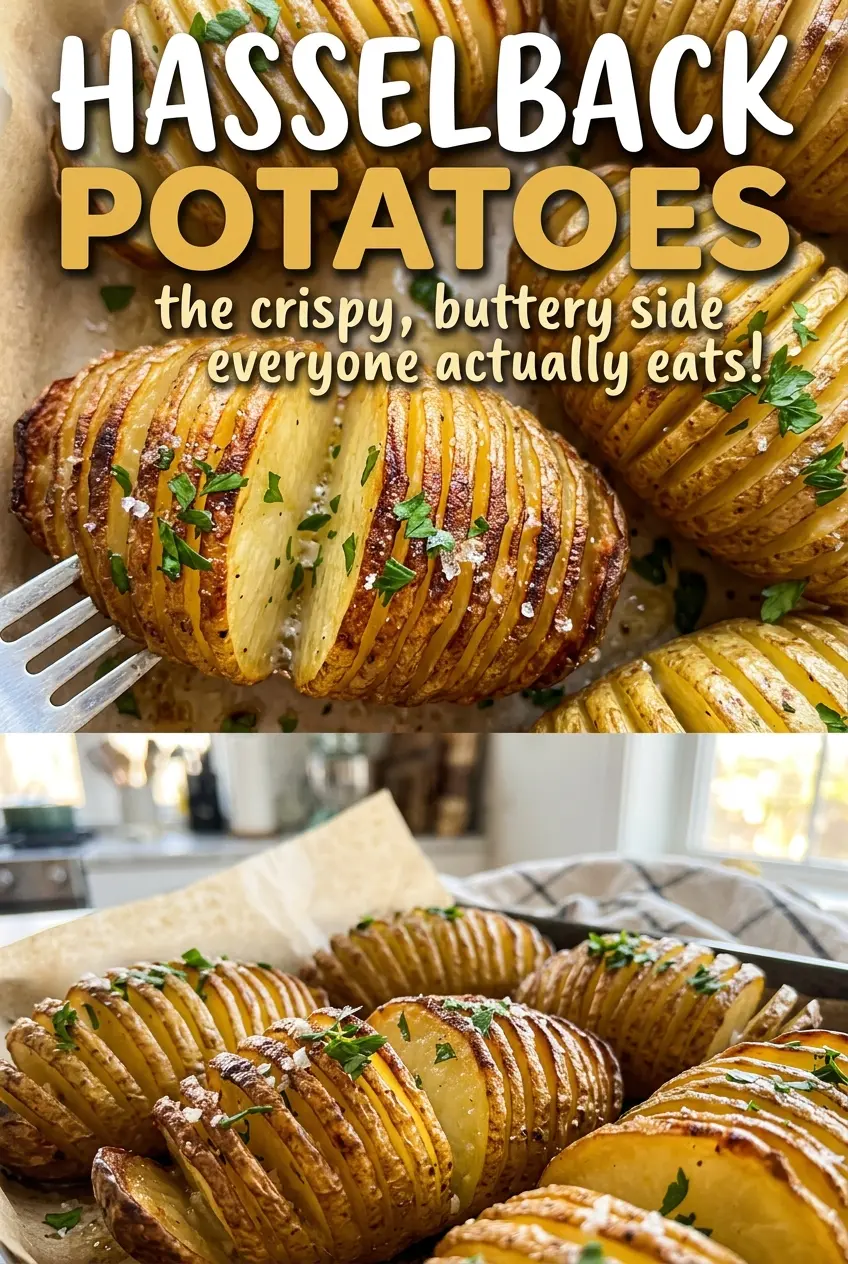
- Russet potatoes — Their fluffy, tender centers suit this cut, while the thin edges have room to brown. Choose potatoes that are close in size so they roast on a similar schedule; the medium potatoes here are about 8 ounces each. Scrub them and dry them well before slicing. A waxier potato won’t give quite the same soft-center contrast.
- Unsalted butter — Melted butter brings a rich, familiar taste and coats the ridges and sides. Unsalted butter also leaves the kosher salt in control, rather than adding an unknown amount of salt from the butter itself. A standard grocery-store butter works well; there’s no need for a specialty brand.
- Olive oil — It loosens the melted butter into a brushable coating and helps cover the potato’s outside as well as the cuts. A regular olive oil is fine here; save a delicate, expensive finishing oil for a dish where its flavor stays uncooked and prominent.
- Kosher salt and black pepper — The salt seasons the potato itself, including the exposed cuts, and the pepper adds a mild savory bite. Spread the seasoning over the cut-side-up potatoes so it doesn’t all land on one spot. The listed combination keeps the potato’s own flavor at the center.
How to Slice and Roast Hasselback Potatoes Without Cutting Through
Get the oven and sheet ready
Heat the oven to 425°F and line a rimmed baking sheet with foil. Scrub and dry the potatoes so they’re ready to cut, and set out two wooden spoons or chopsticks as guides. Having the sheet nearby makes it easier to transfer the potatoes without disturbing their cuts.
Use the spoons as a stopping guide
Set one potato between the guides and cut crosswise into 1/8-inch slices. Let the knife stop when it hits the spoons or chopsticks, leaving the bottom intact. Keep the cuts close and even as you move across the potato; the connected base should still hold it together when you lift it. Repeat with the remaining potatoes.
Coat down into the cuts
Arrange the potatoes cut-side up on the lined baking sheet. Brush them all over with the melted butter and olive oil, then work some of the fat into the slits so the inner edges aren’t left dry. Season with the kosher salt and black pepper. If the cuts close together as you brush, don’t pull the potato apart; coat the openings you can reach.
Roast until the center yields
Roast for 55 to 70 minutes, brushing the potatoes with the fat on the pan after 30 minutes. Look for crisp, browned edges, and test the center with a knife; it should pierce the potato easily. The exact point in that roasting window depends on the potatoes, so use tenderness and browning together rather than relying on the clock alone. Let the potatoes rest for 5 minutes before serving.
How to Scale or Make These Hasselback Potatoes Dairy-Free
A Half Batch for Two
Use half of each listed ingredient and prepare two potatoes, keeping the same proportions of butter, olive oil, salt, and pepper. Follow the same cutting and roasting method, checking for a tender center and browned edges rather than assuming a smaller batch will finish in half the time. This is a useful way to make just enough without changing the character of the dish.
A Dairy-Free Olive Oil Version
Replace the butter with additional olive oil, using enough to brush the potatoes all over and into the cuts. The potatoes will still roast with browned edges, but they’ll lose the rounded, buttery taste and have a more direct olive-oil flavor. Keep the same seasoning and check the potatoes for tenderness before serving.
Storage and Reheating
- Refrigerator: Refrigerate leftovers within 2 hours and keep them covered for 3 to 4 days. The edges soften as the potatoes sit.
- Freezer: They can be frozen, but the potato’s texture is likely to turn softer and less pleasant after thawing. I don’t recommend freezing them if crisp edges are what you want.
- Reheating: Warm them uncovered in the oven until hot throughout; the exposed edges may regain some crispness. Covering traps steam and softens the cuts further.
Questions That Come Up Before the Potatoes Go in the Oven
Hasselback Potatoes
Ingredients
Equipment
Method
- Heat the oven to 425°F.
- Line a rimmed baking sheet with foil.
- Set a potato between two wooden spoons or chopsticks and cut crosswise into 1/8-inch slices, stopping when the knife hits the guides so the potato stays intact at the bottom; repeat with the remaining potatoes.
- Arrange the potatoes cut-side up on the baking sheet.
- Brush the potatoes all over with the melted butter and olive oil, working some into the cuts.
- Season with the salt and pepper.
- Roast for 55 to 70 minutes, brushing the potatoes with the fat on the pan after 30 minutes, until the centers are tender when pierced with a knife and the edges are crisp and browned.
- Let rest for 5 minutes before serving.