When the pie comes out of the oven, the crust can look ready before the apples are. I watch the vents: a few bubbles of filling are the sign that the thickener has had time to work. With this homemade apple pie, that small cue matters just as much as a deeply golden top.
I make the crust with cold butter and stop mixing as soon as the dough holds together when pressed. It bakes up tender without needing a complicated technique, and an hour in the refrigerator gives the dough time to firm up before rolling.
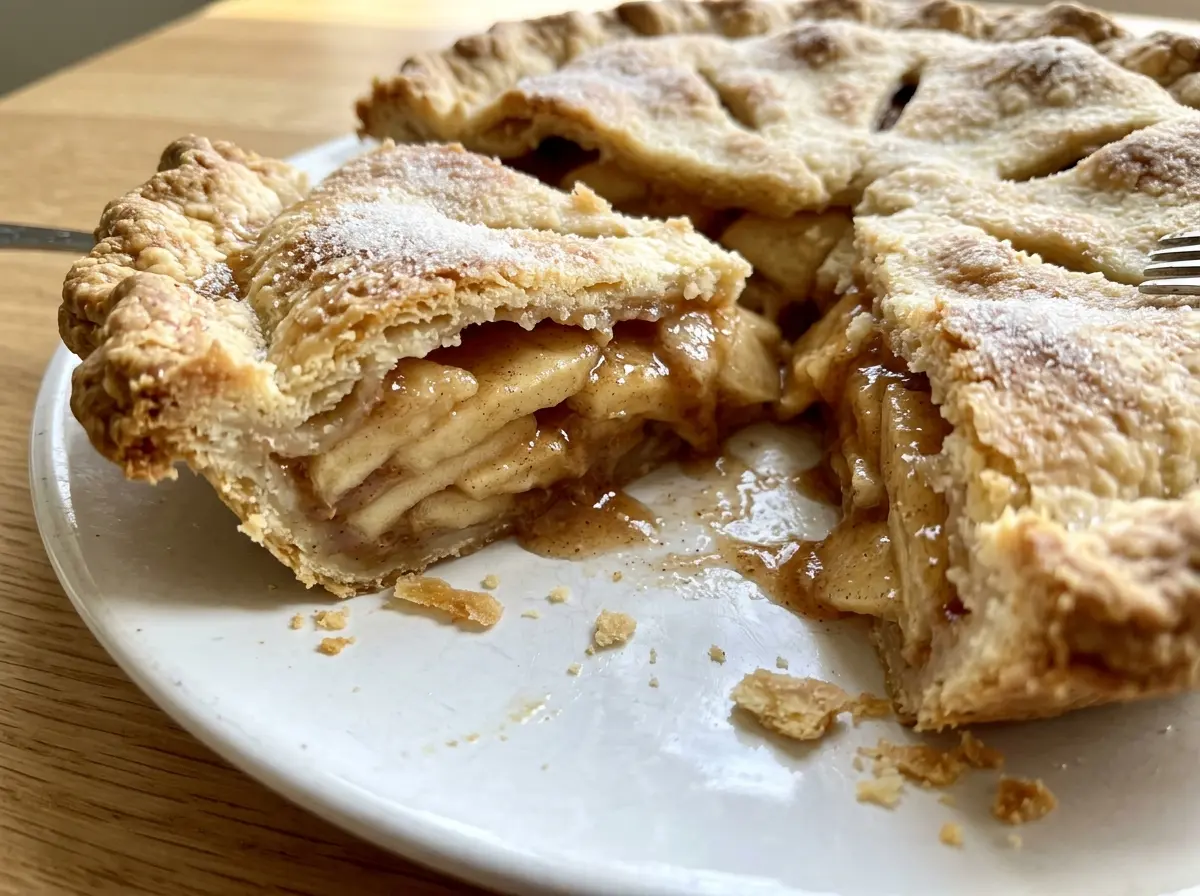
The filling is a simple mix of firm apples, cinnamon, nutmeg, lemon juice, and cornstarch. A hot start helps the crust get going; a lower oven temperature gives the apples time to soften. After a long cooling, each slice holds its shape, with tender apples tucked into a flaky crust.
Kitchen Note
When you add the ice water, stop as soon as a squeezed handful stays together. The dough may still look a little crumbly in the bowl; adding extra water to make it look smooth can leave the crust tougher.
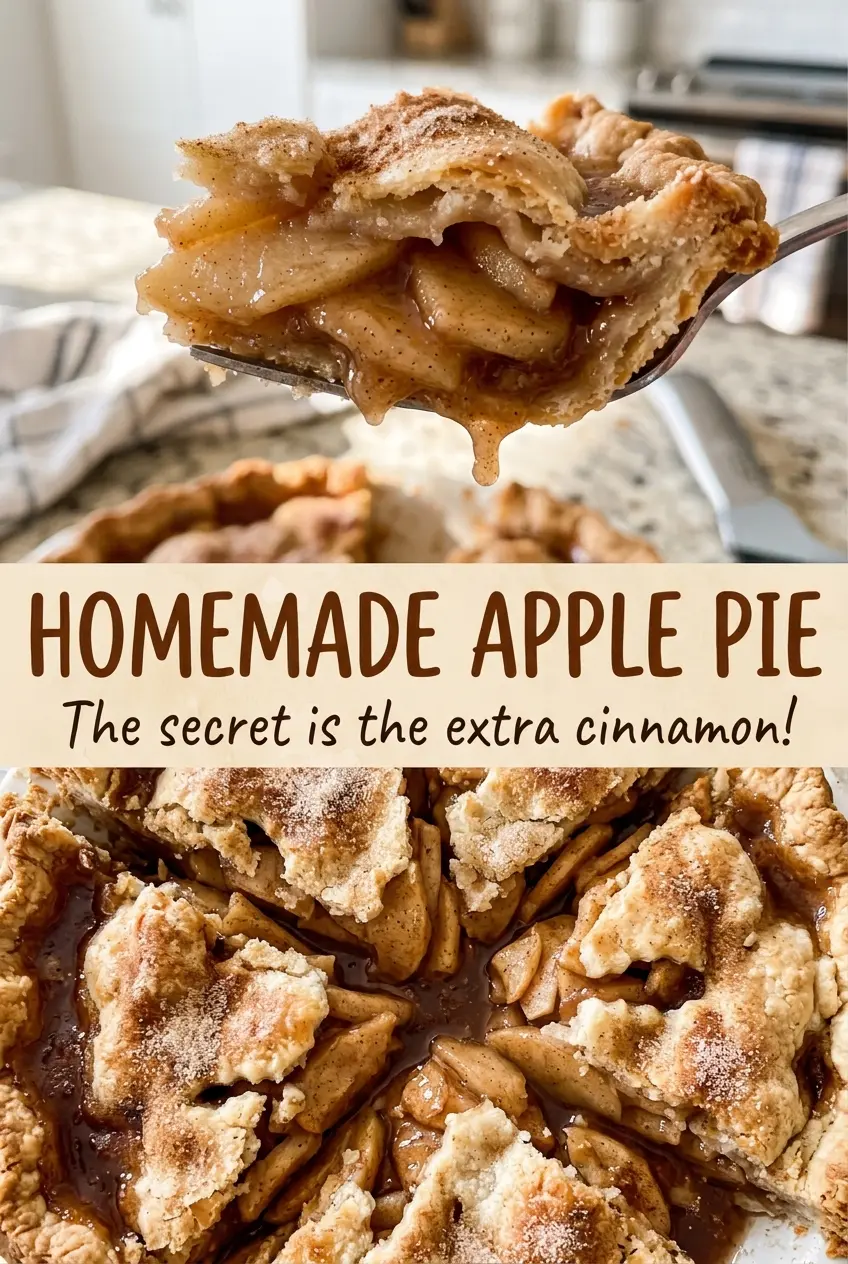
Save this homemade apple pie for its buttery crust, bubbling cinnamon-apple filling, and classic crimped top.
The Filling Only Thickens Once You See Bubbles at the Vents
A pie can have a beautifully browned top and still have loose filling underneath. The visual cue I wait for is filling bubbling through the top vents. That tells me the apple juices and cornstarch have heated through together, rather than relying on a golden crust alone to judge doneness.
The two oven temperatures do different jobs. The initial 425°F gives the pastry a strong start, while reducing the oven to 375°F lets the apples continue cooking without asking the crust to brown at the same pace. The lower-third rack and preheated rimmed baking sheet help the bottom crust bake while catching any filling that escapes.
There’s one last part that’s easy to underestimate: cooling. The filling is still loose when the pie first leaves the oven, and slicing too soon lets it run into the empty space on the plate. Give it at least 3 hours on a wire rack. The wait lets the filling set into neat slices instead of a spoonable puddle.
The Apples, Thickener, and Cold Fat That Set This Pie Apart
- Firm apples — Granny Smith apples bring a tart edge, while Honeycrisp apples are sweeter; either works, and using a mix gives the filling a balanced taste. Choose apples that feel firm rather than soft or mealy. Peel, core, and slice them evenly so they soften at a similar pace.
- Cold unsalted butter — Butter gives the crust its rich flavor and creates small pockets in the flour that bake into a flaky texture. Keep it cold as you cut it in. For a dairy-free crust, use cold, firm plant-based baking sticks in place of the butter; the crust will taste less buttery and may be a little less flaky than the original.
- All-purpose flour — Standard grocery-store flour is a good fit here; there’s no need for a specialty brand. For a gluten-free version, use a one-to-one gluten-free baking flour blend that includes xanthan gum in place of the all-purpose flour. The dough will be more delicate to handle.
- Cornstarch — This thickens the juices released by the apples, so it’s worth using rather than guessing at an equal swap with another thickener. Mix it thoroughly with the sugar and spices as you toss the filling so it doesn’t sit in dry pockets.
- Lemon juice and spices — Lemon juice brightens the sweet apples and helps slow browning after slicing; bottled lemon juice works if that’s what you have. Ground cinnamon and nutmeg bring warmth without masking the fruit, and ordinary grocery-store spices are fine as long as they still smell fragrant.
- Egg — Brushing beaten egg over the top helps the crust bake up shiny and golden. You can leave it off, but the finished top will be more matte and less deeply colored.
Build a Pie That Bakes Evenly From the Bottom Crust Up
Cut the butter in while it’s still cold
Whisk the flour and salt in a large bowl, then cut in the cold butter with a pastry cutter or your fingertips. Stop when the largest pieces are about pea-size; the mixture shouldn’t look like a smooth paste. Sprinkle the ice water over the flour mixture and toss with a fork until it holds together when pressed. Divide the dough in half, shape each half into a disk, wrap, and refrigerate for at least 1 hour.
Coat the apples evenly
Toss the peeled, cored, quarter-inch apple slices with the sugar, cornstarch, cinnamon, nutmeg, and lemon juice in a large bowl. Keep turning the slices until the coating looks even, with no visible pockets of cornstarch. The fruit will begin to release juice as it sits, so have the crust ready before you fill the pie plate. Mound the apples slightly in the center rather than pushing them into a flat layer.
Fit the dough, seal the rim, and vent the top
Heat the oven to 425°F with a rack in the lower third, and set a rimmed baking sheet on the rack to catch drips. On a lightly floured surface, roll one disk into a 12-inch round and fit it into a 9-inch pie plate. Roll the second disk into an 11-inch round, lay it over the filling, trim both crusts to about 1 inch beyond the rim, then fold the edges under and crimp to seal. Cut several vents in the top so steam can escape as the filling cooks.
Follow the bubbling filling through the temperature change
Beat the egg and brush it over the top crust, then set the pie on the baking sheet. Bake for 20 minutes at 425°F, then reduce the oven to 375°F and bake for 40 to 50 minutes more. If the crust edges brown too quickly, cover them with foil while the center continues baking. Look for a deeply golden crust and filling bubbling through the vents, then cool the pie on a wire rack for at least 3 hours before slicing.
Small Changes That Keep the Pie’s Structure Intact
Make the crust dairy-free
Swap the butter for the same amount of cold, firm plant-based baking sticks, cut into small cubes. Avoid soft tub-style spreads, which bring a different amount of water and can make the dough harder to handle. The crust will still bake into a pie shell, though it won’t have quite the same buttery flavor.
Use a lattice top instead of a full lid
Cut the rolled top dough into strips and weave them over the apple filling, then trim and crimp the edges as usual. The open spaces show off the fruit and let steam escape across the surface. Keep an eye on the exposed apples as the pie bakes, since more filling is visible than under a solid top crust.
Make the crust gluten-free
Replace the all-purpose flour with the same amount of a one-to-one gluten-free baking flour blend that contains xanthan gum. The dough is more fragile and won’t stretch as readily, so handle it gently as you fit it into the pie plate and patch any small cracks with scraps of dough. The filling stays the same, but the crust’s texture will be more crumbly.
Storage and Reheating
- Refrigerator: Cover and refrigerate leftovers for up to 4 days. The crust softens as it sits against the moist filling.
- Freezer: Freeze the fully cooled pie, wrapped tightly, for up to 3 months. Thaw it in the refrigerator before serving.
- Reheating: Warm slices in a 300°F oven until heated through for a crisper crust. The microwave is faster, but it softens the pastry.
Questions That Come Up Before the First Slice
Homemade Apple Pie
Ingredients
Equipment
Method
- Whisk the flour and salt in a large bowl.
- Cut in the cold butter with a pastry cutter or your fingertips until the largest pieces are about pea-size.
- Sprinkle the ice water over the mixture and toss with a fork until it holds together when pressed.
- Divide the dough in half and shape each half into a disk.
- Wrap the disks and refrigerate for at least 1 hour.
- Toss the apples with the sugar, cornstarch, cinnamon, nutmeg, and lemon juice in a large bowl until evenly coated.
- Heat the oven to 425°F with a rack in the lower third.
- Set a rimmed baking sheet on the rack to catch any drips.
- On a lightly floured surface, roll one dough disk into a 12-inch round.
- Fit the dough into a 9-inch pie plate.
- Add the apple filling, mounding it slightly in the center.
- Roll the second disk into an 11-inch round and place it over the filling.
- Trim both crusts to about 1 inch beyond the rim, fold the edges under, and crimp to seal.
- Cut several vents in the top crust.
- Beat the egg and brush it over the top crust.
- Place the pie on the baking sheet and bake for 20 minutes at 425°F.
- Reduce the oven to 375°F and bake for 40 to 50 minutes more, covering the crust edges with foil if they brown too quickly; the crust should be deeply golden and the filling should bubble through the vents.
- Cool the pie on a wire rack for at least 3 hours before slicing so the filling can set.