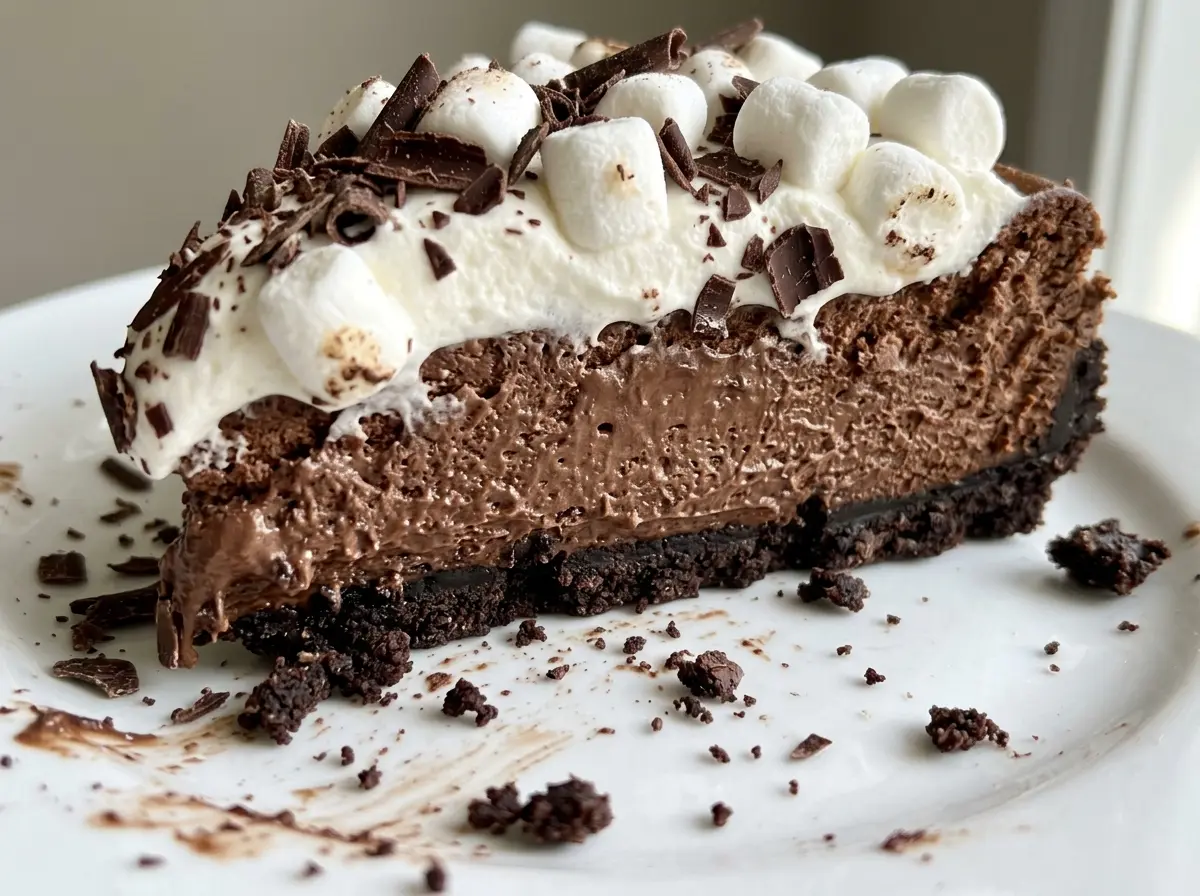
When I lift a cheesecake from its water bath, I look for set edges and a center that has reached the right temperature—not a browned top. That gentle bake is what gives Hot Chocolate Cheesecake its smooth, dense middle instead of a dry ring around the outside. The chocolate cookie crust adds a little snap under all that creamy filling.
The filling gets its hot cocoa flavor from a combination of sweetened hot cocoa mix, unsweetened cocoa powder, and melted semisweet chocolate. Each brings something different, so the finished cheesecake tastes like a mug of cocoa with a deeper chocolate finish, not just a sweet cream cheese cake. A slow cool in the turned-off oven helps it settle before the long chill, leaving a clean slice ready for whipped cream and mini marshmallows.
Kitchen Note
Wrap the springform pan in two layers of heavy-duty foil before it goes into the water bath. Check the foil for gaps around the bottom; even a small opening can let water seep into the cookie crust.
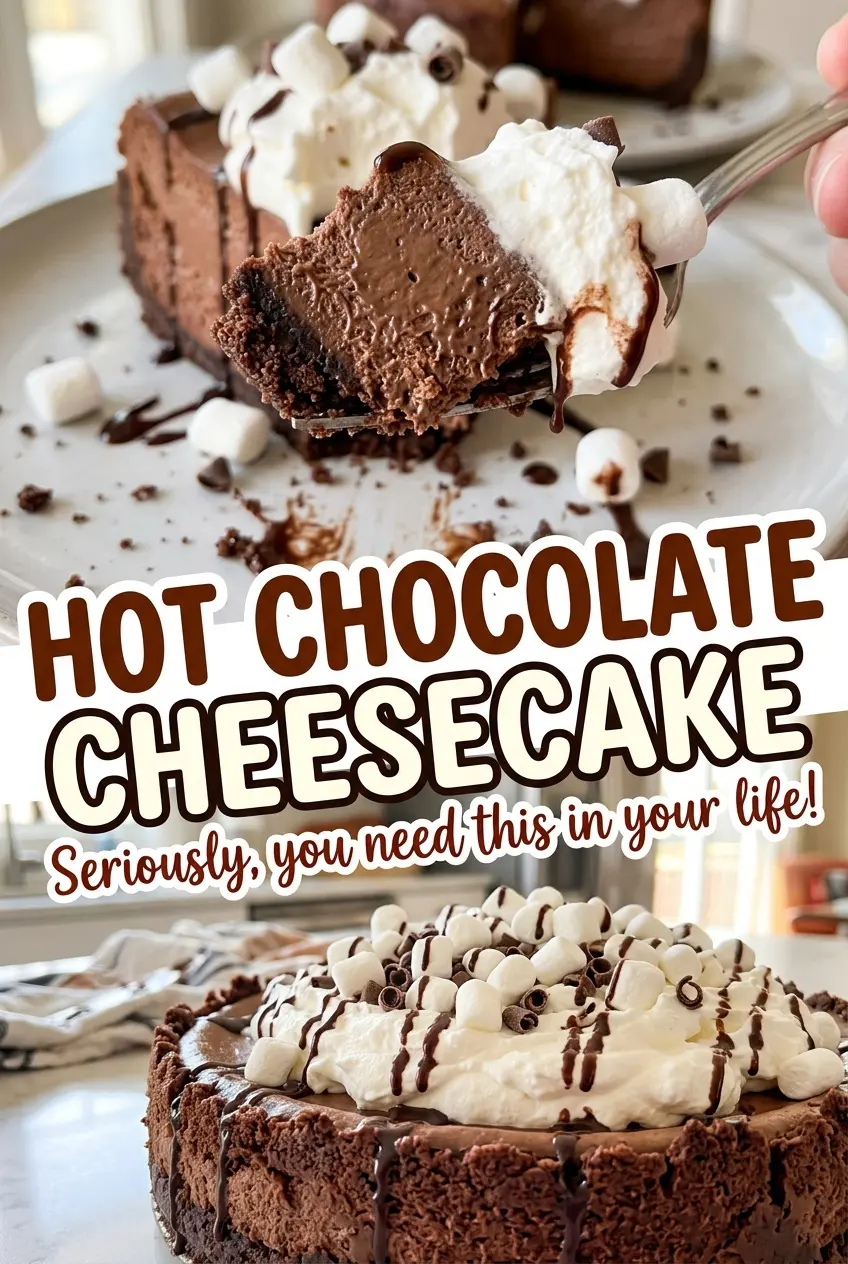
Save Hot Chocolate Cheesecake for a chocolate-forward dessert with a cookie crust, fluffy whipped cream, and mini marshmallows on top.
Why This Cheesecake Uses Three Kinds of Chocolate
Sweetened hot cocoa mix brings the familiar cocoa-shop flavor, but on its own it can make a cheesecake taste mostly sweet. Unsweetened cocoa powder adds a more direct cocoa note, while melted semisweet chocolate gives the filling richness and a rounded chocolate taste. They aren’t interchangeable, and using all three keeps the flavor from landing at either extreme: sugary and mild or dark and bitter.
That balance also matters once the cold whipped cream and mini marshmallows go on top. The topping is sweet and light, so the filling needs enough chocolate character to hold its own. I keep the chocolate choices simple: plain sweetened cocoa mix, unsweetened cocoa, and semisweet chocolate. A flavored cocoa packet or a much sweeter chocolate changes the balance, and the result won’t taste as much like hot chocolate.
The chocolate cookie crust is part of that contrast, too. Its crisp, slightly salty base gives the creamy filling a firm bite rather than letting every layer blur together. Press it into an even layer so each slice has crust from edge to edge.
What to Know About the Cocoa, Chocolate, and Cream Cheese
- Chocolate cookie crumbs — Plain chocolate cookies make a sturdy crust without introducing a second filling or flavor. If you need a gluten-free version, use gluten-free chocolate wafer cookies, crushed to crumbs; the texture will be a little different, but they work in the same crust.
- Cream cheese — Let it soften before mixing so it turns smooth without prolonged beating. Block cream cheese is the best choice here; whipped or spreadable cream cheese has a looser texture and can leave the filling softer than intended.
- Sweetened hot cocoa mix and unsweetened cocoa powder — Use a regular sweetened cocoa mix rather than a sugar-free or strongly flavored version, since the mix contributes sweetness as well as cocoa flavor. The unsweetened powder supplies a more concentrated chocolate note; a basic grocery-store cocoa powder is fine.
- Semisweet chocolate — A standard semisweet baking chocolate works well; an expensive bar isn’t necessary. Melt it and let it cool slightly before mixing it in so it blends smoothly without warming the cream cheese mixture.
- Eggs — Room-temperature eggs blend into the filling more evenly than cold ones. Add them one at a time on low speed; beating them in quickly or all at once makes it easier to incorporate excess air.
- Sour cream — Room-temperature sour cream mixes in without leaving cool streaks. Plain, full-fat Greek yogurt can replace it in the same amount for a tangier filling with a slightly less rich texture.
- Heavy cream — Keep it cold until you’re ready to whip it, and use a chilled bowl to help it reach firm peaks. Powdered sugar dissolves smoothly in the topping, so there’s no graininess in the finished cream.
Building the Crust and Baking the Filling Gently
Press and bake an even cookie base
Heat the oven to 350°F and grease a 9-inch springform pan. Stir the chocolate cookie crumbs with melted butter and kosher salt until the crumbs are evenly moistened, then press them firmly across the bottom of the pan. Bake for 10 minutes and set the crust aside to cool. A loose, uneven layer can crumble when sliced, so take a moment to press the edges level with the center.
Mix the chocolate filling without whipping in air
Lower the oven temperature to 325°F, wrap the outside of the pan in two layers of heavy-duty foil, and place it in a deep roasting pan. Beat the softened cream cheese and sugar until smooth, then mix in the hot cocoa mix and cocoa powder. Blend in the melted chocolate, then add the room-temperature eggs one at a time on low speed. Mix in the sour cream and vanilla just until combined; stop when the filling looks uniform rather than continuing to beat it.
Set up the water bath
Pour the filling over the cooled crust and smooth it into an even layer. Set the roasting pan in place, then carefully pour boiling water into it until the water reaches halfway up the sides of the springform pan. The bath surrounds the cheesecake with gentle, steady heat as it bakes. Keep the water below the top edge of the foil-wrapped pan.
Bake, then let the cheesecake cool slowly
Bake for 80 to 100 minutes, until the edges are set and an instant-read thermometer inserted in the center reads 160°F. When the cheesecake reaches that point, turn off the oven and prop the door open slightly; leave the pan inside for 1 hour. Lift the springform pan out of the water bath, remove the foil, and cool it on a rack for 1 hour. Cover and refrigerate for at least 6 hours before adding the topping.
Finish with whipped cream and marshmallows
Once the cheesecake is chilled, whip the cold heavy cream with powdered sugar and vanilla in a chilled bowl until firm peaks form. Stop whipping when the cream holds its shape; if you keep going, it can turn grainy. Spread the whipped cream over the cheesecake, then scatter the mini marshmallows over the top. Keep the topping light and even so it’s easy to cut clean slices.
Two Simple Ways to Adapt Hot Chocolate Cheesecake
Make the cookie crust gluten-free
Replace the chocolate cookie crumbs with the same volume of gluten-free chocolate wafer cookie crumbs, then mix and bake the crust the same way. The base may be a touch more delicate, but it keeps the chocolate-cookie flavor and gives the cheesecake a gluten-free crust.
Use Greek yogurt for a tangier filling
Swap plain, full-fat Greek yogurt for the sour cream, using the same amount and bringing it to room temperature first. The cheesecake will have a little more tang and feel slightly less rich, while keeping the creamy texture.
Storage and Serving
- Refrigerator: Keep the covered cheesecake refrigerated for up to 4 days. The whipped topping gradually softens, but the slices remain creamy.
- Freezer: Freeze the cheesecake without the whipped cream and marshmallows. Wrap it well and freeze for up to 2 months; thaw it in the refrigerator, then add the topping.
- Serving: Serve chilled. Don’t microwave slices; the filling softens unevenly and the whipped cream loses its shape.
Questions That Come Up When Baking This Cheesecake
Hot Chocolate Cheesecake
Ingredients
Equipment
Method
- Heat the oven to 350°F.
- Grease a 9-inch springform pan.
- Stir together the chocolate cookie crumbs, melted unsalted butter, and kosher salt.
- Press the mixture firmly into the bottom of the pan.
- Bake the crust for 10 minutes.
- Set the crust aside to cool.
- Reduce the oven temperature to 325°F.
- Wrap the outside of the springform pan in two layers of heavy-duty foil.
- Set the wrapped pan in a deep roasting pan.
- Beat the softened cream cheese and granulated sugar in a large bowl until smooth.
- Mix in the sweetened hot cocoa mix and unsweetened cocoa powder.
- Mix in the melted semisweet chocolate, cooled slightly.
- Beat in the room-temperature eggs one at a time on low speed.
- Mix in the room-temperature sour cream and vanilla extract just until combined.
- Pour the filling over the crust.
- Pour boiling water into the roasting pan until it reaches halfway up the sides of the springform pan.
- Bake for 80 to 100 minutes, until the edges are set and an instant-read thermometer inserted in the center reads 160°F.
- Turn off the oven.
- Prop the oven door open slightly.
- Leave the cheesecake inside for 1 hour.
- Lift the springform pan out of the water bath.
- Remove the foil.
- Cool the cheesecake on a rack for 1 hour.
- Cover and refrigerate for at least 6 hours.
- Whip the cold heavy cream, powdered sugar, and vanilla extract in a chilled bowl until firm peaks form.
- Spread the whipped cream over the chilled cheesecake.
- Top with the mini marshmallows.