The edges of a cheesecake can look ready while the middle still trembles when you nudge the pan. That little wobble used to make me want to leave it in longer, but this Hot Chocolate Cheesecake needs a gentle finish, not extra time in a hot oven. The filling sets as it cools, and the result is dense and creamy instead of dry around the edges.
Here, sweetened hot cocoa mix brings the familiar hot-chocolate taste, while unsweetened cocoa deepens the chocolate without relying on the mix alone. I bake the cheesecake in a water bath, then let it cool gradually before chilling it thoroughly. A soft marshmallow-cream topping goes on just before serving, like the billowy cap on a mug of cocoa.
Kitchen Note
Bring the cream cheese, eggs, and sour cream to room temperature before mixing. Cold ingredients don’t blend as smoothly, and you can end up beating the filling longer to chase lumps.
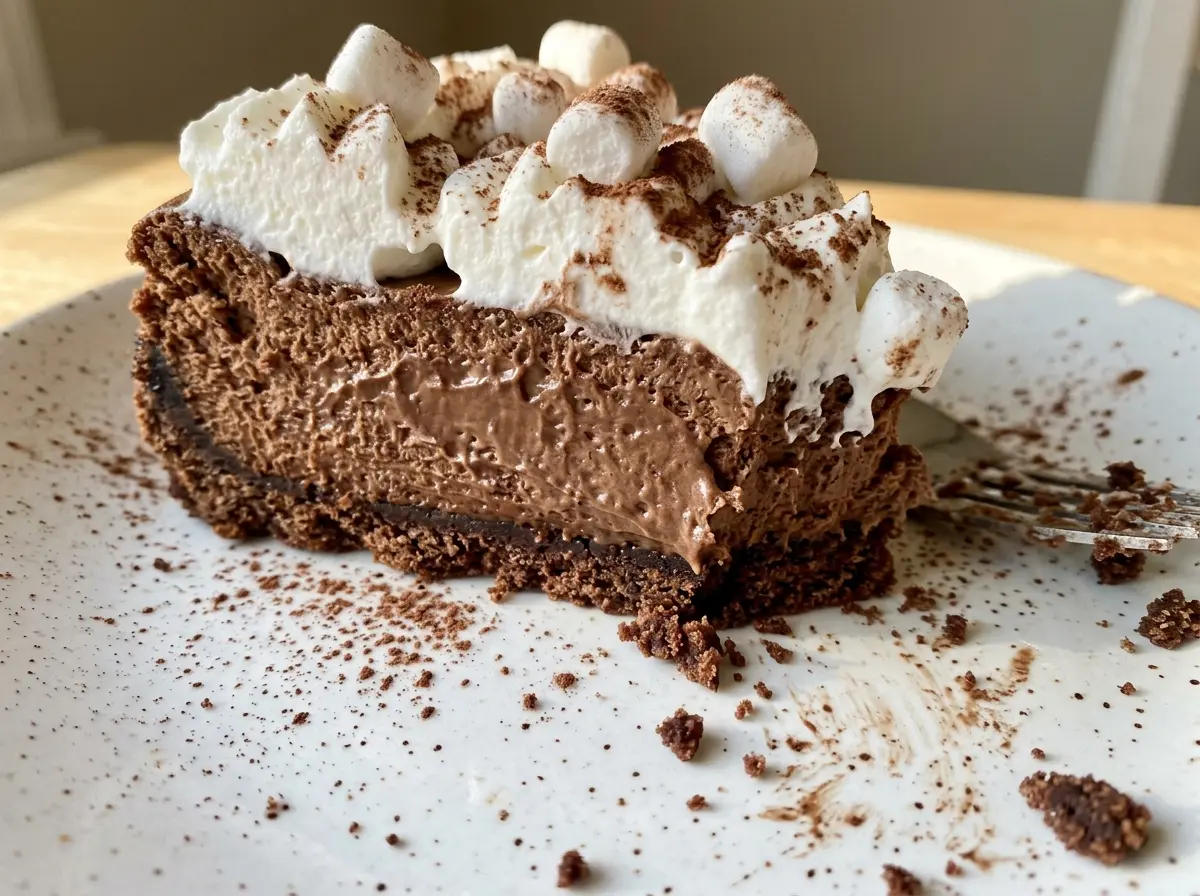
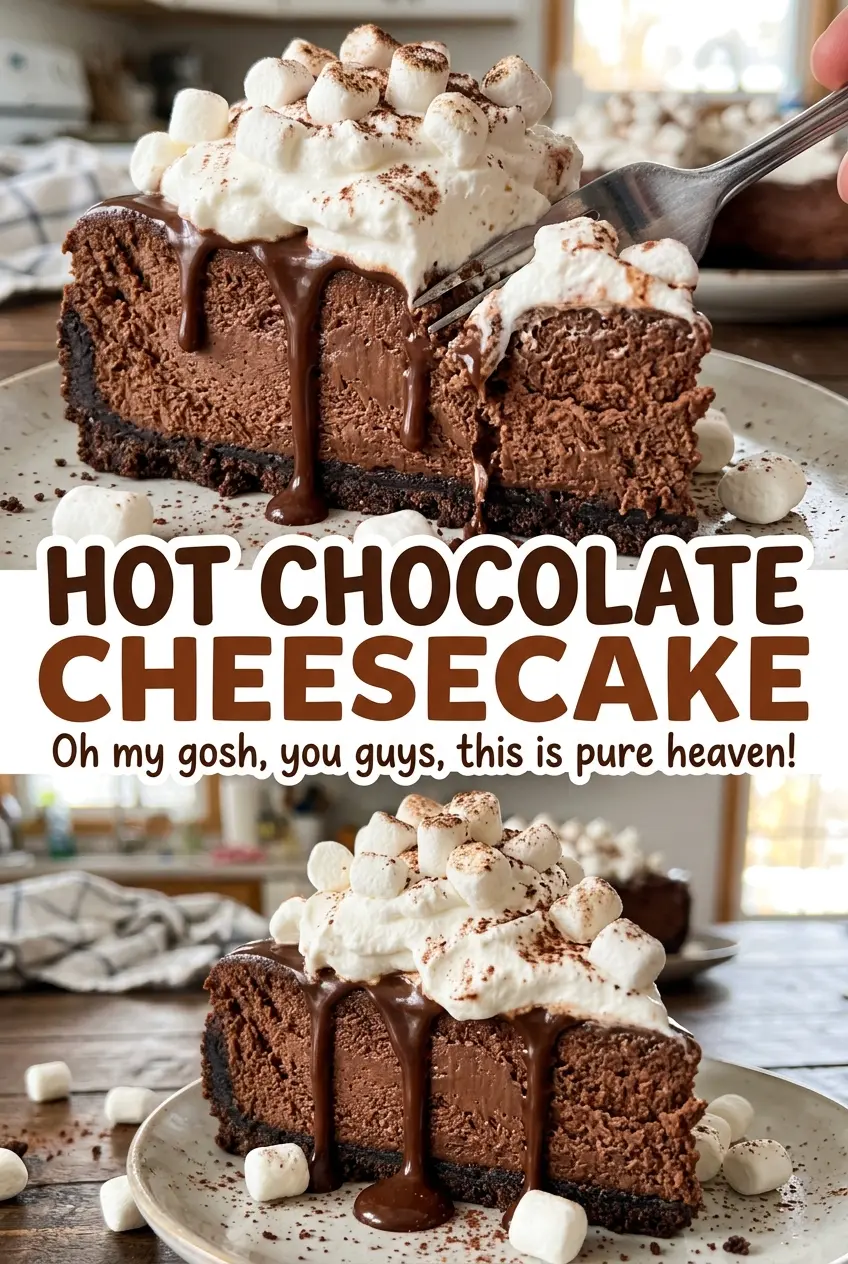
Save this Hot Chocolate Cheesecake for a chocolate-forward dessert with a cool, fluffy marshmallow topping and a crisp chocolate wafer crust.
Why This Cheesecake Needs a Water Bath, Not Just a Lower Oven
Cheesecake filling is rich and fairly delicate, so direct oven heat can set the outside well before the center is ready. The water bath surrounds the springform pan with gentle, steady heat. That gives the edges time to set without forcing the whole filling to bake at the same pace, which helps avoid a firm, overbaked rim beside a soft center.
The foil matters because a springform pan has a seam where the base and sides meet. Two layers of heavy-duty foil around the outside help keep water from working its way into the crust during the long bake. Pour the boiling water into the roasting pan only after it is sitting on the oven rack; moving a pan filled with hot water is an easy way to splash yourself. The bath is a little extra setup, but it gives this tall, creamy filling a more even bake.
Why the Cocoa Mix and Cocoa Powder Both Belong in the Filling
- Chocolate wafer crumbs give the crust a chocolate base that holds together with melted butter. Use fine, even crumbs so they press into a compact layer; larger pieces can leave weak spots. There isn’t a direct swap in this version that keeps the same chocolate flavor and texture.
- Sweetened hot cocoa mix gives the filling its recognizable cocoa-drink sweetness. Mixes vary by brand, so choose one you enjoy drinking; it contributes more than plain chocolate flavor. Replacing it with unsweetened cocoa alone would remove its sweetness and change the balance.
- Unsweetened cocoa powder adds a deeper chocolate note alongside the sweet mix. A fresh, unsweetened powder is useful here because the mix is already sweetened. Keep the two separate ingredients in the filling rather than treating them as interchangeable.
- Cream cheese is the structure and creamy body of the filling. Let it soften enough to beat smooth; firm lumps are difficult to work out once the eggs are in. This is not a good place for a one-for-one replacement if you want classic cheesecake texture.
- Eggs and sour cream help make the filling set while keeping it rich and smooth. Room-temperature ingredients blend more evenly, and sour cream brings a gentle tang against the cocoa. The eggs should go in one at a time so the mixture stays cohesive.
- Marshmallow creme and heavy cream make the soft topping. Cold heavy cream whips properly, while loosening the marshmallow creme first helps it blend in smoothly. Use cream straight from the refrigerator for this part.
Building the Crust, Smooth Filling, and Slow-Cooled Center
Press and Prebake the Wafer Crust
Heat the oven to 325°F and grease a 9-inch springform pan. Wrap the outside of the pan in two layers of heavy-duty foil, then set it in a large roasting pan. Stir the chocolate wafer crumbs with the sugar and melted butter until all the crumbs look evenly moistened, then press the mixture firmly over the bottom and about 1 inch up the sides. Bake the crust for 10 minutes and let it cool while you prepare the filling.
Mix the Filling Without Beating It Fluffy
Beat the cream cheese with an electric mixer on medium speed until it looks smooth. Add the sugar, hot cocoa mix, and unsweetened cocoa, then mix on low just until combined, scraping the bowl as needed so no pockets of dry cocoa remain. Add the eggs one at a time on low speed, then mix in the sour cream and vanilla just until smooth. Stop as soon as the filling is uniform; it doesn’t need extra whipping.
Bake Gently in the Water Bath
Pour the filling over the cooled crust and smooth the surface. Put the roasting pan on the oven rack, then carefully pour boiling water into it until it reaches halfway up the sides of the springform pan. Bake for 65 to 80 minutes. The edges should be set, while the center still jiggles slightly when you nudge the pan.
Let the Cheesecake Cool in Stages
Turn off the oven, crack the door open, and leave the cheesecake inside for 1 hour. This gradual change in temperature is gentler than moving the hot pan straight onto a cool counter. Lift the springform pan out of the water bath, remove the foil, and cool the cheesecake on a rack until it reaches room temperature, about 1 hour. Cover it and refrigerate for at least 6 hours, until thoroughly chilled.
Whip and Add the Marshmallow Topping
Whisk the marshmallow creme in a chilled bowl to loosen it. Whisk in the cold heavy cream a tablespoon at a time until the mixture is smooth, then beat on medium-high speed until medium-stiff peaks form. Release the chilled cheesecake from the springform pan before adding the topping. Spread it over the top or pipe it on just before serving.
Two Easy Ways to Change the Finish Without Losing the Cocoa Flavor
Leave the Marshmallow Topping Off
For a less sweet, more chocolate-forward slice, leave off the topping and serve the chilled cheesecake plain. The filling and wafer crust still make a complete dessert, with a denser, simpler finish. This is the easiest option if you want to prepare the cheesecake without whipping anything at the last minute.
Keep the Wafer Crust on the Bottom
Press the crust mixture over the pan bottom rather than bringing it up the sides. You’ll get a cleaner view of the chocolate filling around each slice and a different balance of crust to cheesecake. Keep the crust mixture and bake time the same; the change is where you press it in the pan.
Add Topping Slice by Slice
Instead of covering the whole cheesecake, add the marshmallow topping to each slice as you serve it. The presentation feels more like a mug of cocoa with a fresh cloud on top, and the remaining cheesecake stays plain. Make the topping as described and use it while it still holds its soft peaks.
Storage and Reheating
- Refrigerator: Keep the cheesecake covered and refrigerated for 3 to 4 days. The topping may soften as it sits, so the cleanest slices come when you add it close to serving.
- Freezer: Freeze the cheesecake without the topping for up to 1 month, wrapped tightly. Thaw it in the refrigerator overnight; add freshly whipped topping before serving.
- Reheating: Don’t reheat cheesecake. Serve it chilled; warming softens the filling and causes the whipped topping to lose its shape.
Questions That Come Up With Hot Chocolate Cheesecake
Hot Chocolate Cheesecake
Ingredients
Equipment
Method
- Heat the oven to 325°F.
- Grease a 9-inch springform pan.
- Wrap the outside of the pan with two layers of heavy-duty foil.
- Set the wrapped pan in a large roasting pan.
- Stir the chocolate wafer crumbs, sugar, and melted butter together until evenly moistened.
- Press the crumb mixture firmly over the bottom and about 1 inch up the sides of the springform pan.
- Bake the crust for 10 minutes, then cool it while you make the filling.
- Beat the cream cheese in a large bowl with an electric mixer on medium speed until smooth.
- Add the sugar, hot cocoa mix, and cocoa powder, and beat on low just until combined, scraping the bowl as needed.
- Beat in the eggs one at a time on low speed.
- Mix in the sour cream and vanilla just until smooth.
- Pour the filling over the crust and smooth the top.
- Set the roasting pan on the oven rack.
- Carefully pour boiling water into the roasting pan until the water reaches halfway up the sides of the springform pan.
- Bake for 65 to 80 minutes, until the edges are set and the center still jiggles slightly when the pan is nudged.
- Turn off the oven and crack the door open.
- Leave the cheesecake inside for 1 hour.
- Lift the springform pan out of the water bath and remove the foil.
- Cool the cheesecake on a rack until it reaches room temperature, about 1 hour.
- Cover and refrigerate for at least 6 hours, until thoroughly chilled.
- Whisk the marshmallow creme in a chilled bowl to loosen it.
- Whisk in the cold heavy cream a tablespoon at a time until smooth.
- Beat on medium-high speed until medium-stiff peaks form.
- Release the chilled cheesecake from the springform pan.
- Spread or pipe the marshmallow topping over the cheesecake before serving.