The syrup changes from a clear, quiet simmer to a steady stream of hot sugar that disappears into the mixer bowl. That moment can feel fast, but homemade marshmallows are manageable when the pan is ready and the gelatin has had time to bloom. The whisk turns the syrup and gelatin into a thick, glossy white mixture that starts holding its shape before you may expect, so keep a lightly coated spatula close by.
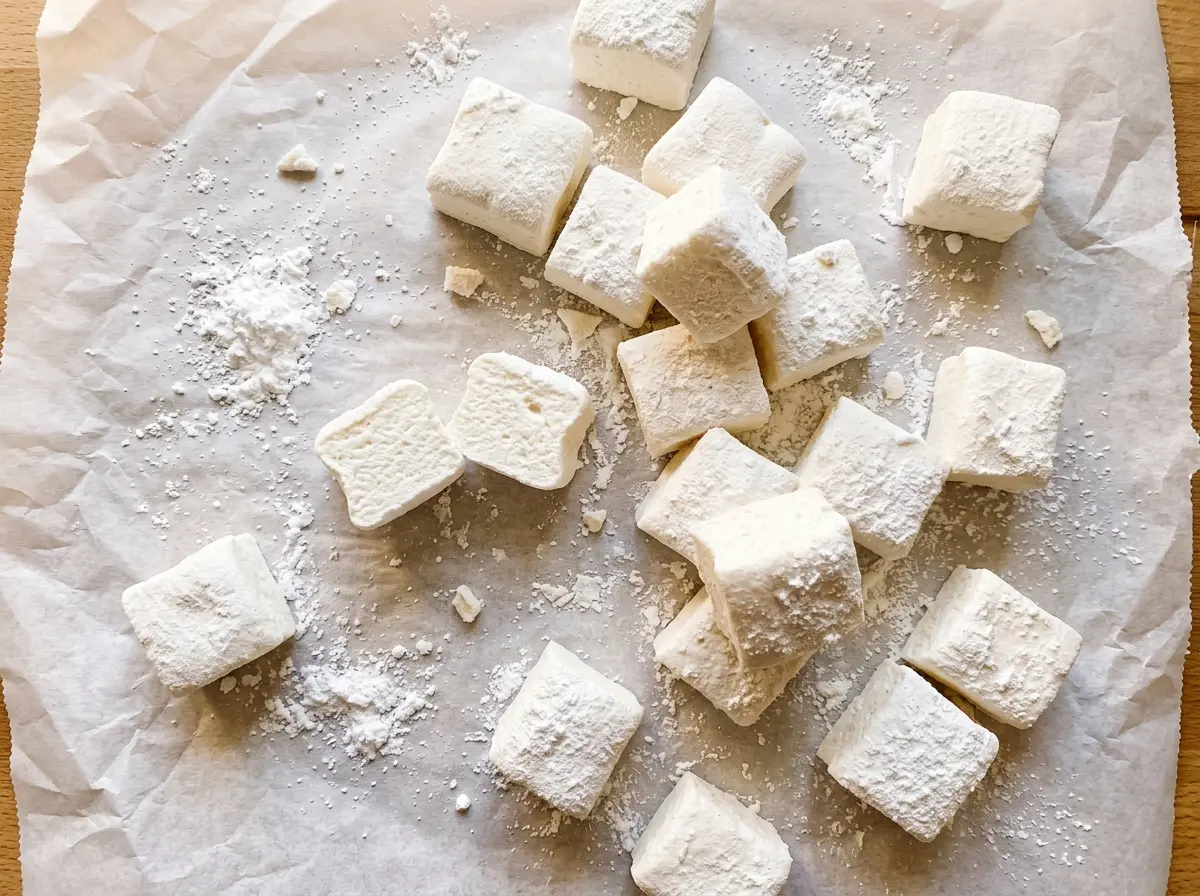
These marshmallows set into a slab you can cut into soft squares, then coat on every side so they stay separate. The powdered sugar and cornstarch coating has a practical job as well as a sweet finish: it keeps the cut faces from turning tacky against one another. Cut into pieces about 1 1/2 inches across, one batch yields 48 vanilla-scented marshmallows with a tender, springy chew.
Kitchen Note
The 8-to-12-minute cook time is a guide, not the finish line. Keep an eye on the candy thermometer and let the syrup reach 240°F; taking it off early can leave you with marshmallows that don’t set as firmly.
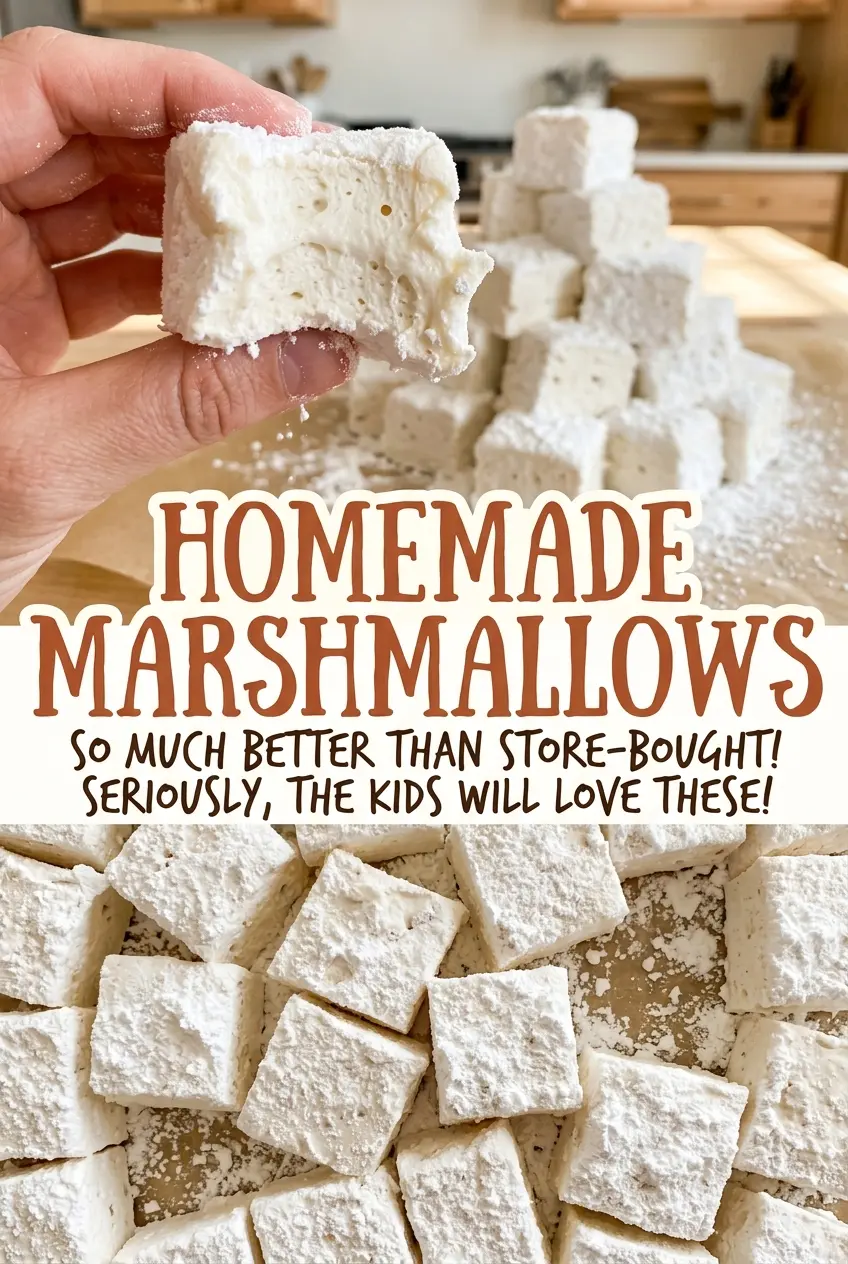
Save these homemade marshmallows for a batch of soft, vanilla-scented squares that you can cut to any size.
Why a 5-Quart Mixer Bowl Matters Once the Syrup Goes In
The whipped mixture expands as air is beaten into it, and a small bowl can get crowded fast. A 5-quart stand mixer bowl gives the marshmallow room to rise while the whisk works at high speed. That extra space also helps keep the hot syrup contained as you pour it in a thin stream; a bowl filled to the rim leaves little margin for careful mixing.
Have the mixer set up before you start cooking the syrup. The syrup needs to go straight from the saucepan into the gelatin while the mixer is running, so there isn’t a good moment to stop and switch bowls or attachments. A whisk attachment gives the mixture the steady, even beating it needs to become thick and glossy. Keep the pan and mixer close enough that you can pour slowly without reaching across the counter.
What Gives These Marshmallows Their Set and Their Nonstick Finish
- Unflavored gelatin — It gives the whipped mixture its springy set. Sprinkle it evenly over cold water so it hydrates rather than clumping in one spot. There isn’t a direct swap that gives the same texture; agar sets differently and won’t produce this same marshmallow chew.
- Light corn syrup — This helps keep the cooked sugar syrup smooth and reduces the chance of crystallization. It has a specific job here, so changing to a different sweetener can affect both the syrup’s behavior and the finished texture.
- Granulated sugar — The sugar builds the candy structure along with the syrup. Keep it as granulated sugar and measure it accurately; reducing it changes the balance the gelatin is setting.
- Vanilla extract — It gives the marshmallows their familiar vanilla flavor. A good-quality extract is noticeable in such a simple candy, but the amount matters more than choosing an expensive bottle.
- Powdered sugar and cornstarch — Together, they make a dry coating that keeps the slab and cut pieces from sticking. Keep both in the mixture; powdered sugar alone is sweeter and doesn’t give the same dry, protective finish.
- Neutral oil — A thin coating helps the marshmallow slab release from the pan. Use an oil without a pronounced flavor so it doesn’t compete with the vanilla.
- Kosher salt and cold water — The salt balances the sweetness, while cold water gives the gelatin a chance to hydrate before the hot syrup arrives. Measure the water carefully because it is divided between blooming the gelatin and cooking the syrup.
From Bloomed Gelatin to Clean-Cut Squares
Prepare the Pan and Bloom the Gelatin
Stir the powdered sugar and cornstarch together in a small bowl. Brush a 9×13-inch baking pan with neutral oil, dust the bottom and sides with some of the coating, and reserve the rest. Pour 1/2 cup cold water into the bowl of a 5-quart stand mixer fitted with the whisk attachment, then sprinkle the gelatin evenly over the water. Let it stand for 10 minutes while you prepare the syrup.
Cook the Syrup Without Stirring
Combine the remaining 1/2 cup cold water, granulated sugar, light corn syrup, and kosher salt in a 3-quart heavy saucepan. Stir over medium heat just until the sugar dissolves. Then cook without stirring until a candy thermometer reads 240°F, about 8 to 12 minutes. Keep the thermometer in view as the syrup cooks, since the temperature—not the clock—is the cue to move on.
Pour Slowly, Then Whip Until Glossy
With the mixer on low, carefully pour the hot syrup into the gelatin in a thin, steady stream. Pouring too quickly can make it harder for the mixture to combine evenly, so keep the stream controlled rather than tipping the pan all at once. Increase the mixer speed to high and whip for 10 to 12 minutes, adding the vanilla during the last minute. The mixture is ready when it looks thick, white, and glossy and the bowl feels just warm.
Set the Slab Before Cutting
Scrape the marshmallow mixture into the prepared pan and spread it evenly with a lightly coated spatula. Dust the top with some of the reserved coating, then leave the pan uncovered at room temperature for at least 6 hours or overnight, until the slab is set. Dust a cutting board with coating, loosen the slab’s edges, and turn it out onto the board. Cut it into pieces about 1 1/2 inches across with a sharp knife lightly coated in the sugar-cornstarch mixture; toss the pieces in the remaining coating, separate them so every side is covered, and shake off the excess.
Different Cuts, Same Soft Marshmallow Center
Cut Smaller Pieces for More Bites
Once the slab is set, cut it into smaller squares instead of pieces about 1 1/2 inches across. Smaller pieces give you more portions, with more coated surface on each one, so toss them carefully to cover the cut sides.
Cut Long Marshmallow Strips
For a different shape, slice the set slab into long strips rather than squares. Use the same lightly coated knife and coat every side afterward; the strips have the same soft center, but their longer edges need a thorough toss in the coating to stay separate.
A Dairy-Free and Gluten-Free Base
The ingredients in this batch contain no dairy or wheat ingredients, so no swap is needed for those dietary preferences. The texture and vanilla flavor stay the same because the formula doesn’t change. These marshmallows do contain gelatin, so they aren’t vegetarian.
Keeping the Marshmallows Soft and Separate
- Room temperature: Store the coated marshmallows in an airtight container in a cool, dry place for up to 2 weeks. Skip the refrigerator, where moisture can make the coating tacky.
- Freezer: Freeze them in an airtight container with parchment between layers for up to 2 months. Thaw them in the closed container at room temperature to limit condensation on the coating.
- Serving: No reheating is needed. Serve them at room temperature; warming them can make the sugar coating sticky.
Questions That Come Up When the Syrup Hits the Gelatin
How to Make Homemade Marshmallows
Ingredients
Equipment
Method
- Stir the powdered sugar and cornstarch together in a small bowl.
- Brush a 9x13-inch baking pan with the neutral oil, dust the bottom and sides with some of the coating, and reserve the rest.
- Pour 1/2 cup of the cold water into the bowl of a 5-quart stand mixer fitted with the whisk attachment.
- Sprinkle the gelatin evenly over it and let stand for 10 minutes.
- In a 3-quart heavy saucepan, combine the remaining 1/2 cup cold water, granulated sugar, corn syrup, and salt.
- Stir over medium heat until the sugar dissolves.
- Cook without stirring until a candy thermometer reads 240°F, about 8 to 12 minutes.
- With the mixer on low, carefully pour the hot syrup in a thin stream into the gelatin.
- Increase the speed to high and whip for 10 to 12 minutes, adding the vanilla during the last minute, until the mixture is thick, white, and glossy and the bowl is just warm.
- Scrape the mixture into the prepared pan and spread it evenly with a lightly coated spatula.
- Dust the top with some of the reserved coating and leave uncovered at room temperature for at least 6 hours or overnight, until set.
- Dust a cutting board with coating, loosen the edges of the marshmallow slab, and turn it out onto the board.
- Cut into about 1 1/2-inch pieces with a sharp knife lightly coated in the sugar-cornstarch mixture.
- Toss the marshmallows in the remaining coating, separating them so all sides are covered, and shake off the excess.