When the butter and sugars turn light and fluffy, the bowl smells warm and caramel-like. Then the maple syrup goes in, and the dough becomes softer than a plain sugar-cookie dough. That’s why I give these maple cookies with maple icing a full chill before scooping; the dough is easier to handle and bakes into cookies with set edges and soft centers.
The maple flavor comes through in both the cookies and the icing, so each bite gets a clear maple finish rather than just a hint of sweetness. I keep the cookies simple and let the smooth icing do the decorating. Once it sets, you get a tender cookie with a thin, sweet maple topping.
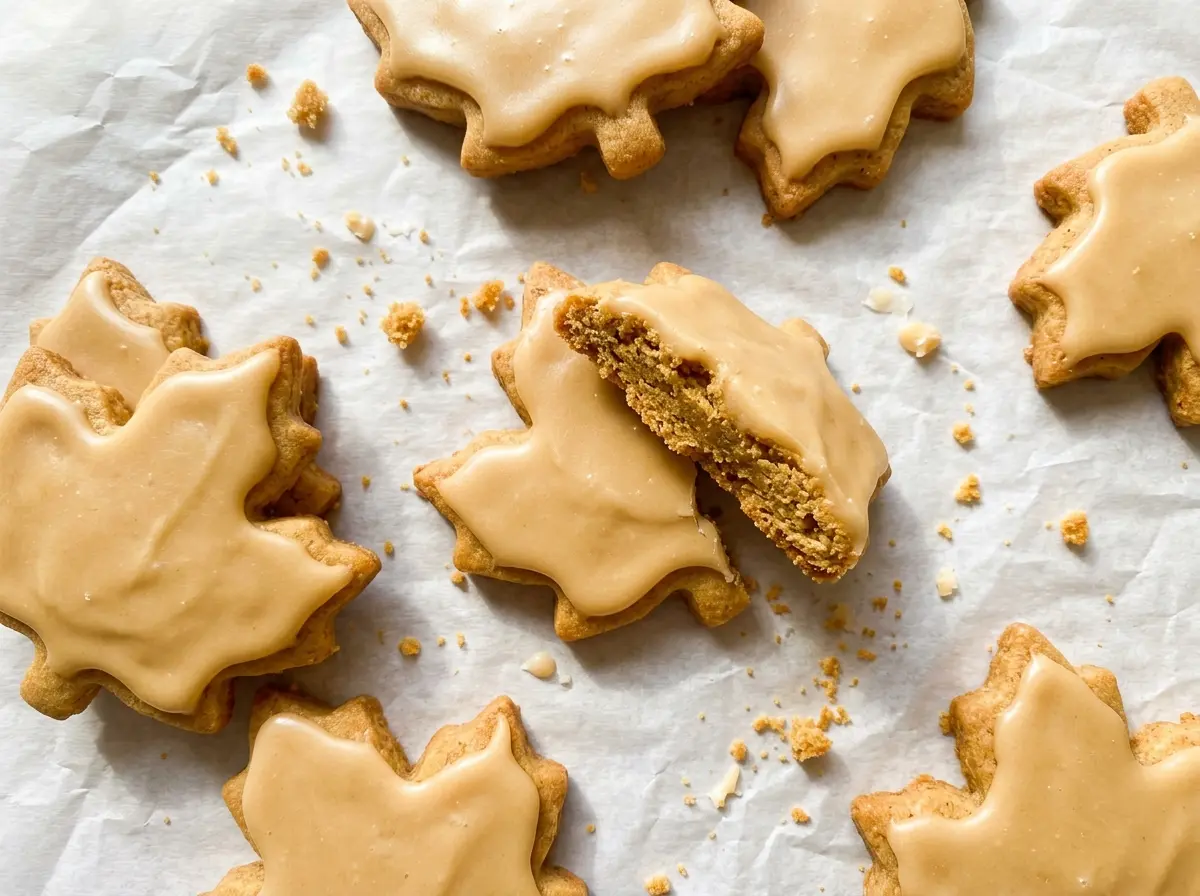
Kitchen Note
Let the baking sheet cool between batches. A warm sheet starts softening the next portions before they go into the oven, which can make the cookies bake less evenly.
Save these maple cookies with maple icing for a soft-centered cookie with a smooth, sweet maple finish.
Why Maple Syrup and Maple Extract Both Belong in These Cookies
Maple syrup and maple extract aren’t doing the same job. The syrup brings real maple flavor to the dough and gives the icing its maple character, while the extract adds a concentrated aroma that can still be noticed after baking. Using syrup alone can leave the cookie’s maple note quieter than you expect, especially alongside butter, flour, and sugar.
The balance matters because syrup also adds liquid to the dough. The extract strengthens the maple impression without asking you to add more syrup, which would change the dough’s moisture. I use pure maple syrup for both parts and keep the extract in the cookie dough. That combination gives the cookie a recognizable maple taste, with the icing carrying it through the last bite.
What Gives the Dough Its Soft Center and the Icing Its Clean Maple Finish
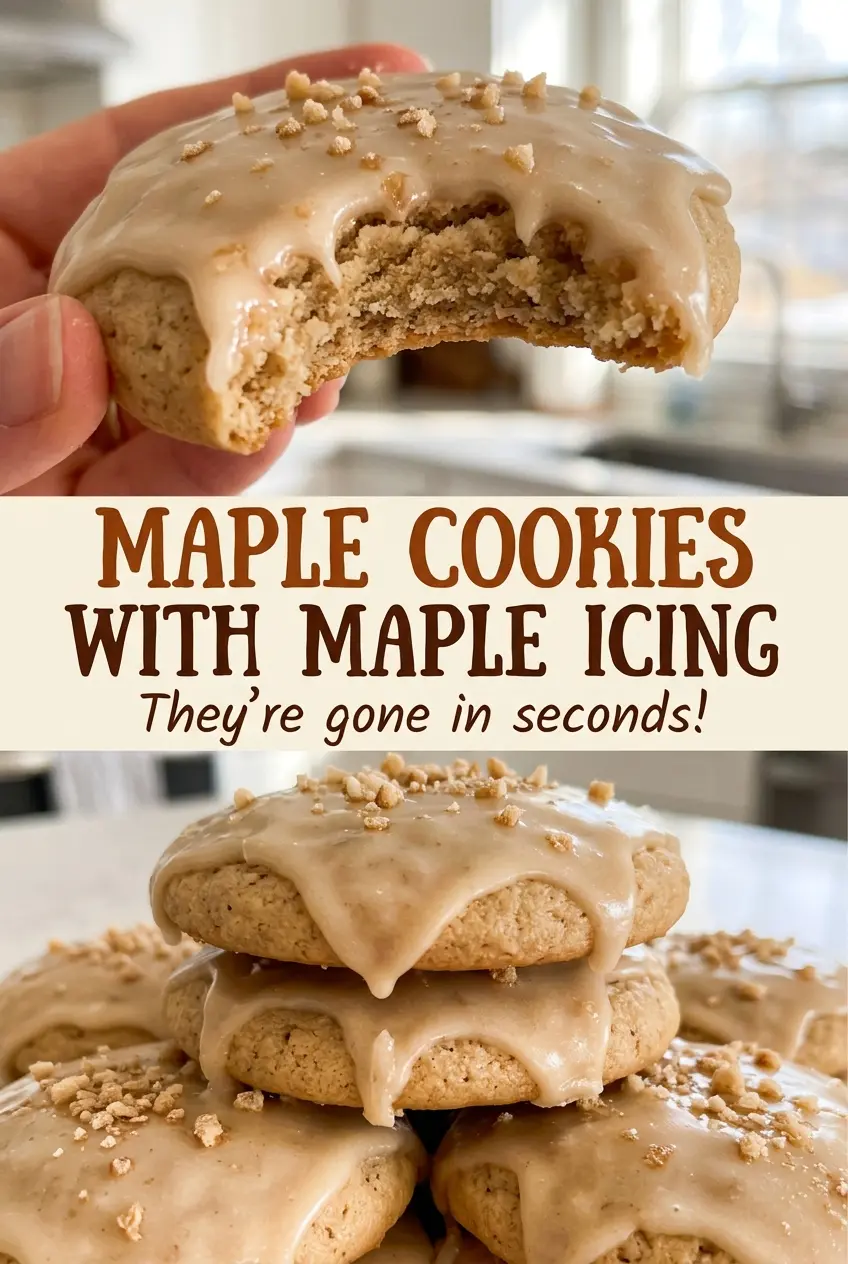
- All-purpose flour — It gives the cookies enough structure to hold their shape while staying tender. A cup-for-cup gluten-free baking blend is the most practical alternative; choose one formulated for baking, ideally with xanthan gum already included.
- Unsalted butter — Softened butter creams smoothly with the sugars and makes the dough easy to mix. Unsalted butter also lets the listed salt level stay controlled. For a dairy-free batch, use a firm plant-based baking stick rather than a soft tub spread.
- Light brown and granulated sugars — Brown sugar adds a softer, moister quality, while granulated sugar keeps the cookies from tasting heavy. Pack the brown sugar when measuring it; a loose scoop gives you less than intended.
- Egg — The egg binds the dough and helps the cookies set. Use a large egg as listed; a smaller egg can leave the mixture drier and harder to bring together.
- Pure maple syrup — Choose pure maple syrup, not pancake syrup. The syrup’s flavor matters in both the cookie and the icing, and pancake syrup brings a different sweetness and taste rather than a close match.
- Maple extract — A small amount gives the baked cookies a more distinct maple aroma. It’s worth keeping in the recipe; leaving it out makes the maple flavor more subdued.
- Confectioners’ sugar and milk — Confectioners’ sugar makes a smooth, opaque icing, and milk loosens it enough to spread. For a dairy-free version, unsweetened plant milk works in place of the milk without changing the maple-forward character.
Mixing, Chilling, Baking, and Icing Without Guesswork
Build a light, evenly mixed dough
Heat the oven to 350°F and line an 18×13-inch baking sheet with parchment paper. Whisk the flour, baking soda, and salt in a medium bowl so the leavener is distributed before it reaches the dough. In a large bowl, beat the softened butter with both sugars until light and fluffy, about 2 minutes. Beat in the egg, the cookie portion of the maple syrup, and the maple extract until combined.
Stop mixing as soon as the flour disappears
Add the flour mixture on low speed and mix just until no dry streaks remain. Overmixing at this point can make cookies tougher, so don’t keep beating once the flour is incorporated. Cover the dough and chill it for 45 minutes. It should feel firmer and easier to portion after the rest.
Watch the edges, not just the clock
Scoop the dough into 1 1/2-tablespoon portions and set them about 2 inches apart on the prepared baking sheet. Bake in batches for 10–12 minutes, until the edges are set and lightly golden. If the centers still look soft, that’s fine; the edges are the clearest cue to use. Let the sheet cool between batches so each round starts on a cool surface.
Ice only after the cookies are completely cool
Leave the cookies on the baking sheet for 5 minutes, then transfer them to a wire rack to cool completely. Whisk the confectioners’ sugar with the remaining maple syrup and milk until the icing is smooth. Spread it over the cooled cookies; icing a warm cookie makes the topping melt and slide. Give the icing about 20 minutes to set before stacking or storing the cookies.
Three Ways to Change These Maple Cookies Without Losing Their Character
Make a gluten-free batch
Swap the all-purpose flour for a cup-for-cup gluten-free baking blend made for cookies or general baking. A blend with xanthan gum helps the cookies hold together; expect a slightly more delicate crumb than the all-purpose-flour version.
Make the cookies dairy-free
Use a firm dairy-free baking stick in place of the butter and unsweetened plant milk in the icing. The cookies will still have a soft center and maple icing, though the butter flavor will be less pronounced. Keep the egg and the other ingredients as listed.
Serve them without icing
Skip the icing for a less-sweet cookie that puts the maple dough front and center. The cookies will have a simpler finish and don’t need the icing’s setting time, which is handy if you’d rather serve them plain.
Storage and Reheating
- Refrigerator: Store the set, iced cookies in an airtight container for up to 5 days. The cookies will firm up when chilled; let them come to room temperature before serving.
- Freezer: Freeze the baked cookies without icing in an airtight container for up to 2 months. Thaw at room temperature, then make and spread the icing.
- Reheating: These cookies are best served at room temperature, so reheating isn’t needed. Don’t microwave iced cookies; the icing will melt and become messy.
Questions That Come Up When Baking Maple Cookies
Maple Cookies with Maple Icing
Ingredients
Equipment
Method
- Heat the oven to 350°F.
- Line an 18x13-inch baking sheet with parchment paper.
- Whisk the flour, baking soda, and salt together in a medium bowl.
- In a large bowl, beat the butter, brown sugar, and granulated sugar until light and fluffy, about 2 minutes.
- Beat in the egg, 1/4 cup maple syrup, and maple extract until combined.
- Add the flour mixture and mix on low just until no dry streaks remain.
- Cover the dough and chill it for 45 minutes.
- Scoop the dough into 1 1/2-tablespoon portions.
- Place the portions about 2 inches apart on the prepared baking sheet.
- Bake in batches for 10–12 minutes per batch, until the edges are set and lightly golden.
- Let the baking sheet cool between batches.
- Cool the cookies on the baking sheet for 5 minutes.
- Transfer the cookies to a wire rack to cool completely.
- Whisk the confectioners' sugar, remaining 2 tablespoons maple syrup, and milk in a medium bowl until smooth.
- Spread the icing over the cooled cookies.
- Let the icing set for about 20 minutes.