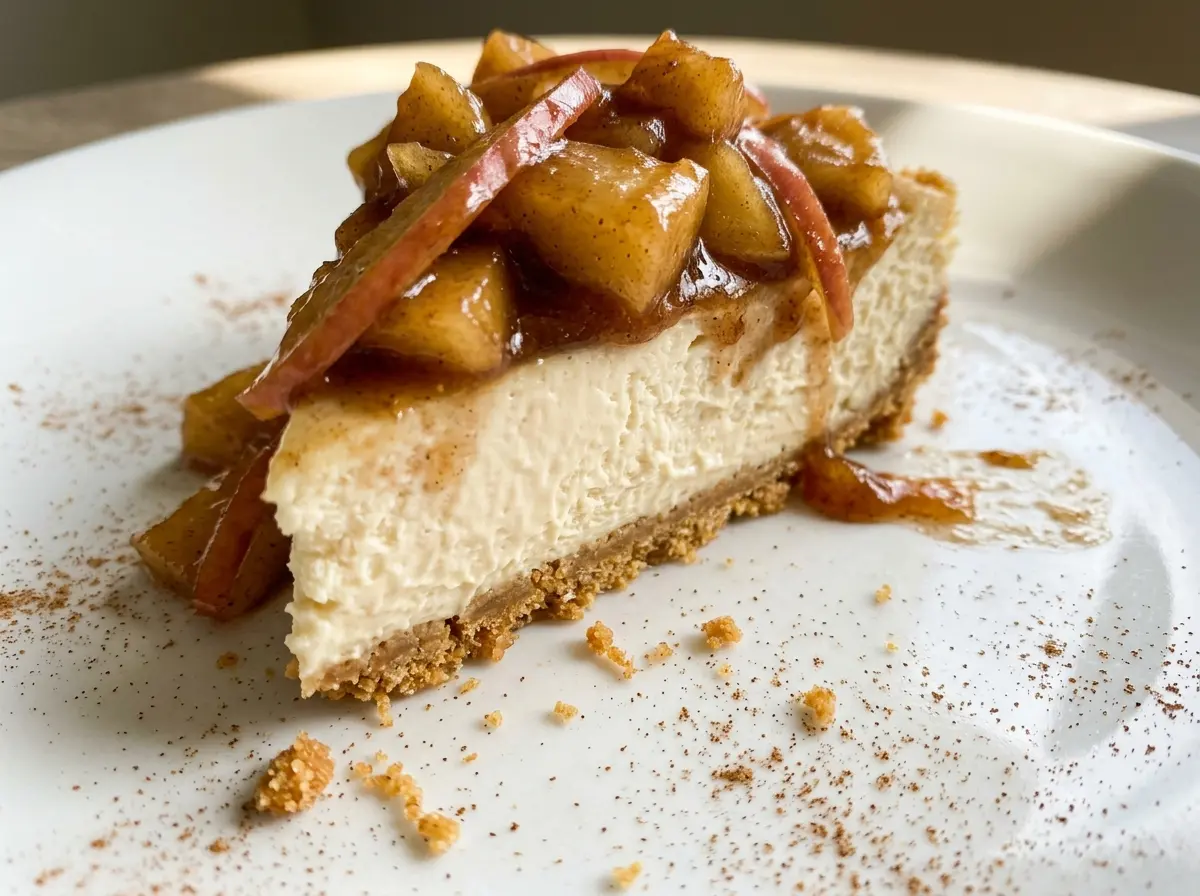
When the apples turn glossy in the saucepan, they’re close—but they should still keep their shape when you stir. That little cue matters on a chilled dessert, where a spoonful of soft, syrupy fruit can slide right off the top. I use that tender-but-firm apple topping for this No Bake Apple Pie Cheesecake, layered over a creamy filling and a buttery graham cracker crust.
The filling gets its light texture from whipped heavy cream, not from baking or gelatin. Beat the softened cream cheese until smooth first, then fold in the cream after whipping it to stiff peaks. That keeps the filling airy while giving it enough structure to chill into clean slices. With the topping cooled and the cheesecake fully set, every bite has a crisp crumb base, a cool creamy middle, and cinnamon apples on top.
Kitchen Note
Line the springform pan with parchment before pressing in the crumbs. It gives the chilled crust a clean surface to sit on when you release the sides, so the first slice is easier to lift.
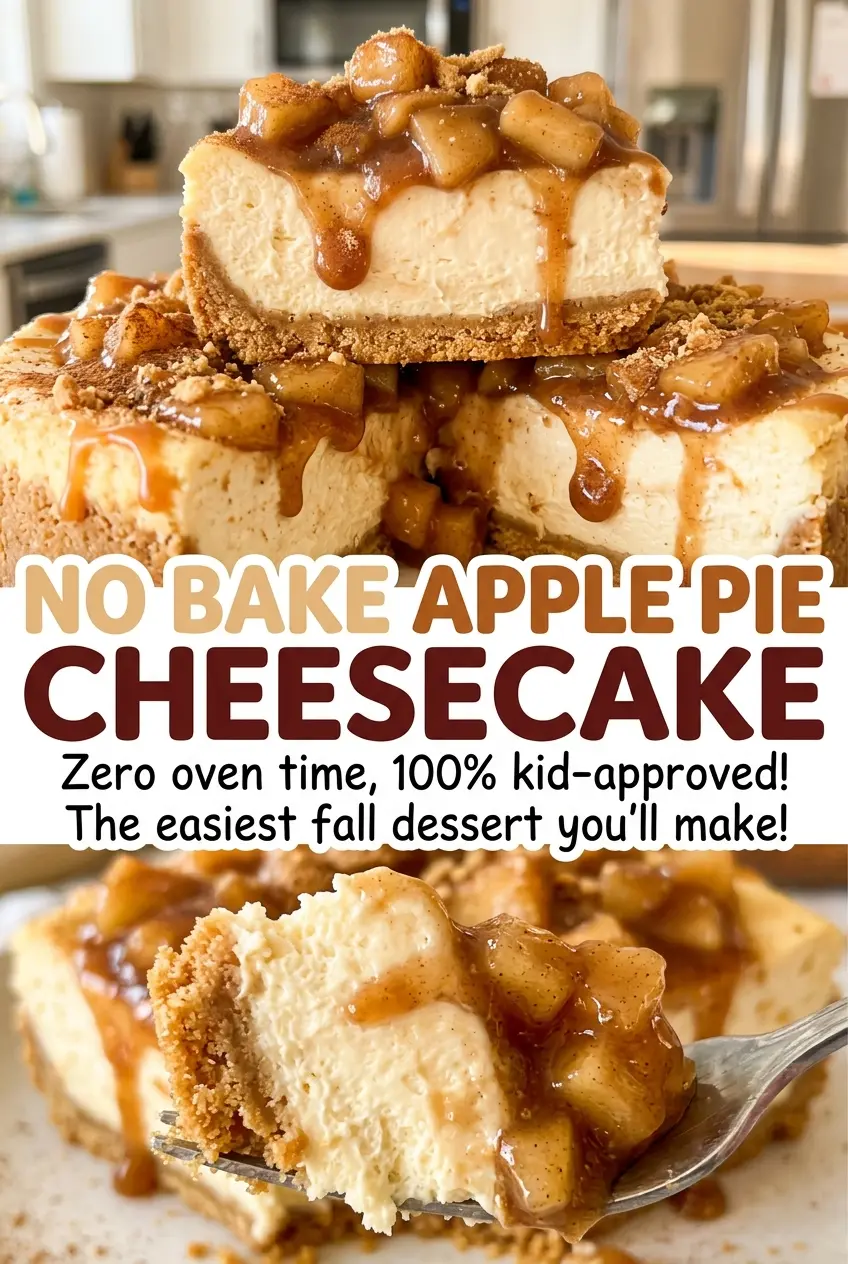
Save this No Bake Apple Pie Cheesecake for a make-ahead dessert with a cool, creamy center and cinnamon apples on top.
Why the Whipped Cream Is What Lets This Cheesecake Set
A no-bake filling needs structure without the help of an oven. Here, the cream cheese gives the filling its rich, smooth base, while whipped heavy cream brings in air and helps it hold its shape after a long chill. The cream has to reach stiff peaks before it goes into the cheese mixture; soft, loose peaks won’t give the filling as much support.
Beating the cream cheese mixture smooth before folding is just as useful. Any lumps left in the cheese are harder to work out once the whipped cream is added, and vigorous mixing at that stage can knock out the air you just whipped in. Fold until the streaks disappear, spread it over the packed crust, and let the refrigerator do the finishing work. The result is a cheesecake that’s creamy rather than dense, with enough body to hold the apple topping.
What Each Ingredient Brings to the Apple Cheesecake
- Graham cracker crumbs — Fine, evenly crushed crumbs make a compact crust that slices cleanly. Store-bought crumbs are convenient; if crushing whole crackers, aim for a sandy texture so there aren’t large pieces that crumble when you cut the cheesecake.
- Cream cheese — Let it soften before mixing so it beats smooth instead of leaving little lumps in the filling. Regular block-style cream cheese gives the mixture more body than whipped cream cheese, which isn’t a direct swap here.
- Cold heavy cream — It needs to be cold to whip to stiff peaks. Half-and-half won’t whip the same way, so it can’t replace the heavy cream and keep this filling’s structure.
- Apples — Choose apples that hold their shape as they cook; a firm, tart variety gives the topping a pleasant contrast to the sweet filling. Peel, core, and dice them evenly so the pieces soften at about the same pace.
- Lemon juice and cinnamon — Lemon juice brightens the cooked apples, while cinnamon gives the topping its apple-pie character. Keep the lemon juice in the mix; it balances the brown sugar rather than making the topping taste lemony.
- Cornstarch — Stir it with cold water before it goes into the saucepan. That smooth slurry thickens the apple juices without leaving dry pockets of starch in the topping.
Build the Crust, Filling, and Apple Topping in the Right Order
Pack and Chill the Graham Cracker Base
Lightly coat the sides of a 9-inch springform pan with nonstick cooking spray, then line the bottom with parchment paper. Stir the crumbs, melted butter, and granulated sugar until every crumb looks evenly moistened. Press the mixture firmly across the pan bottom so the crust holds together when sliced; loose patches are more likely to break apart. Refrigerate it for 20 minutes before adding the filling.
Whip the Cream Before Folding
Beat the softened cream cheese, powdered sugar, and vanilla until the mixture looks smooth and creamy. In a separate bowl, whip the cold heavy cream to stiff peaks; the peaks should stand rather than slump when the beaters are lifted. Fold the whipped cream into the cream cheese mixture until no streaks remain, using a gentle motion to keep the filling airy. Spread it evenly over the chilled crust and refrigerate for at least 6 hours or overnight, until firm.
Cook Apples Until Tender, Not Collapsed
Combine the diced apples, brown sugar, 1/4 cup water, lemon juice, and cinnamon in a medium saucepan. Cook over medium heat for 6 to 8 minutes, stirring occasionally, until the apples are tender but still hold their shape. In a small bowl, stir the cornstarch with 1 tablespoon cold water until smooth, then stir that mixture into the apples. Simmer for 1 minute, until the juices thicken, and cool the topping completely to room temperature.
Top the Cheesecake After the Filling Is Firm
Spoon the cooled apple topping over the chilled cheesecake, spreading it gently so the fruit and syrup stay on the surface. Refrigerate the assembled cheesecake for 30 minutes before releasing the springform pan and serving. If the filling still looks soft when you take it out to add the topping, give it more time to chill rather than pressing on with assembly. The center should be firm enough to support the topping.
Three Smart Ways to Adapt the Crust or Fruit
Make the Crust Gluten-Free
Replace the graham cracker crumbs with the same amount of gluten-free graham-style crumbs, then mix and press the crust as usual. You’ll keep the familiar crumbly base, though the exact crispness depends on the brand of crumbs.
Use Firm Pears Instead of Apples
Swap in 3 medium firm pears, peeled, cored, and cut into 1/2-inch dice. Cook them with the brown sugar, water, lemon juice, and cinnamon until tender but still holding their shape; start checking at 6 minutes because pears can soften sooner than apples. Thicken with the same cornstarch slurry for a softer, more delicate fruit topping.
Trade Graham Crumbs for Vanilla Wafers
Use an equal amount of finely crushed vanilla wafers in place of the graham cracker crumbs, leaving the butter and sugar unchanged. The crust will taste sweeter and less toasted, which pairs nicely with the tartness of firm apples.
Storage and Reheating
- Refrigerator: Cover and refrigerate leftovers for 3 to 4 days. The crust will soften gradually as it sits beneath the filling and topping.
- Freezer: For the best texture, freeze the cheesecake before adding the apple topping. Wrap slices tightly and freeze for up to 1 month; thaw in the refrigerator, then add freshly prepared topping.
- Reheating: This is a chilled dessert, so reheating isn’t needed. Keep it refrigerated until serving rather than letting it sit out for an extended time.
Questions That Come Up With No Bake Apple Pie Cheesecake
No Bake Apple Pie Cheesecake
Ingredients
Equipment
Method
- Lightly coat the sides of a 9-inch springform pan with the cooking spray.
- Line the bottom of the pan with parchment paper.
- Stir together the graham cracker crumbs, melted butter, and granulated sugar until evenly moistened.
- Press the crumb mixture firmly into the bottom of the pan.
- Refrigerate the crust for 20 minutes.
- Beat the cream cheese, powdered sugar, and vanilla in a large bowl until smooth and creamy.
- In a separate bowl, whip the cold heavy cream to stiff peaks.
- Fold the whipped cream into the cream cheese mixture until no streaks remain.
- Spread the filling evenly over the crust.
- Refrigerate for at least 6 hours or overnight, until firm.
- Combine the apples, brown sugar, 1/4 cup water, lemon juice, and cinnamon in a medium saucepan.
- Cook over medium heat for 6 to 8 minutes, stirring occasionally, until the apples are tender but still hold their shape.
- Stir the cornstarch and 1 tablespoon cold water together in a small bowl.
- Stir the cornstarch mixture into the apples.
- Simmer for 1 minute, until thickened.
- Cool completely to room temperature.
- Spoon the cooled apple topping over the cheesecake.
- Refrigerate for 30 minutes.
- Release the springform pan and serve.