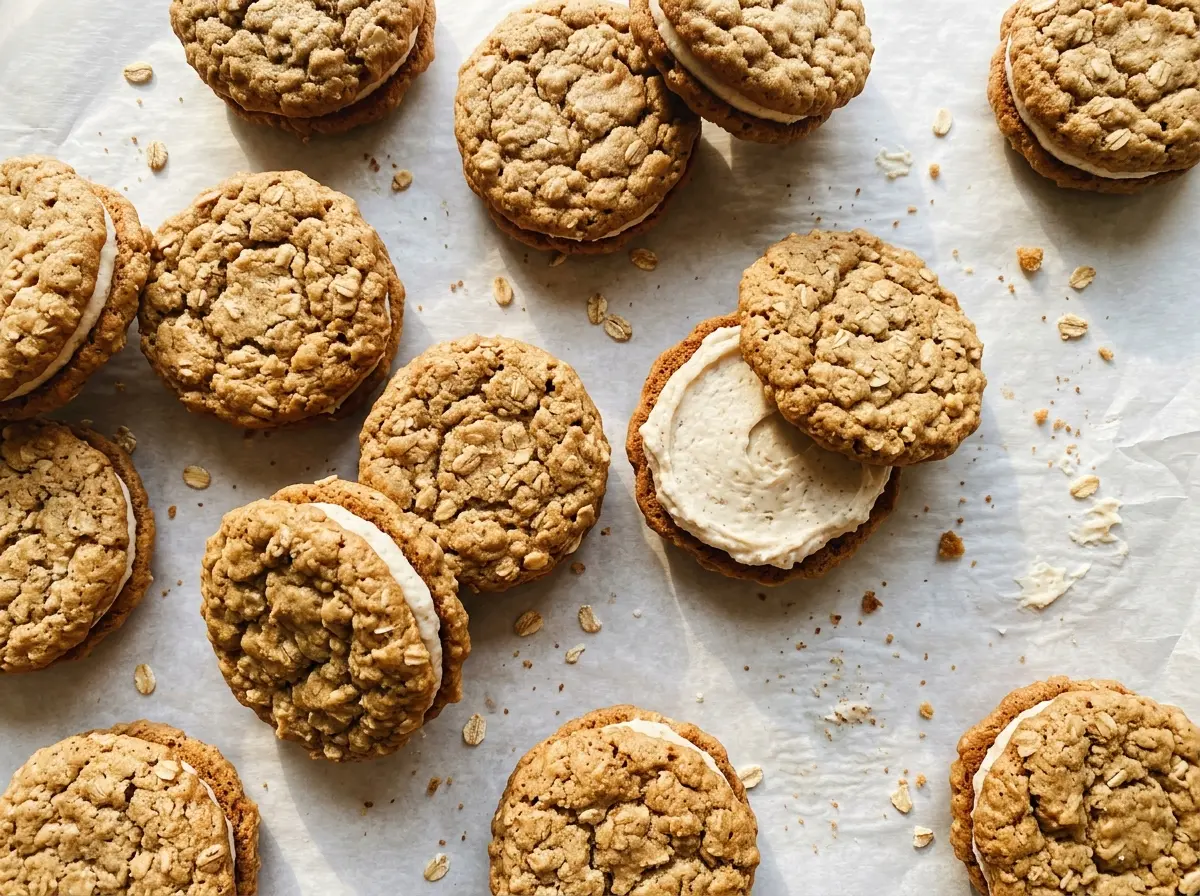
The edges turn lightly golden while the centers still look soft, and that’s the moment these oatmeal cream pies need to come out of the oven. Leave them there until they look completely firm and they’ll keep baking on the hot sheet, which can make the finished sandwiches dry instead of tender.
Old-fashioned oats give the cookies their hearty chew, while brown sugar keeps the crumb soft enough to pair with the fluffy marshmallow filling. I like the contrast: a cinnamon-scented cookie with a sweet, smooth center that doesn’t overwhelm it.
Once the cookies have cooled, the filling spreads easily over their flat sides and the sandwiches come together with a gentle press. You get soft oat cookies around a cloudlike center, with just enough cinnamon to make each bite taste familiar and a little special.
Kitchen Note
Softened butter should give when you press it, but it shouldn’t look shiny or feel greasy. Butter that’s too warm won’t cream the same way, so let it soften until it’s pliable while still holding its shape.
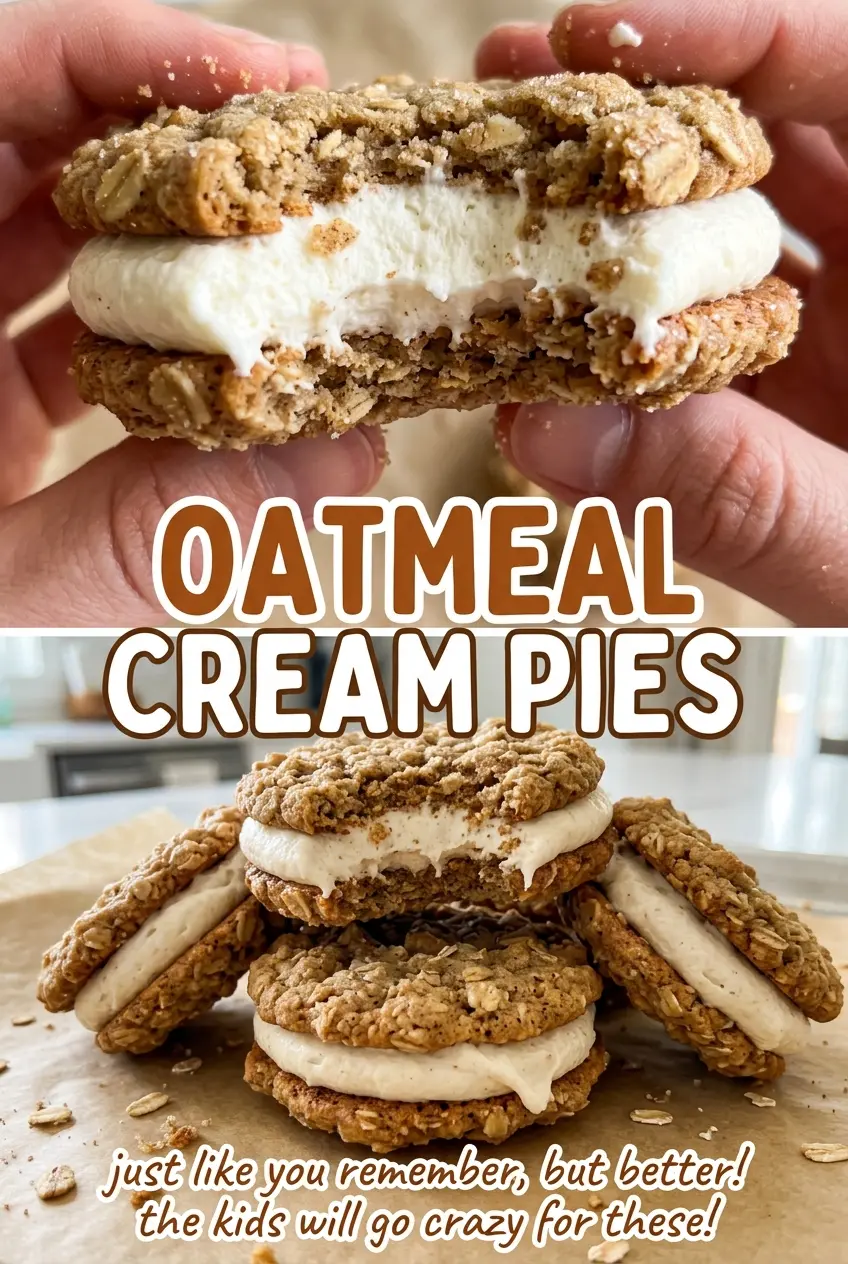
Save these oatmeal cream pies for a bake-ahead treat: chewy cinnamon oat cookies with a fluffy marshmallow center.
Why the Centers Should Still Look Soft When These Come Out
Oatmeal cookies can be deceptive in the oven. The oats make the dough look substantial, so it’s easy to wait for the whole cookie to look dry and firm before pulling the pan. By then, the edges may be overbaked, and a cookie that tastes fine on its own can feel too crisp once you sandwich it with filling.
Look for lightly golden edges and a center that still appears soft. The five-minute rest on the baking sheet gives the cookies a chance to settle before you move them to a rack, so they’re less fragile without baking them all the way through in the oven. That little window is what gives the finished pie a tender bite and a cookie sturdy enough to hold its shape around the filling. Keep the visual cue in mind rather than waiting for the centers to turn golden too.
What Gives the Cookies Their Chew and the Filling Its Lift
- Old-fashioned rolled oats — These provide the recognizable texture and chew, so they’re worth buying even if quick oats are already in the pantry. A standard store brand works well; save the more expensive varieties for eating as oatmeal.
- Light brown sugar — Its moisture helps the cookies stay soft, and ordinary packed brown sugar is all you need. Dark brown sugar can replace it measure for measure for a stronger molasses note, though the cookie flavor will be a little deeper.
- Unsalted butter — Butter carries the cookie’s richness and helps build the fluffy dough. A regular grocery-store stick is fine; use unsalted so the measured salt stays in balance. For a dairy-free version, a firm unsalted plant-based baking stick can replace it one for one, though the cookies may spread or feel slightly different.
- Marshmallow creme — This is what gives the filling its light, stretchy texture instead of a dense butter-and-sugar feel. A different brand of marshmallow creme works just as well; use the full 7-ounce jar. Marshmallow creme is easier to beat smoothly than trying to make a filling from whole marshmallows.
- All-purpose flour and large eggs — Together they give the oat-heavy dough enough structure to hold a sandwich shape. Regular all-purpose flour is the straightforward choice, and large eggs matter for keeping the dough’s balance. For a gluten-free batch, use a cup-for-cup gluten-free baking blend and certified gluten-free oats.
- Vanilla and cinnamon — These round out the sweet filling and bring warmth to the cookies. Standard vanilla extract and everyday ground cinnamon are enough; there’s no need to buy specialty versions for this bake.
From Fluffy Dough to Neat Little Sandwiches
Start with a Properly Creamed Base
Heat the oven to 350°F and line two large baking sheets with parchment paper. Beat the softened butter with both sugars until fluffy, about 2 minutes; the mixture should look lighter and less dense than it did at the start. Add the eggs one at a time, then mix in the vanilla. Scrape the bowl if butter or sugar is clinging to the sides, so the dough mixes evenly.
Bring in the Dry Ingredients and Oats
Whisk the flour, baking soda, cinnamon, and salt in a separate bowl before adding them to the butter mixture. Mix just until the flour disappears; stopping there keeps the cookies from getting tough. Stir in the rolled oats until they’re distributed through the dough. The finished dough will be thick and visibly textured, not smooth like a plain sugar-cookie dough.
Bake Until the Edges Turn Golden
Scoop the dough into 24 portions of about 2 tablespoons each and place them 3 inches apart on the prepared sheets. Bake at 350°F for 10–12 minutes, watching for lightly golden edges while the centers still look soft. If the centers seem underdone at that point, trust the cue rather than leaving them in until they look firm. Cool the cookies on the sheets for 5 minutes, then transfer them to a rack to cool completely.
Beat the Filling and Build the Pies
Beat the softened butter for the filling until smooth, then add the powdered sugar, marshmallow creme, vanilla, and salt. Keep beating until the filling looks fluffy and evenly blended, without visible streaks of butter or creme. Spread it over the flat sides of 12 completely cooled cookies. Top with the remaining cookies and press gently; a light touch keeps the filling between the cookies instead of pushing it out at the edges.
Three Small Changes for a Different Batch
Make Them Gluten-Free
Swap the all-purpose flour for the same amount of a cup-for-cup gluten-free baking blend, and choose certified gluten-free rolled oats. The cookies may have a slightly more delicate crumb, so let them cool fully before filling and handle them gently as you make the sandwiches.
Add Little Pockets of Chocolate
Stir 1/2 cup mini chocolate chips into the dough along with the oats. Mini chips distribute more evenly than larger pieces and add a bittersweet note against the sweet filling, though the cookies will feel a touch fuller in each bite.
Lean into the Cinnamon
Use 1 teaspoon of ground cinnamon in the cookie dough instead of 1/2 teaspoon. The extra spice gives the oats a warmer, more pronounced flavor without changing the filling or the sandwich format.
Storage and Reheating
- Refrigerator: Keep the assembled pies in an airtight container for up to 5 days. The cookies firm up when chilled, so the texture is best after a brief rest at room temperature.
- Freezer: Wrap each sandwich individually and freeze in an airtight container for up to 2 months. Thaw in the refrigerator overnight before serving.
- Reheating: Don’t microwave assembled pies; the filling can soften and squeeze out. Let only the portions you plan to eat sit at room temperature for about 20 minutes, and don’t leave them out for more than 2 hours.
Questions I Get Asked About Oatmeal Cream Pies
Oatmeal Cream Pies
Ingredients
Equipment
Method
- Heat the oven to 350°F.
- Line two large baking sheets with parchment paper.
- In a large bowl, beat 1 cup softened butter with the packed light brown sugar and granulated sugar until fluffy, about 2 minutes.
- Beat in the 2 large eggs one at a time.
- Mix in 1 teaspoon vanilla extract.
- In a separate bowl, whisk together the all-purpose flour, baking soda, ground cinnamon, and 1/2 teaspoon salt.
- Mix the dry ingredients into the butter mixture just until combined.
- Stir in the old-fashioned rolled oats.
- Scoop the dough into 24 portions, about 2 tablespoons each.
- Space the portions 3 inches apart on the prepared sheets.
- Bake at 350°F for 10–12 minutes, until the edges are lightly golden and the centers still look soft.
- Cool the cookies on the sheets for 5 minutes.
- Transfer the cookies to a rack to cool completely.
- Beat 1/2 cup softened butter until smooth.
- Beat in the powdered sugar, marshmallow creme, vanilla extract, and 1/8 teaspoon salt until fluffy.
- Spread the filling over the flat sides of 12 cooled cookies.
- Top with the remaining cookies and press gently to make sandwiches.