The fork marks do more than give these cookies their familiar look. They flatten the dough into an even layer, so the edges can turn lightly golden while the centers stay soft. When I pull a pan from the oven, the cookies still look a little tender in the middle; that’s exactly what I want for old fashioned peanut butter cookies.
Creamy peanut butter gives the dough its classic, full peanut flavor, while softened butter helps the sugars beat into a smooth base. I keep the mixing gentle once the flour goes in, stopping as soon as the dry streaks disappear. That small bit of restraint keeps the cookies tender instead of dense, with a delicate crispness around the edges.
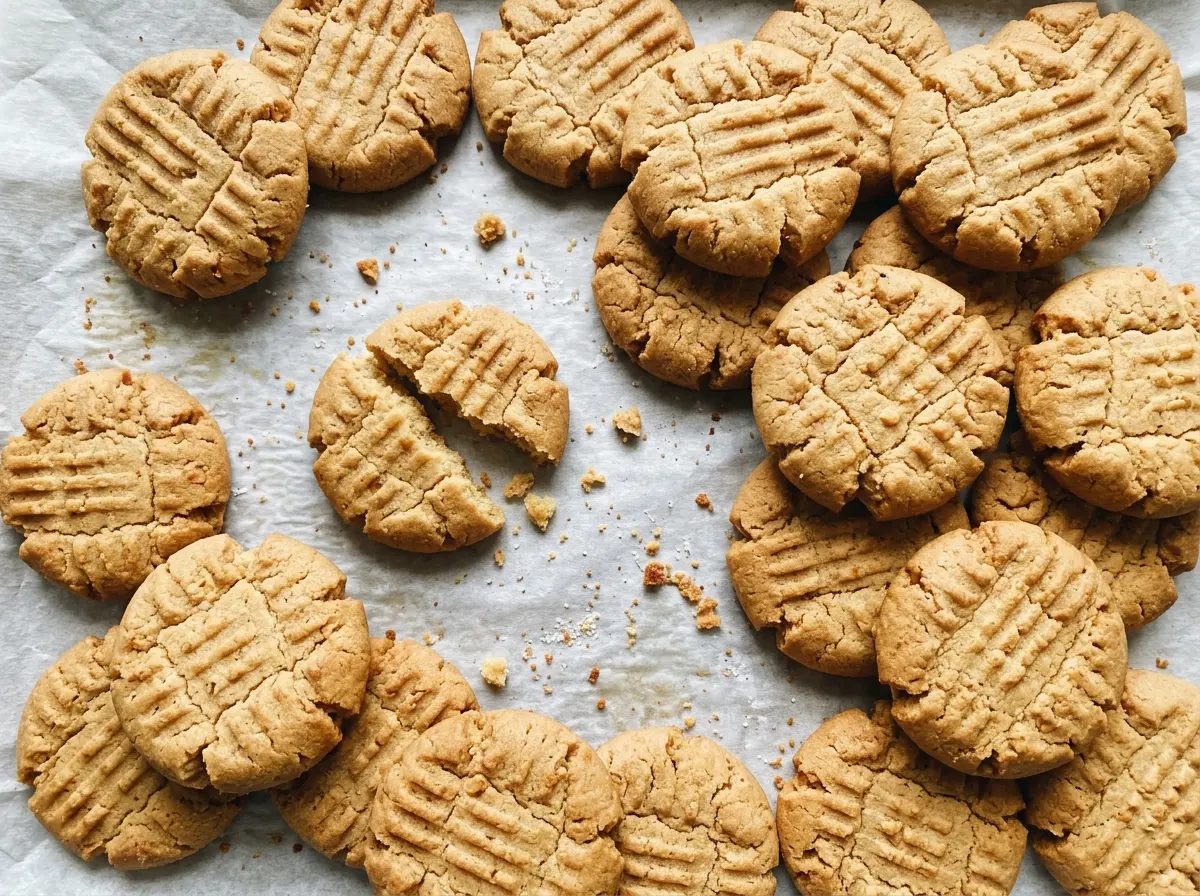
Kitchen Note
Give the cookies the full 5 minutes on the baking sheet before moving them. They’re fragile while hot, and that short rest lets the bottoms firm up without baking the centers any further.
Save these Old Fashioned Peanut Butter Cookies for a soft-centered classic with crisp edges and the fork-marked tops that make them instantly recognizable.
Why the Fork Marks Keep Peanut Butter Cookies from Baking Unevenly
Peanut butter dough is thicker and less eager to spread than a loose, buttery cookie dough. If you roll it into a ball and put it straight on the sheet, the middle can stay too thick while the outside bakes through. Pressing each ball with a fork gives the cookie a head start: more of the dough sits at an even thickness, so the center and edges bake at a similar pace.
The crisscross also gives you a useful visual cue. Press each ball until it’s flattened, but don’t mash it paper-thin; the dough should still look substantial, with the fork pattern clearly visible. A light, even press matters more than making deep grooves. If one cookie is noticeably thicker than the rest, it may need longer in the oven, while thinner ones will be ready sooner.
Spacing the cookies consistently helps, too. They need room for the edges to set without running into their neighbors, and an even arrangement makes it easier to judge the batch. That’s the practical reason the old-fashioned pattern belongs here: it helps control the shape and the bake, not just the appearance.
What Creamy Peanut Butter and Two Sugars Bring to the Dough
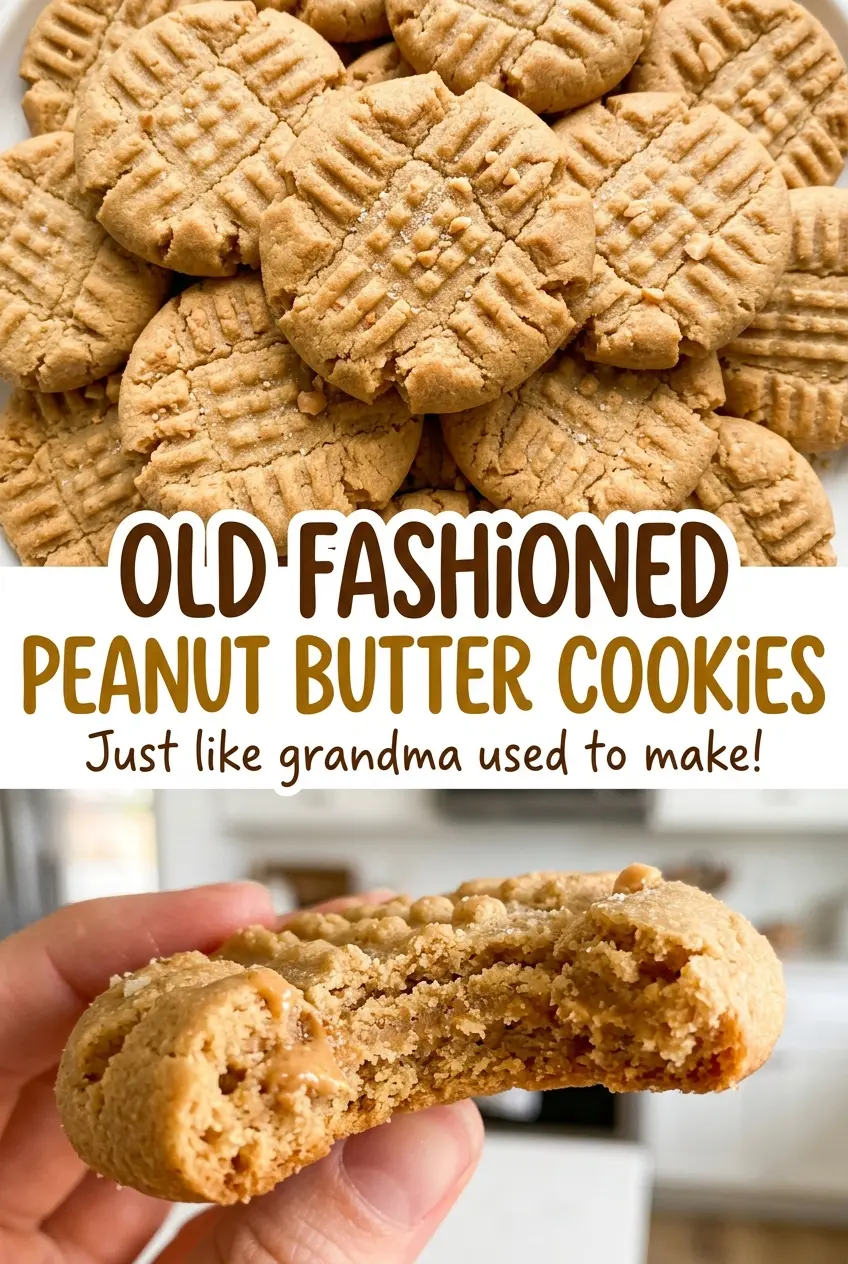
- Creamy peanut butter — It blends smoothly with the butter and sugars, giving the dough an even peanut flavor and texture. A conventional creamy style is the dependable choice here; natural peanut butter can separate, and its loose oil can make the dough behave differently. Crunchy peanut butter is an easy swap if you want little peanut pieces in each bite.
- Softened unsalted butter — Soft butter creams with the sugars and helps the cookies bake up tender. It should give slightly when pressed, not look shiny or melted. Unsalted butter also lets the salt in the dough stay controlled from batch to batch.
- Granulated and light brown sugars — The granulated sugar helps the edges bake up lightly crisp, while brown sugar brings moisture and a softer center. Packed brown sugar gives a consistent result; there’s no need to seek out a specialty brand.
- Egg and vanilla — The egg binds the dough and adds structure, while vanilla rounds out the peanut butter flavor. Use a large egg at room temperature if you have one handy; cold egg can make creamed butter firm up, though it will still mix in.
- All-purpose flour and baking soda — Flour gives the cookies their structure, and baking soda helps them spread and brown. For more reliable measuring, spoon flour into the measuring cup and level the top rather than packing it down; too much flour can leave the dough stiff and the cookies dry.
Mixing, Flattening, and Baking Without Guesswork
Set Up the Oven and Cream the Base
Heat the oven to 350°F and line a large baking sheet with parchment. Beat the softened butter, creamy peanut butter, granulated sugar, and brown sugar in a large bowl until creamy, about 2 minutes. Add the egg and vanilla, then beat until they’re combined. If the mixture looks slightly uneven before the egg is fully incorporated, keep mixing just until it comes together.
Stir in the Dry Ingredients Just Until Combined
Whisk the flour, baking soda, and salt together in a medium bowl so the leavener isn’t concentrated in one spot. Add that mixture to the peanut butter mixture and stir until no dry flour remains. Stop there; working the dough after the flour disappears can make the cookies tougher. The finished dough should hold together easily when you scoop it.
Roll and Press an Even Batch
Roll the dough into 1-inch balls, about 1 tablespoon each, and arrange 12 on the prepared baking sheet with about 2 inches between them. Press each ball with a fork in a crisscross pattern, using a similar amount of pressure each time so the cookies bake evenly. If the fork pulls up a little dough, press it back into place rather than flattening the cookie more than the others.
Bake Until the Edges Set
Bake for 9 to 11 minutes, watching for set, lightly golden edges while the centers still look soft. Don’t wait for the middle to look fully baked; it will continue to set as the cookies cool. Let them rest on the baking sheet for 5 minutes, then transfer them to a rack to cool. Repeat with the remaining dough.
Three Smart Swaps for Old-Fashioned Peanut Butter Cookies
Use Crunchy Peanut Butter for More Texture
Replace the creamy peanut butter with the same amount of crunchy peanut butter. The dough keeps its peanut-butter character, but the finished cookies have small peanut pieces and a more varied bite.
Choose Dark Brown Sugar for a Deeper Note
Swap the packed light brown sugar for packed dark brown sugar in the same amount. Its stronger molasses character gives the cookies a deeper caramel note and a slightly chewier feel, while the granulated sugar keeps the edges from losing their contrast.
Make a Gluten-Free Batch
Replace the all-purpose flour with a one-to-one gluten-free baking flour blend that includes xanthan gum, using the same quantity. The peanut butter flavor stays front and center, though the crumb may be a little more delicate or vary by blend; handle the cookies gently after baking.
Storage and Reheating
- Refrigerator: Keep the cookies in an airtight container for up to 1 week; expect them to firm up. For the softest texture, store them at room temperature in a sealed container and enjoy within 4 days.
- Freezer: Freeze completely cooled cookies in an airtight container for up to 2 months, separating layers with parchment. Thaw at room temperature while still covered so condensation stays off the cookies.
- Reheating: Warm one cookie in the microwave in short, 5-second bursts if you’d like it soft again. Longer heating can make the cookie tough once it cools, so stop as soon as it feels warm.
Questions That Come Up With Peanut Butter Cookie Dough
Old Fashioned Peanut Butter Cookies
Ingredients
Equipment
Method
- Heat the oven to 350°F.
- Line a large baking sheet with parchment paper.
- In a large bowl, beat the butter, peanut butter, granulated sugar, and brown sugar until creamy, about 2 minutes.
- Beat in the egg and vanilla until combined.
- In a medium bowl, whisk together the flour, baking soda, and salt.
- Add the flour mixture to the peanut butter mixture and stir just until no dry flour remains.
- Roll the dough into 1-inch balls, about 1 tablespoon each.
- Place 12 balls on the prepared baking sheet, spacing them about 2 inches apart.
- Flatten each ball with a fork in a crisscross pattern.
- Bake for 9 to 11 minutes, until the edges are set and lightly golden while the centers still look soft.
- Let the cookies rest on the baking sheet for 5 minutes, then transfer them to a rack to cool.
- Repeat with the remaining dough.