The sugar changes quickly once it starts boiling: first it bubbles steadily, then the thermometer climbs while the whole pan needs to sit undisturbed. I learned not to trust the clock alone with pecan pralines. The temperature tells you when the syrup is ready for the next stage, and a few minutes of beating after that turn it into the thick, scoopable candy that sets into craggy little rounds.
I make these with a mix of granulated and light brown sugar, heavy cream, and butter, then fold in pecans and vanilla off the heat. The most satisfying moment comes when the glossy mixture loses its shine and starts holding its shape on the spoon. Work promptly after that point, and you’ll have pralines with a firm outside, a tender bite, and pecans in every piece.
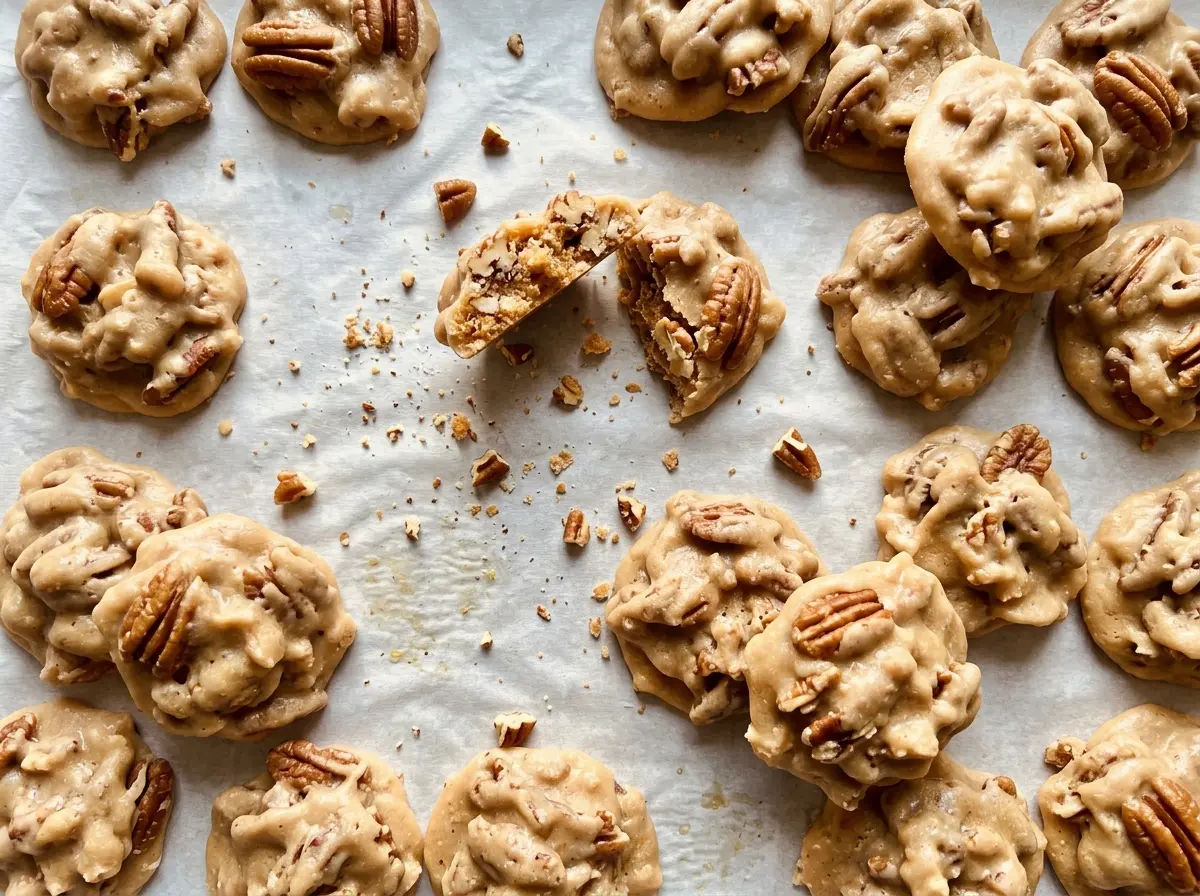
Kitchen Note
I put the parchment-lined baking sheet within reach before the syrup goes on the stove. Once the praline mixture thickens, there isn’t time to stop and clear a spot for it.
Save these pecan pralines for a homemade candy tin: buttery caramel, toasted-tasting pecans, and that classic tender bite.
Why Pecan Pralines Turn Grainy Before They Reach the Baking Sheet
Grainy pralines usually start with sugar crystals that never dissolved or crystals stirred back into the syrup as it boils. That’s why I stir the sugars, cream, butter, and salt together only until the sugars dissolve and the mixture reaches a boil. After that, I leave the pan alone while the thermometer climbs. Stirring at this stage encourages crystals to form, and the finished candy can turn sandy instead of smooth.
A heavy-bottomed saucepan helps the mixture heat evenly, while the thermometer gives you a reliable cue that a clock can’t provide on its own. The syrup’s cooking time can shift with your burner and pan, so use the temperature—not the estimated minutes—as the signal to take it off the heat. Keep the thermometer tip in the syrup without resting it against the bottom of the pan; a pan reading can mislead you. Once the pecans and vanilla go in, the vigorous beating happens off the heat, when you’re deliberately turning the syrup into candy.
What the Sugars, Cream, and Pecans Each Bring to Pralines
- Granulated sugar — It brings clean sweetness and supports the candy’s set. Regular granulated sugar is the right choice here; coarse decorating sugar won’t dissolve as predictably.
- Light brown sugar — Its molasses adds the deeper caramel note that distinguishes pralines from plain sugar candy. Dark brown sugar can stand in at the same volume for a more pronounced molasses taste, though the result may be a little softer.
- Heavy cream — Cream supplies both dairy fat and liquid, which help make the cooked candy rich rather than brittle. Milk isn’t a dependable one-for-one replacement because it has less fat; for a dairy-free adaptation, use the specific swap below.
- Unsalted butter — Unsalted butter lets the small amount of kosher salt stay in control. If salted butter is all you have, use it in place of the unsalted butter and leave out the added salt; the finished pralines will taste a little saltier depending on the brand.
- Pecan halves — Choose fresh pecans that smell sweet and nutty, not stale or bitter. Halves give the finished candy its familiar generous pieces; chopped pecans work too, with a more even, nut-forward bite.
- Vanilla extract — Stir it in after the pan comes off the heat so its aroma stays noticeable. A decent everyday extract is plenty; this isn’t a place where an expensive bottle changes the candy’s texture.
From Dissolved Sugar to Pralines That Hold Their Shape
Dissolve the Sugars Before the Boil
Line a large baking sheet with parchment paper, then combine the granulated sugar, light brown sugar, heavy cream, butter, and kosher salt in a 3-quart heavy-bottomed saucepan. Set the pan over medium heat and stir until the sugars dissolve and the mixture comes to a boil, about 5 minutes. Scrape your spoon along the bottom as you stir so you can feel whether any sugar crystals remain. Once the mixture is boiling, stop stirring.
Cook to the Thermometer Reading
Clip a candy thermometer to the saucepan and let the mixture cook without stirring until it reaches 236°F. This usually takes about 8–12 minutes, but the thermometer reading is the dependable endpoint. Watch that the syrup doesn’t climb past the target while you’re distracted; candy continues changing quickly on the stove. If the thermometer bulb touches the pan’s bottom, shift it so it measures the syrup instead.
Stir in Pecans, Then Beat Until the Mixture Changes
Take the saucepan off the heat before adding the pecans and vanilla. Stir until the pecans are evenly coated, then beat vigorously with a wooden spoon for 2–4 minutes. At first the candy looks glossy and loose; keep beating until it thickens, turns slightly cloudy, and starts to hold its shape. If it still runs freely from the spoon, it needs more beating.
Scoop Quickly and Let the Candy Set
Drop heaping tablespoonfuls onto the parchment-lined sheet, leaving space between each mound. Use a steady rhythm and don’t wait for every scoop to look perfectly round; the mixture firms as it sits. Let the pralines cool until firm, about 20–30 minutes. They should lift cleanly from the parchment once set.
Three Practical Ways to Change These Pecan Pralines
Use Dark Brown Sugar for a Deeper Caramel Note
Replace the light brown sugar with the same volume of dark brown sugar. Its stronger molasses flavor makes the candy taste darker and richer, and the added moisture can leave the set a touch softer. Keep the thermometer target the same.
Make a Dairy-Free Batch with Coconut Cream
Use full-fat canned coconut cream in place of the heavy cream and stick-style vegan butter in place of the unsalted butter, keeping the same amounts. The pralines will have a mild coconut note, but they’ll still cook to the same thermometer cue and set into scoopable candy. Stir the coconut cream well before measuring so the thick and liquid parts are combined.
Chop the Pecans for Smaller Bites
Use chopped pecans instead of halves, keeping the same volume. The pieces distribute more evenly through each spoonful, so the finished pralines have a less dramatic, more consistent crunch. Fold them in off the heat just as you would the halves.
Storage and Reheating
- Refrigerator: Refrigeration isn’t needed; keep the pralines airtight at room temperature for up to 1 week. Condensation as cold candy warms can make the sugar surface tacky.
- Freezer: Freeze the fully cooled pralines in an airtight container, with parchment between layers, for up to 2 months. Thaw them while still sealed so moisture doesn’t collect on the candy.
- Reheating: Don’t reheat finished pralines; heat can soften or melt their sugar structure. Let frozen pieces thaw at room temperature instead.
Questions That Come Up When Making Pecan Pralines
Pecan Pralines
Ingredients
Equipment
Method
- Line a large baking sheet with parchment paper.
- Combine the granulated sugar, brown sugar, heavy cream, butter, and salt in a 3-quart heavy-bottomed saucepan over medium heat, stirring until the sugars dissolve and the mixture comes to a boil, about 5 minutes.
- Clip a candy thermometer to the saucepan and cook without stirring until the mixture reaches 236°F, about 8–12 minutes.
- Remove the pan from the heat, stir in the pecans and vanilla, and mix until evenly combined.
- Beat vigorously with a wooden spoon for 2–4 minutes, until the mixture thickens, turns slightly cloudy, and begins to hold its shape.
- Quickly drop heaping tablespoonfuls onto the prepared baking sheet, leaving space between them.
- Let the pralines cool until firm, about 20–30 minutes.