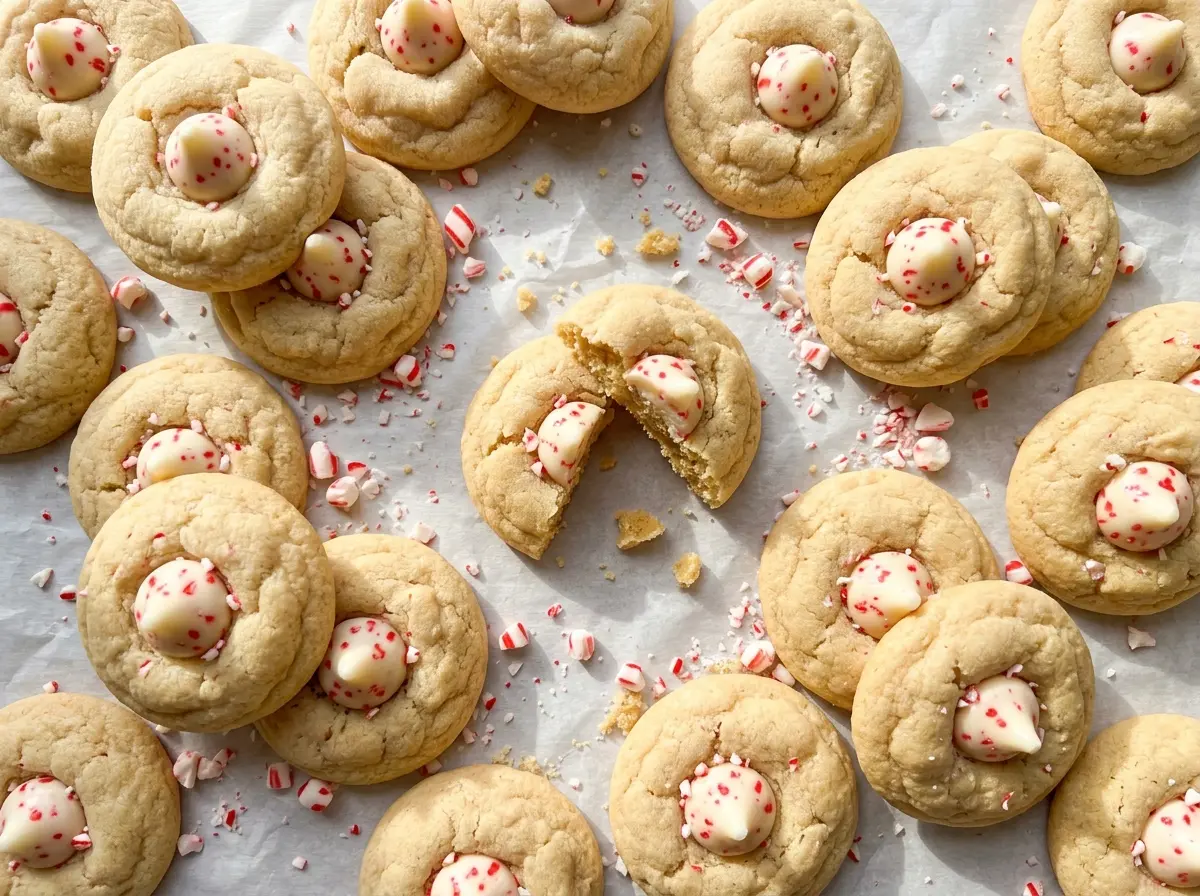
The first time I made chocolate cookies with peppermint, the flavor came out sharper than I wanted. Peppermint extract is potent, and it can take over a cocoa dough before the candy on top even enters the picture. These Peppermint Kiss Cookies keep the chocolate in front, with a cool peppermint note in the dough and a candy cane-flavored milk chocolate Kiss in the center.
The dough is soft when it’s first mixed, so chilling it for 30 minutes makes a real difference when you scoop and roll the cookies. Each portion gets a coat of sugar, then bakes just until the tops puff and crack. You’re looking for soft centers when the pan comes out; the cookies finish setting as they cool.
Have the Kisses unwrapped before baking, because they go into the cookies as soon as the sheet leaves the oven. Once the chocolate centers have cooled, each cookie has a tender cocoa crumb, a crisp sugar shell, and a peppermint-chocolate bite.
Kitchen Note
I unwrap all 30 Kisses before the cookies go into the oven. The cookies need their chocolate centers right away, and stopping to unwrap them while the pan is hot makes that part harder than it needs to be.
Save these Peppermint Kiss Cookies for a bake with crackly sugar tops, soft chocolate centers, and a cool candy cane finish.
Why These Cookies Get Peppermint From Two Places
The peppermint isn’t all coming from the extract in the dough. A small amount seasons the chocolate cookie itself, while the candy cane-flavored Kiss adds a more recognizable peppermint finish right in the middle. That layering means you get the flavor in every bite without needing to make the whole cookie intensely minty.
Cocoa helps keep that balance. Its deep chocolate taste gives the peppermint something to play against, rather than leaving the extract exposed on its own. Use peppermint extract, not mint extract: peppermint has the familiar candy-cane character these cookies are built around, while other mint extracts can taste different and may shift the flavor in an unexpected direction.
The sugar coating matters, too. It adds a thin, crisp outside that contrasts with the soft cocoa center, and the cracked surface gives the Kiss a place to sit. Keep the coating on the outside of the dough balls instead of mixing that reserved sugar into the dough; it’s what gives each cookie its delicate sparkle and slight crunch.
What the Cocoa, Extract, and Candy Centers Bring to the Dough

- Unsweetened cocoa powder — This supplies the chocolate flavor without adding extra sugar to the dough. Standard unsweetened cocoa is the right choice here; sweetened hot cocoa mix has added sugar and other ingredients that change the dough. A familiar grocery-store cocoa works well, so there’s no need to use a specialty brand.
- Peppermint extract — Extract spreads the mint flavor through the cookie dough, while the candy center provides the finishing note. Measure carefully because peppermint is concentrated; vanilla extract alone won’t give the same cool flavor. Store-brand extract is fine if it’s labeled peppermint.
- Candy cane-flavored milk chocolate Kisses — These make the topping both chocolatey and minty, and their shape creates the classic center. Unwrap them before baking so they’re ready when the cookies come out. Regular milk chocolate Kisses work as a swap, but the cookies will lose the candy cane flavor on top.
- Unsalted butter and granulated sugar — Softened butter creams smoothly with the sugar and helps make the dough tender. The sugar is divided between the dough and the outside coating, so keep those portions separate. A basic store-brand granulated sugar is all you need.
- All-purpose flour, egg, and milk — Flour gives the cookies structure, the egg binds the dough, and milk helps bring the cocoa mixture together into a soft dough. Use all-purpose flour for the intended texture; a cup-for-cup gluten-free baking blend is the most practical alternative, though it may make the cookies a little more delicate.
- Baking soda and fine salt — Baking soda helps the cookies puff, while salt rounds out the cocoa and sugar. Fine salt disperses evenly through the dough, so you won’t get an unexpectedly salty bite.
How to Shape the Dough and Catch the Right Bake
Cream the Butter Before Adding the Egg
Heat the oven to 350°F and line two 18×13-inch baking sheets with parchment paper. Beat the softened butter with the portion of sugar for the dough until creamy, about 2 minutes; the mixture should look smooth rather than like separate butter and sugar. Beat in the egg, vanilla, and peppermint extracts until combined. If the butter is still cold and lumpy, it won’t cream evenly, so let it soften before you start.
Mix the Cocoa Dough Gently
Whisk the flour, cocoa powder, baking soda, and salt together in a medium bowl so the leavening and salt are distributed. Add that dry mixture and the milk to the butter mixture, then mix on low just until a soft dough forms. Stop when there are no dry streaks; extended mixing can make the cookies tougher. Cover the dough and chill it for 30 minutes so it’s easier to portion and roll.
Portion and Roll in Sugar
Put the reserved sugar in a small bowl, then scoop the chilled dough into 1-tablespoon portions. Roll each portion into a ball and coat it in sugar, turning it until the surface is covered. Arrange 15 balls on each prepared sheet with about 2 inches between them. If the dough starts sticking to your hands, work with one portion at a time and return the bowl to the refrigerator while you finish.
Bake Until Cracked, Then Add the Kisses
Bake one sheet at a time for 8–10 minutes. The cookies should be puffed, with tops beginning to crack and centers that still look soft; don’t wait for the centers to look firm in the oven. Press one unwrapped Kiss into the center of each cookie as soon as the pan comes out. Let the cookies cool on the baking sheets for 5 minutes, then move them to a wire rack to cool completely.
Small Changes That Shift the Peppermint-Chocolate Balance
Use regular milk chocolate Kisses
Replace the candy cane-flavored Kisses with regular milk chocolate Kisses, keeping one for each cookie. You’ll still have the chocolate center, but the peppermint will come only from the extract in the dough, so the overall effect is milder.
Make the cookies less minty
Leave the peppermint extract out of the dough and keep the candy cane-flavored Kisses on top. The cookies will taste more chocolate-forward, with peppermint concentrated in the center instead of running through every bite.
Try a gluten-free flour blend
For a gluten-free version, replace the all-purpose flour with the same volume of a cup-for-cup gluten-free baking flour blend. The cookies may be a little more delicate, so handle the dough balls gently and let the baked cookies cool fully before moving them.
Storage and Reheating
- Refrigerator: Store completely cooled cookies in an airtight container for up to 1 week. Chilling firms the cookie, so bring them to room temperature before serving.
- Freezer: Freeze cooled cookies in an airtight container for up to 2 months, separating layers with parchment. Thaw at room temperature before serving.
- Reheating: These cookies are best served at room temperature, and reheating isn’t needed. Heat can soften or melt the Kiss centers, so don’t warm them in the microwave.
Questions That Come Up While Baking Peppermint Kiss Cookies
Peppermint Kiss Cookies
Ingredients
Equipment
Method
- Heat the oven to 350°F and line two 18x13-inch baking sheets with parchment paper.
- In a large bowl, beat the softened butter with 3/4 cup of the sugar until creamy, about 2 minutes.
- Beat in the egg, vanilla extract, and peppermint extract until combined.
- In a medium bowl, whisk together the flour, cocoa powder, baking soda, and salt.
- Add the dry mixture and milk to the butter mixture, mixing on low just until a soft dough forms.
- Cover the dough and chill it for 30 minutes.
- Put the remaining 1/4 cup sugar in a small bowl.
- Scoop the dough into 1-tablespoon portions, roll each into a ball, and coat in sugar.
- Arrange 15 balls on each prepared baking sheet, spaced about 2 inches apart.
- Bake one sheet at a time for 8–10 minutes, until the cookies are puffed and their tops begin to crack while the centers remain soft.
- Immediately press one unwrapped Kiss into the center of each cookie.
- Cool the cookies on the baking sheets for 5 minutes.
- Transfer the cookies to a wire rack to cool completely.