The graham crust smells toasted before the timer even goes off, and that’s when I know this Pumpkin Silk Pie is off to a good start. The first time I made it, I rushed the cooling and spread the filling over a crust that was still warm. The bottom softened before the pie had a chance to chill, so now I let the crust cool completely before filling it.
This pie takes a different path from a baked pumpkin custard. The crust gets its time in the oven, but the pumpkin filling stays cool and airy, with whipped cream folded into a cream cheese base. Gelatin helps that soft filling hold its shape after a long chill without turning dense or rubbery.
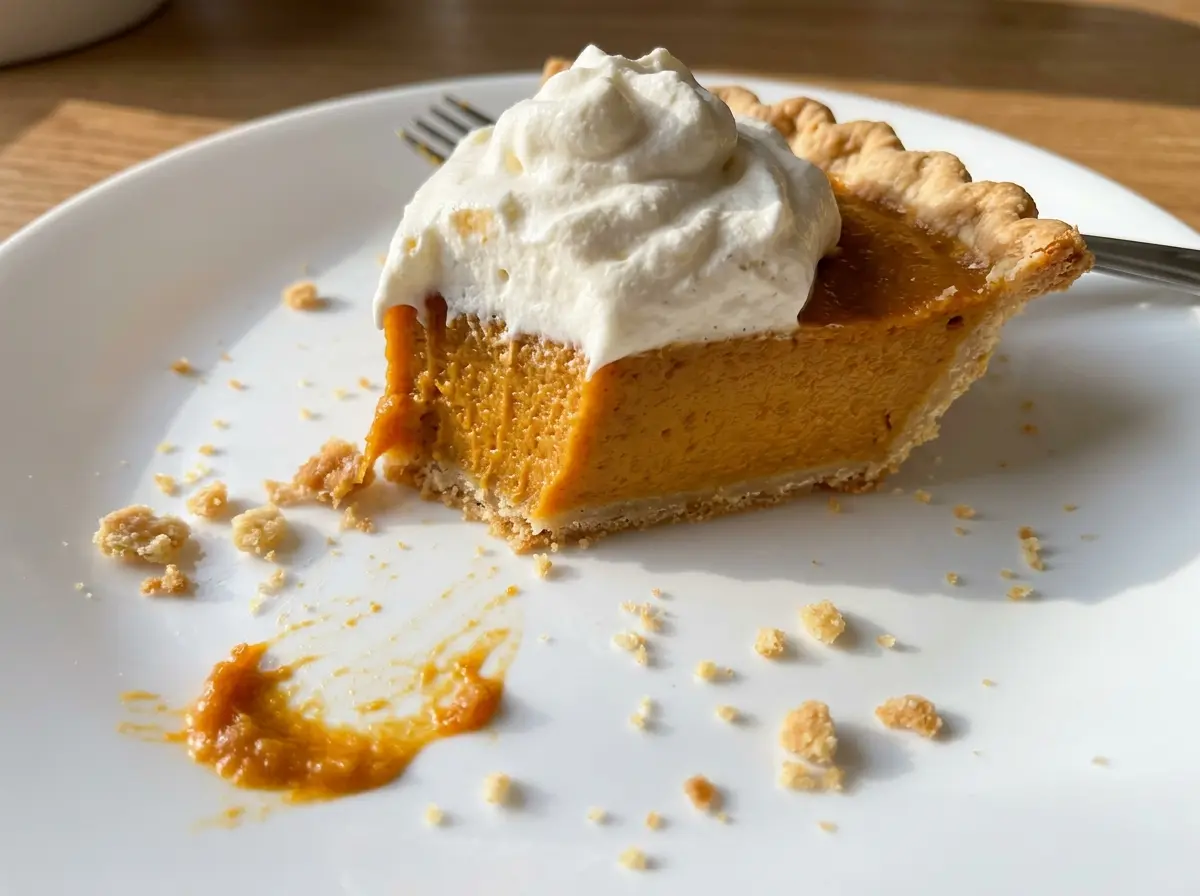
It’s a lovely pie to make ahead because the refrigerator does most of the finishing work. Once it’s set, each slice has a crisp graham edge and a smooth, gently spiced center.
Kitchen Note
Gelatin needs a brief rest in cold water before it goes near the microwave. Let it bloom for the full five minutes; those few minutes help it melt evenly instead of leaving stubborn bits in the filling.
Save Pumpkin Silk Pie for a make-ahead dessert with a crisp graham crust and a cool, airy pumpkin center.
Why This Isn’t a Baked Pumpkin Custard
A traditional pumpkin pie sets by baking its egg-based filling. This one doesn’t use eggs or bake the pumpkin mixture at all: the cream cheese gives the base body, while whipped cream makes it light. Gelatin helps the chilled filling stay sliceable. That change in technique is why the pie needs a proper refrigerator rest instead of another stretch in the oven.
It also means the crust and filling have separate jobs. Baking the graham crust gives it a toasted flavor and firms it up; cooling it fully keeps its butter from melting into the filling when you assemble the pie. The filling comes together at room temperature, then firms in the refrigerator. A warm crust or a rushed chill can leave you with a soft base or a loose slice, even when the filling tastes right.
Think of it as a chilled cream pie with pumpkin woven through it, not a custard pie that happens to be cold. That distinction makes the sequence matter: bake and cool the crust first, then prepare the filling and give the assembled pie time to set.
The Ingredients That Keep the Filling Light but Sliceable

- Graham cracker crumbs — Fine, even crumbs press into a crust that holds together when you cut it. Store-bought crumbs are convenient, but you can crush graham crackers until there are no large pieces; coarse bits make the sides harder to pack evenly.
- Unsalted butter and granulated sugar — Melted butter moistens and binds the crumbs, while sugar helps the crust taste balanced against the spiced filling. The butter should be melted before mixing so it coats the crumbs instead of leaving dry patches.
- Cream cheese — A softened block beats into a smooth, sturdy base. Let it soften before mixing; cold cream cheese tends to leave small lumps that are hard to smooth out once the pumpkin is added. A block works better here than a spreadable tub product.
- Pumpkin puree and pumpkin pie spice — Plain pumpkin puree brings the recognizable pumpkin flavor, while the spice supplies the warm seasoning. Use puree rather than already sweetened pumpkin pie filling, which would add sugar and spices that you can’t control. Bringing the puree to room temperature also helps it blend into the cream cheese evenly.
- Unflavored gelatin — This is what helps the filling set after chilling, so it isn’t a good place to improvise with a different thickener. The cold water lets it bloom before heating; the small amount of salt keeps the sweet filling from tasting flat, and vanilla rounds out the pumpkin and spice.
- Chilled heavy cream — Heavy cream whips into the soft structure that makes the filling feel airy rather than dense. Keep it chilled until you whip it; warmer cream takes longer to build peaks and may not hold them as well when folded into the pumpkin mixture.
From a Toasted Crust to a Set, Airy Filling
Bake the Crumb Crust Until Fragrant
Heat the oven to 350°F and lightly grease a 9-inch pie plate. Mix the graham cracker crumbs with the melted butter and granulated sugar until every crumb looks evenly moistened, then press the mixture firmly over the bottom and up the sides. Bake for 8 to 10 minutes, until the crust smells fragrant and looks set. If the crumbs are still loose when you press them, pack them more firmly before baking so the finished crust holds together.
Cool the Crust All the Way
Set the baked crust aside to cool completely, about 30 minutes. The surface should no longer feel warm when you touch it; filling a warm crust can soften the crumb base. Use this cooling time to bring the filling ingredients together, but don’t start assembling until the crust is ready. The pie plate itself will also feel cooler, not warm from the oven.
Blend the Pumpkin Base and Melt the Gelatin
Sprinkle the gelatin over the cold water in a small microwave-safe bowl and let it bloom for 5 minutes. In a large bowl, beat the softened cream cheese and packed light brown sugar until smooth, then mix in the room-temperature pumpkin puree, pumpkin pie spice, salt, and vanilla. Microwave the bloomed gelatin for 5 to 10 seconds, just until liquid, and stir it. Whisk 2 tablespoons of the pumpkin mixture into the gelatin before beating that mixture back into the remaining pumpkin base; this gradual blending helps it distribute smoothly.
Fold, Fill, and Let the Pie Set
In a separate bowl, whip the chilled heavy cream to medium-stiff peaks. Fold it gently into the pumpkin mixture until no streaks remain; stop once the filling looks evenly blended so you don’t knock out the air you just whipped in. Spoon it into the cooled crust and smooth the top. Cover and refrigerate for at least 6 hours, until the filling is set enough to hold a slice.
Three Small Changes That Shift the Pie
Use a Gingersnap Crust
Replace the graham cracker crumbs with the same volume of finely crushed gingersnaps, and leave out the granulated sugar in the crust. Keep the melted butter and press and bake the crust the same way. The result has a sharper ginger note and a sweeter, more spiced edge.
Make It Gluten-Free
Use gluten-free graham-style crumbs in place of the regular graham cracker crumbs, keeping the same volume and the rest of the crust ingredients unchanged. The crust may be a little more delicate depending on the brand, so press it firmly into the plate before baking.
Choose a Deeper Brown Sugar Note
Swap dark brown sugar for the light brown sugar in the filling, using the same amount. It adds a deeper molasses taste that stands out beside the pumpkin spice, with no change to the mixing method.
Storage and Reheating
- Refrigerator: Cover leftovers and refrigerate them; enjoy within 3 to 4 days. The crust softens gradually as it sits beside the filling.
- Freezer: I don’t recommend freezing this pie. The whipped cream and gelatin filling can lose its smooth texture when thawed.
- Reheating: This is a chilled pie, so don’t reheat it. Keep it cold until serving rather than leaving it out to soften.
Questions That Come Up Before the First Slice
Pumpkin Silk Pie
Ingredients
Equipment
Method
- Heat the oven to 350°F.
- Lightly grease a 9-inch pie plate.
- Mix the graham cracker crumbs, melted butter, and granulated sugar until evenly moistened.
- Press the mixture firmly over the bottom and up the sides of the pie plate.
- Bake for 8 to 10 minutes, until fragrant and set.
- Cool completely, about 30 minutes.
- Sprinkle the gelatin over the cold water in a small microwave-safe bowl.
- Let stand for 5 minutes to bloom.
- Beat the cream cheese and brown sugar in a large bowl until smooth.
- Mix in the pumpkin puree, pumpkin pie spice, salt, and vanilla.
- Microwave the bloomed gelatin for 5 to 10 seconds, just until liquid, and stir.
- Whisk 2 tablespoons of the pumpkin mixture into the gelatin.
- Beat the gelatin mixture back into the remaining pumpkin mixture until smooth.
- In a separate bowl, whip the heavy cream to medium-stiff peaks.
- Gently fold the whipped cream into the pumpkin mixture until no streaks remain.
- Spoon the filling into the cooled crust.
- Smooth the top.
- Cover and refrigerate for at least 6 hours, until set.