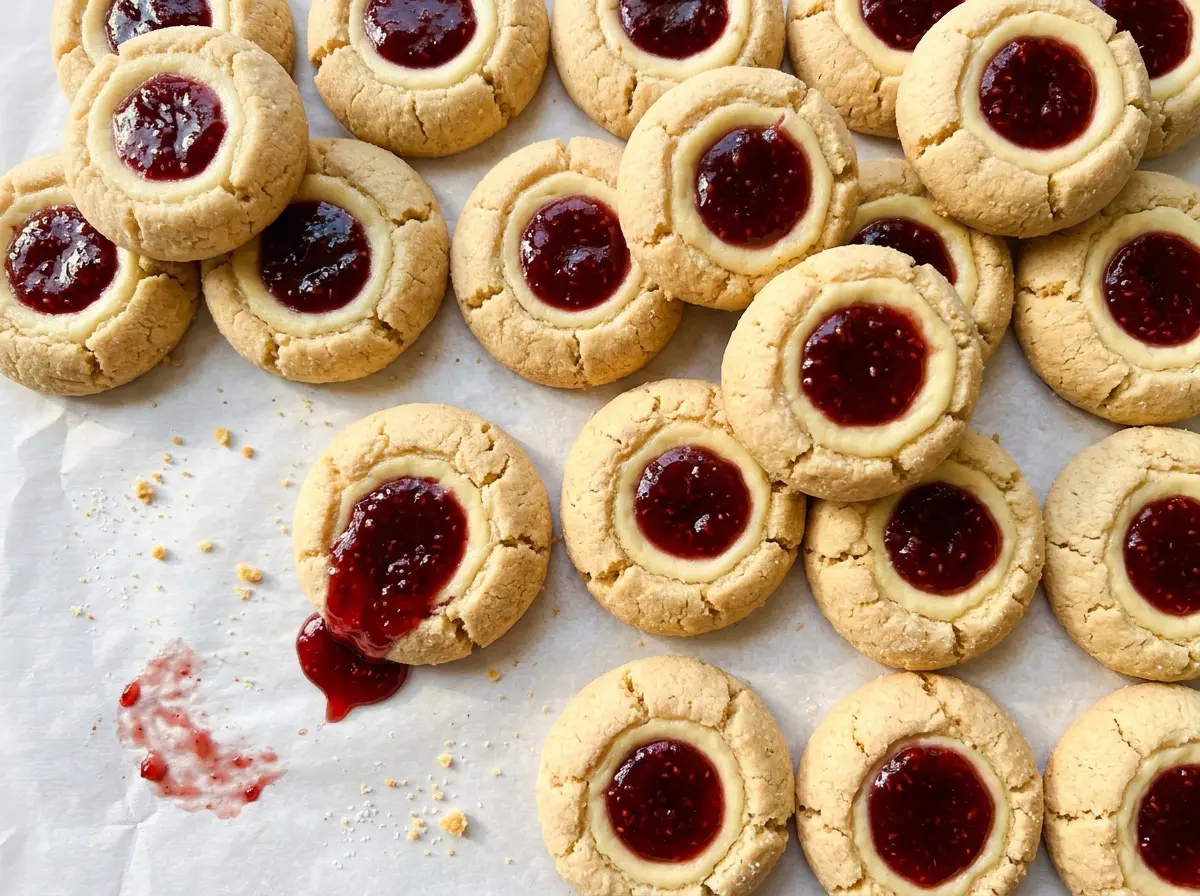
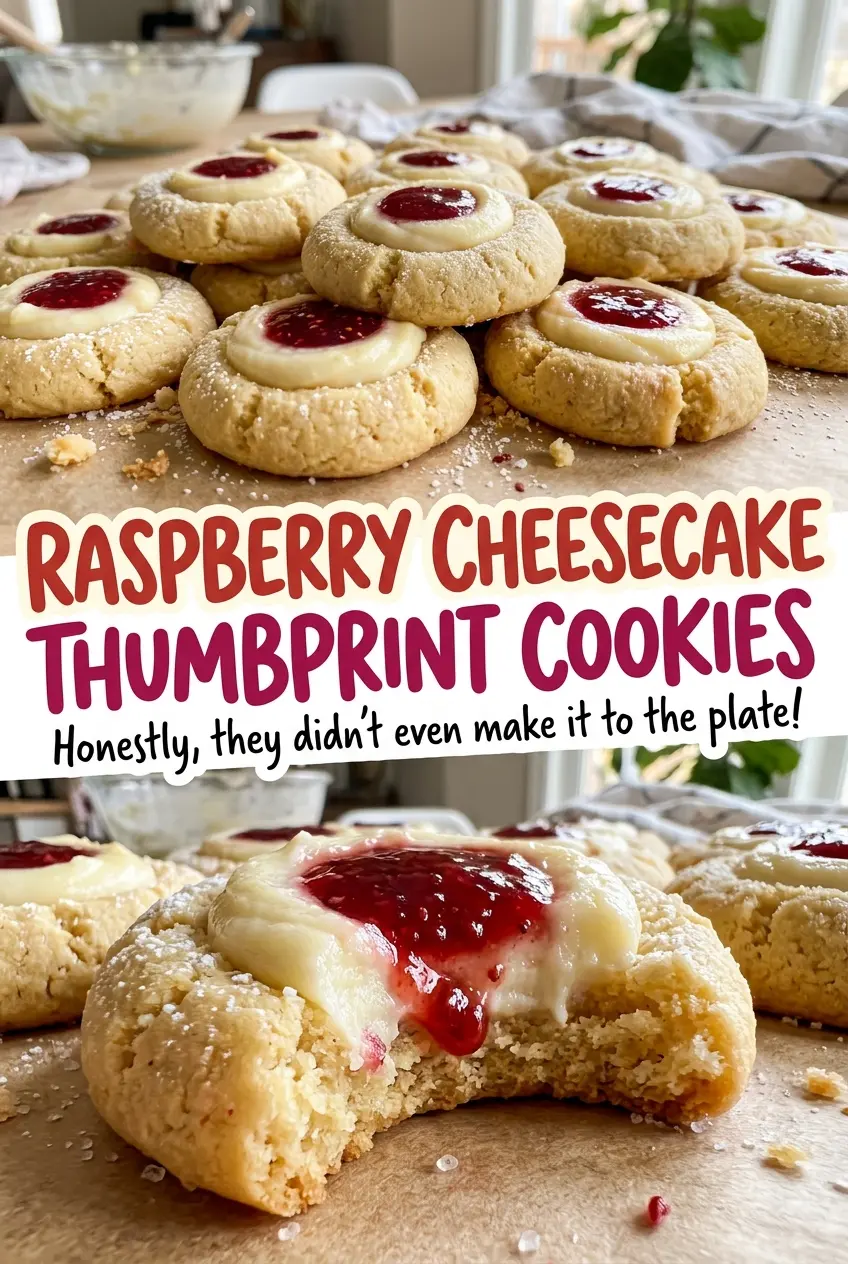
When the cookies come out of the oven, the centers look soft enough to make me wonder if they need another minute. I don’t add one automatically: the edges turn lightly golden first, and the cheesecake filling firms as the cookies cool. These raspberry cheesecake thumbprint cookies have a buttery, tender bite and a creamy center, with a bright dab of raspberry on top.
Chilling the dough for 30 minutes makes it easier to roll and press without the butter feeling greasy in your hands. I also keep the jam out of the oven. Spoon it onto the fully cooled cookies, and it stays bright and distinct against the smooth cheesecake filling.
Kitchen Note
Press a real well into each dough ball, not just a faint dimple. If the indentation is too shallow, the cheesecake filling has nowhere to sit and is more likely to creep over the cookie as it bakes.
Save these raspberry cheesecake thumbprint cookies for a bake with buttery edges, creamy centers, and a bright raspberry finish.
Why the Raspberry Goes on After the Cookies Cool
These cookies have two different centers doing two different jobs. The cream cheese filling goes into the raw dough and bakes along with it, so it sets into a soft, gently tangy layer. The raspberry jam is added only after baking. That keeps the topping from bubbling over the edge of the indentation or sinking into the filling while the cookies are hot.
There’s a practical payoff, too: cooled cookies give the jam a firm surface to sit on. Stirring the seedless jam first loosens it, making it easier to spoon neatly into each center without pushing the filling around. The finished cookie has a clear contrast between the creamy middle and the fruity top, rather than a jammy patch baked into the dough.
That order also makes the visual cue easy to read. Look for lightly golden cookie edges and filling that appears set before you take the pan out. Once the cookies are completely cool, the jam can finish the center without any extra oven time.
Why Softened Cream Cheese and Seedless Jam Matter More Than Fancy Brands
- Butter and granulated sugar — Cream the softened butter and sugar until creamy; that gives the dough an even base instead of leaving streaks of butter. Standard unsalted butter and ordinary granulated sugar work well here. Margarine changes the dough’s fat and moisture balance, so I don’t recommend swapping it in.
- Egg yolk and vanilla — The yolk binds the dough without adding the extra moisture of a whole egg, while vanilla rounds out the buttery flavor. Use a fresh yolk and regular vanilla extract; there’s no special brand needed. If you don’t have vanilla, leaving it out is better than adding a different extract that would take the cookies in another direction.
- All-purpose flour and kosher salt — All-purpose flour gives these cookies enough structure to hold their wells while staying tender. A regular grocery-store bag is fine; the important part is not packing flour tightly into the measuring cup. I wouldn’t swap in self-rising flour because it changes the leavening and salt balance.
- Cream cheese and powdered sugar — Softened cream cheese beats smooth, so the filling goes into the centers without lumps. Powdered sugar dissolves into it readily; granulated sugar can leave a gritty texture. Plain, fresh cream cheese is what matters more than choosing a premium brand.
- Seedless raspberry jam — Seedless jam gives each bite a smooth, spoonable topping and a clear raspberry flavor. A standard supermarket jam is perfectly suitable; look for one that’s thick rather than runny. If you only have seeded raspberry jam, see the FAQ for an easy way to make the topping smooth.
From Chilled Dough to Clean Raspberry Centers
Cream the Dough, Then Let It Chill
Beat the softened butter and granulated sugar in a medium bowl until creamy, about 2 minutes. Beat in the egg yolk and vanilla until combined, then add the flour and salt on low speed. Stop as soon as a soft dough forms; working it longer after the flour goes in can make the cookies less tender. Cover the dough and refrigerate it for 30 minutes so it’s easier to portion and roll.
Make the Filling and Prepare the Pan
Beat the softened cream cheese and powdered sugar in a small bowl until the mixture is smooth. If you still see small lumps, keep mixing rather than trying to press them out once the filling is in the cookies. Heat the oven to 350°F and line a 13×18-inch rimmed baking sheet with parchment paper. Having the filling and pan ready before shaping keeps the dough from sitting out longer than it needs to.
Shape the Cookies and Add the Filling
Scoop the dough into 20 tablespoon-size portions, roll each portion into a ball, and arrange them about 2 inches apart on the prepared sheet. Press an indentation into the center of each ball, then spoon about 3/4 teaspoon of cheesecake filling into each well. Keep the filling inside the indentation rather than spreading it over the top of the dough. Even portions help the cookies bake at the same pace.
Bake, Cool, and Finish with Jam
Bake for 12 to 15 minutes, until the cookie edges are lightly golden and the filling is set. The cookies will still feel delicate when they first come out, so leave them on the baking sheet for 10 minutes before transferring them to a wire rack. Let them cool completely on the rack before adding the topping. Stir the raspberry jam until loosened, then spoon 1/2 teaspoon into the center of each cookie.
Two Ways to Change the Centers Without Changing the Dough
Skip the Raspberry for a Cheesecake-Only Center
Leave off the jam topping and serve the cookies with the baked cream cheese filling as the only center. The result is less fruity and a little more gently tangy, while the buttery cookie and creamy middle stay the same.
Bake Raspberry-Only Thumbprints
For a more traditional jam thumbprint, leave out the cream cheese filling and put the raspberry jam into the dough wells before baking. The jam bakes into a firmer, more concentrated center, without the creamy contrast of the original version.
Storage and Reheating
- Refrigerator: Store the cooled cookies in an airtight container for 3 to 4 days. The centers will firm up when chilled.
- Freezer: Freeze the cooled cookies before adding the jam topping. Arrange them in a single layer until firm, then pack airtight and freeze for up to 1 month for best texture; thaw in the refrigerator and add the jam afterward.
- Reheating: These are best served cool or at room temperature, so there’s no need to reheat them. Avoid microwaving, which can soften the filling unevenly and make the jam run.
Questions That Come Up While Making These Thumbprints
Raspberry Cheesecake Thumbprint Cookies
Ingredients
Equipment
Method
- Beat the butter and granulated sugar in a medium bowl until creamy, about 2 minutes.
- Beat in the egg yolk and vanilla until combined.
- Add the flour and salt and mix on low just until a soft dough forms.
- Cover the dough and refrigerate for 30 minutes.
- Beat the cream cheese and powdered sugar in a small bowl until smooth.
- Heat the oven to 350°F.
- Line a 13x18-inch rimmed baking sheet with parchment paper.
- Scoop the dough into 20 tablespoon-size portions.
- Roll each portion into a ball.
- Place the balls about 2 inches apart on the baking sheet.
- Press a deep indentation into each ball with your thumb.
- Spoon about 3/4 teaspoon of cheesecake filling into each indentation.
- Bake for 12 to 15 minutes, until the cookie edges are lightly golden and the filling is set.
- Cool the cookies on the baking sheet for 10 minutes.
- Transfer the cookies to a wire rack to cool completely.
- Stir the raspberry jam until loosened.
- Spoon 1/2 teaspoon of jam into the center of each cooled cookie.