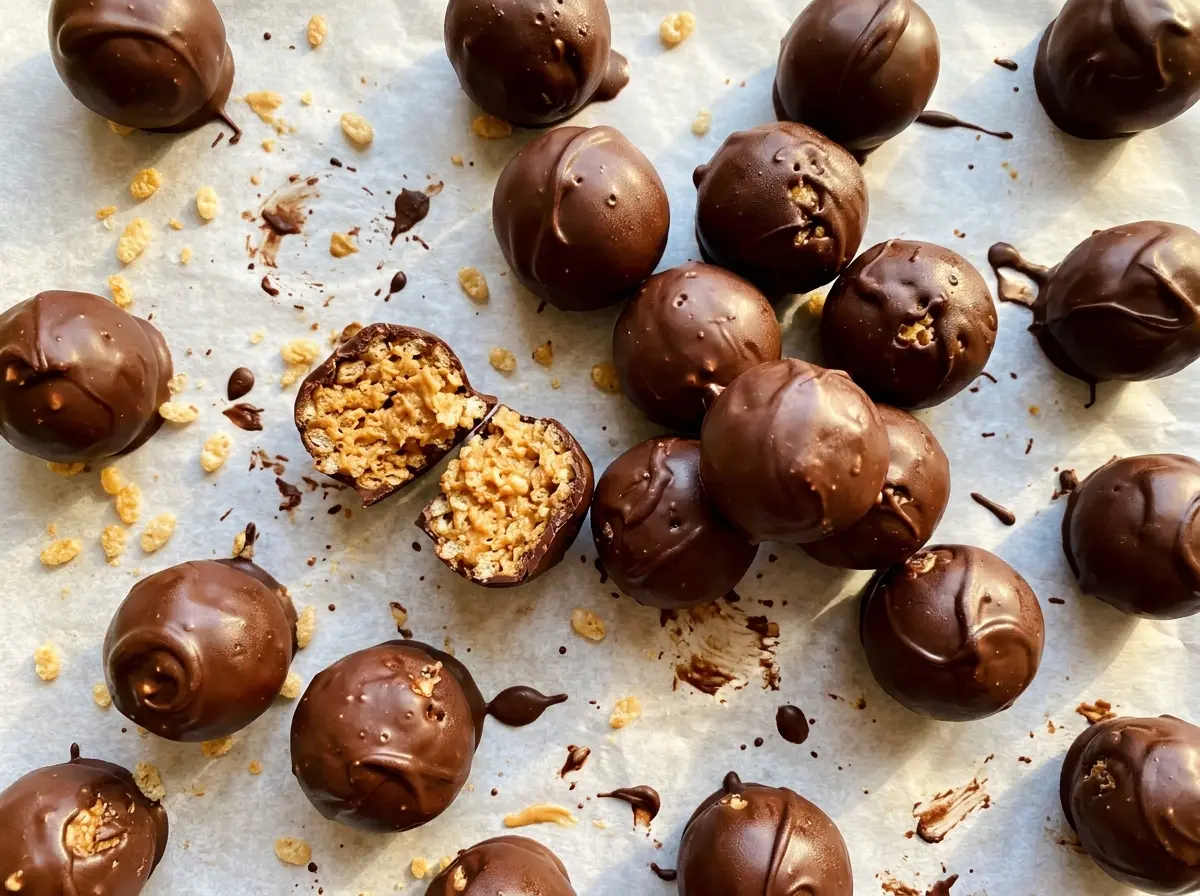
The cereal starts out loose and crisp, then turns glossy as the warm peanut butter mixture folds around every little puff. That’s the moment these Rice Krispie Peanut Butter Balls come together: the syrup binds the cereal without turning it into a dense, heavy center, and a chilled chocolate shell gives each bite a clean snap.
I like this method because the peanut butter goes into the syrup after it comes off the heat. It stirs in smoothly, and the mixture is still warm enough to coat the cereal evenly. Let it cool until it’s comfortable to handle before shaping; too-hot mixture is awkward to work with, while a little patience makes the balls much easier to form.
Once the chocolate sets, the centers stay crisp and pleasantly chewy beneath the coating. They’re small, tidy treats with a strong peanut butter flavor and just enough semisweet chocolate to balance the sweetness.
Kitchen Note
Fold the cereal mixture rather than stirring it hard. A gentle fold coats the crisp pieces without crushing them, so the finished centers keep their light crunch.
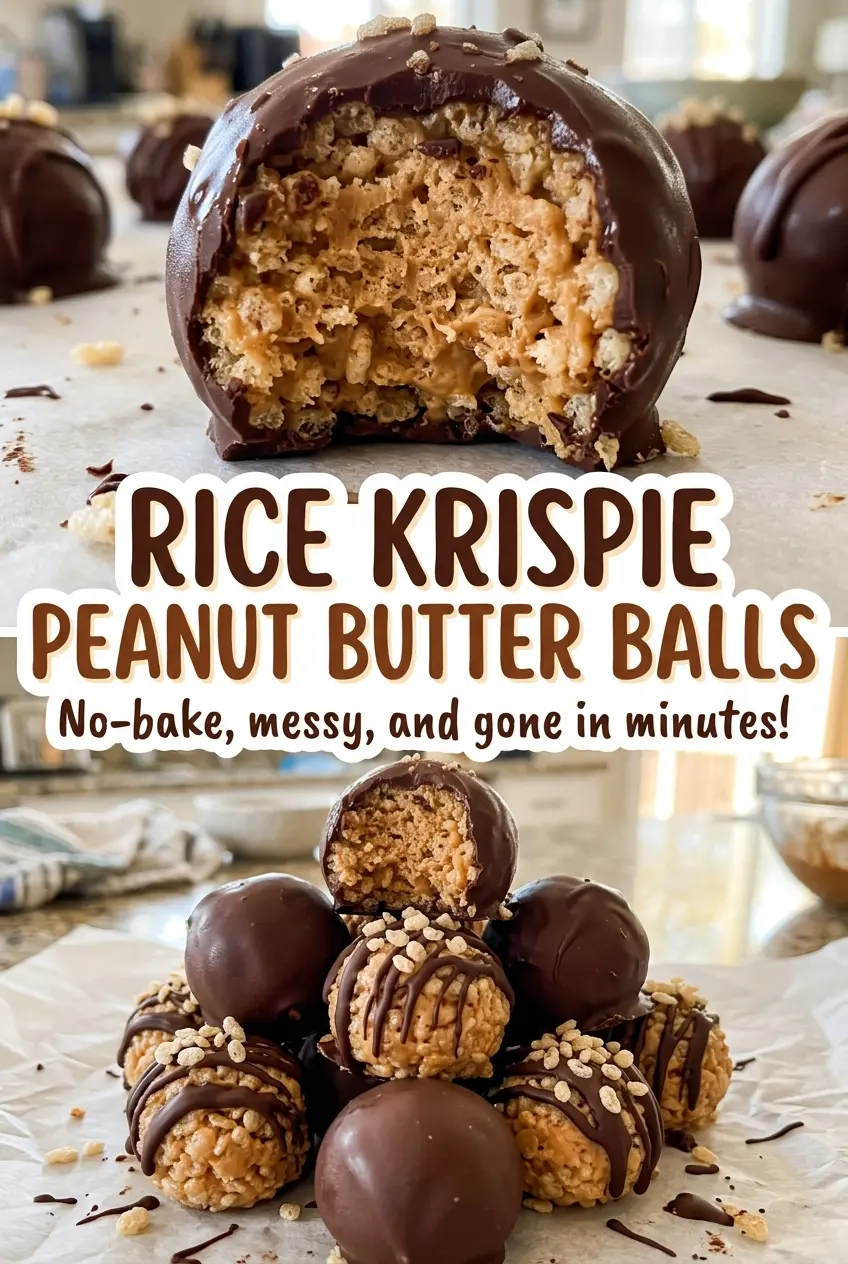
Save these Rice Krispie Peanut Butter Balls for a crisp cereal center under a smooth semisweet chocolate shell.
Why the Sugar Syrup Needs a Full Boil Before the Peanut Butter Goes In
The syrup does more than sweeten the cereal. Granulated sugar and light corn syrup cook together until the sugar dissolves and the mixture reaches a full boil; that smooth, hot base is what lets the peanut butter spread through the cereal instead of clumping in a few pockets. If the sugar hasn’t dissolved, the centers can turn uneven, with sticky patches alongside dry cereal.
Take the saucepan off the heat before adding the peanut butter. The residual heat is enough to loosen it and make a smooth mixture, but the pan is no longer actively cooking while you stir. This order also gives you a short, useful window to pour the mixture over the cereal and fold it together while it’s still warm. The result is a center that holds its shape without losing the crisp character of the cereal.
What Each Ingredient Does in These Crisp, Chocolate-Dipped Centers
- Granulated sugar and light corn syrup — Together they make the sweet binder that coats the cereal and firms around it. Light corn syrup is important to the texture, so I wouldn’t replace it with pancake syrup or honey; those bring different sweetness and moisture, and the centers won’t set in quite the same dependable way. The ordinary grocery-store versions of both are fine.
- Creamy peanut butter — Its smooth texture blends into the hot syrup and gives the centers their defining flavor. A standard shelf-stable creamy peanut butter is the most reliable choice; natural peanut butter can separate, which makes the mixture oily and less consistent. For little peanut pieces throughout, use crunchy peanut butter in place of creamy in the same quantity.
- Rice Krispies cereal — The cereal provides the crisp structure, so freshness matters more than brand. Stale cereal starts out less crisp and stays that way in the finished centers. A plain crisp rice cereal can stand in for Rice Krispies in the same volume, though the flavor and crunch may vary slightly by brand.
- Semisweet chocolate chips — Semisweet chocolate balances the sweet peanut butter center without making the coating taste sugary. You don’t need premium chips for this; choose a brand you enjoy eating. Milk chocolate chips work in the same quantity for a sweeter, milder shell.
- Vegetable shortening — Shortening helps the melted chips become fluid enough for dipping and gives the coating a smooth finish. If you need an alternative, refined coconut oil can replace it in the same quantity; the coating may set a little differently, and unrefined coconut oil will add coconut flavor.
From Boiling Syrup to a Shell That Sets Smoothly
Cook the Sugar and Corn Syrup to a Full Boil
Line a large rimmed baking sheet with parchment paper before you start cooking. Combine the sugar and corn syrup in a medium saucepan, then cook over medium heat, stirring constantly, for 3 to 5 minutes. Watch for the sugar to dissolve and the mixture to reach a full boil; once it does, remove the pan from the heat rather than continuing to cook it.
Stir in the Peanut Butter and Coat the Cereal
Add the peanut butter to the hot syrup and stir until smooth. Pour that mixture over the cereal in a large heatproof bowl, then fold until the cereal is evenly coated. Work around the bowl and lift from the bottom so you don’t leave dry cereal underneath. The mixture will be warm and sticky at this stage.
Cool, Shape, and Chill Until Firm
Let the mixture cool for about 10 minutes, until it’s comfortable to handle. Shape it into 24 balls about 1 1/4 inches across and set them on the prepared baking sheet. If the mixture still feels too hot to handle, give it a little more time; don’t try to shape it while it’s uncomfortable to touch. Chill the balls for 20 minutes, until firm enough to dip.
Melt the Chocolate and Dip Each Ball
Combine the chocolate chips and shortening in a microwave-safe bowl. Microwave at 50% power in 30-second bursts, stirring after each one, for 1 to 2 minutes total, stopping when the chocolate is smooth. Dip each chilled ball into the chocolate and let the excess drip back into the bowl before returning it to the lined sheet. Chill for 15 to 20 minutes, until the coating has set.
Three Ways to Change the Flavor or Fit These Peanut Butter Balls to Your Needs
Use Crunchy Peanut Butter for a Nubbly Center
Replace the creamy peanut butter with crunchy peanut butter in the same quantity. The peanut flavor stays familiar, but small peanut pieces interrupt the crisp cereal texture and make the centers feel more substantial.
Choose Milk Chocolate for a Sweeter Shell
Swap the semisweet chips for milk chocolate chips in the same quantity. The coating will taste sweeter and creamier, so the peanut butter center will come across less intensely against it.
Make a Gluten-Free Version with Crisp Rice Cereal
Use a gluten-free crisp rice cereal in place of Rice Krispies, keeping the same volume. The cereal’s exact sweetness and crunch depend on the brand, but the peanut butter and chocolate combination stays intact.
Storage and Serving
- Refrigerator: Keep the finished balls in an airtight container for up to 1 week. The cereal may soften a little as it sits.
- Freezer: Freeze in an airtight container for up to 2 months, separating layers with parchment. Thaw in the refrigerator before serving.
- Serving: These are best served cool, once the coating is set. Avoid leaving the whole batch in a warm spot, where the chocolate shell can soften.
Questions That Come Up When Making Rice Krispie Peanut Butter Balls
Rice Krispie Peanut Butter Balls
Ingredients
Equipment
Method
- Line a large rimmed baking sheet with parchment paper.
- Combine the sugar and corn syrup in a medium saucepan and cook over medium heat, stirring constantly, for 3 to 5 minutes, until the sugar dissolves and the mixture reaches a full boil; remove from the heat.
- Stir the peanut butter into the hot syrup until smooth.
- Pour the mixture over the cereal in a large heatproof bowl and fold until evenly coated.
- Cool the mixture for about 10 minutes, until comfortable to handle.
- Shape the mixture into 24 balls about 1 1/4 inches across and place them on the prepared baking sheet.
- Chill for 20 minutes, until firm.
- Combine the chocolate chips and shortening in a microwave-safe bowl and microwave at 50% power in 30-second bursts, stirring each time, for 1 to 2 minutes total, until smooth.
- Dip each chilled ball in the melted chocolate, letting excess drip back into the bowl, and return it to the baking sheet.
- Chill for 15 to 20 minutes, until the coating is set.