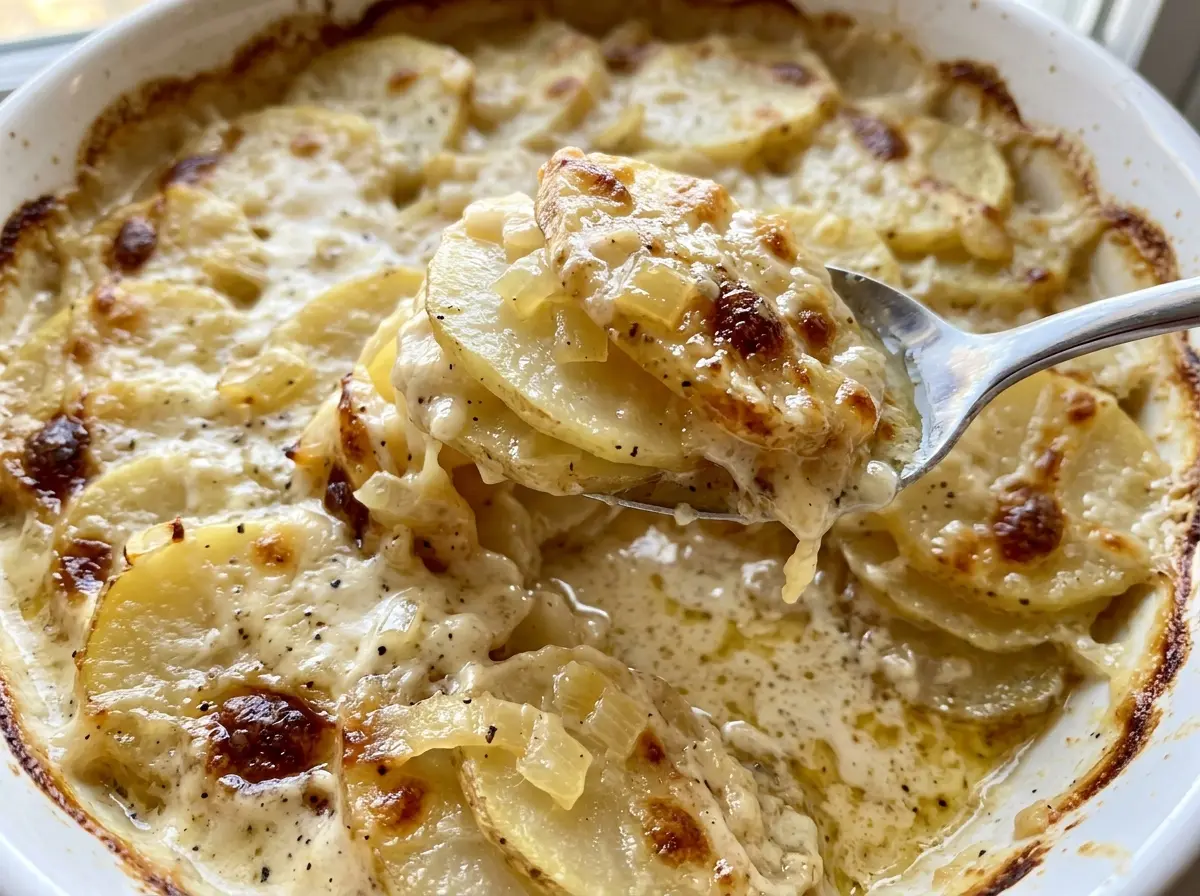
The foil comes off and the top is still pale, but the edges are bubbling and the potatoes underneath are starting to soften. That’s the moment these scalloped potatoes need their uncovered time in the oven. I like this two-stage bake because the potatoes get a head start under foil, then the sauce reduces and the top turns golden without the exposed edges drying out.
The sauce starts as a simple butter-and-flour roux, so it thickens before it goes anywhere near the potatoes. Warm milk and a gradual whisk keep it smooth, while thin russet slices cook through in the creamy layers. Give the finished dish its full rest before serving; the sauce settles around the potatoes, and each scoop holds together with tender layers and a browned top.
Kitchen Note
Don’t rush the 10-minute rest. The sauce settles as the dish stands, which makes it easier to lift out a serving with the potato layers intact.
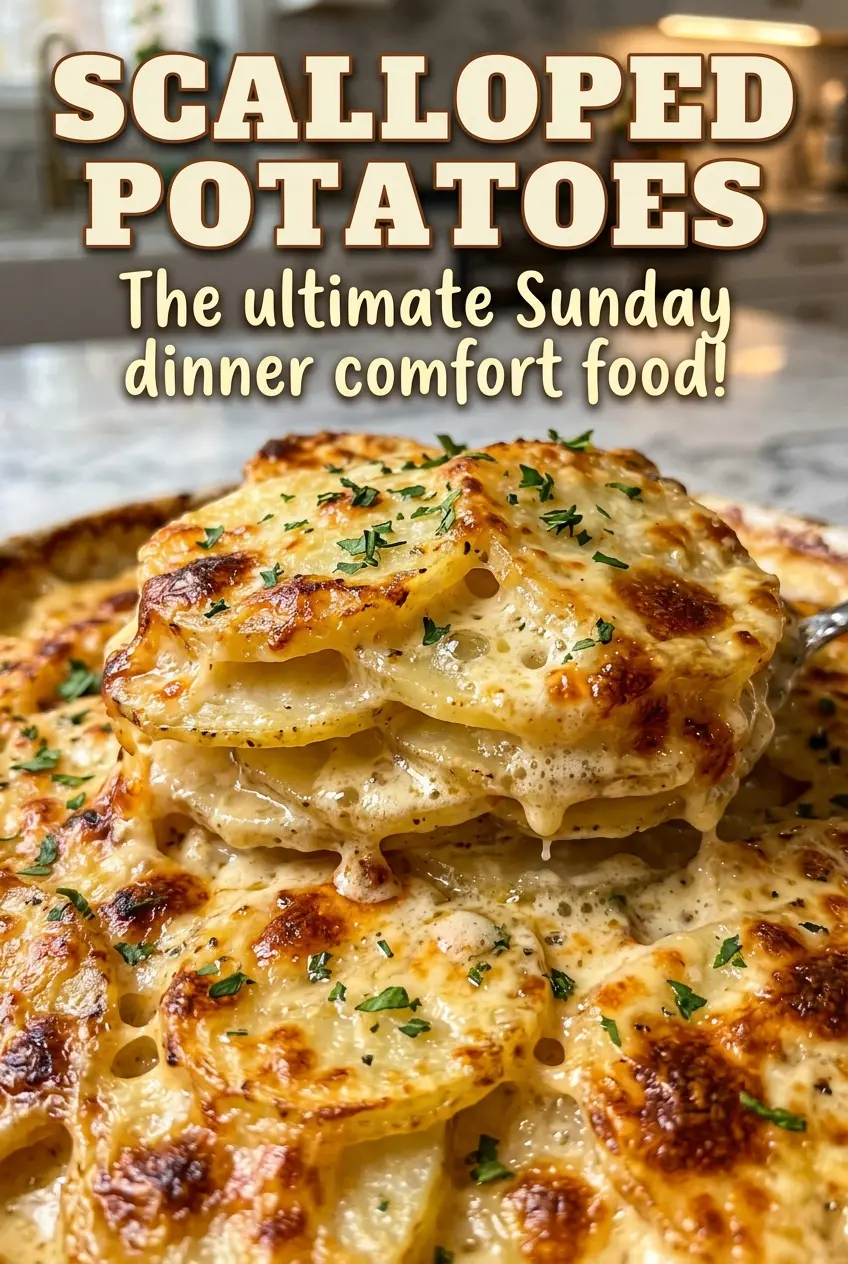
Save these scalloped potatoes for a cozy side dish with tender russet layers and a golden top.
Why the Sauce Thickens Before It Ever Meets the Potatoes
Scalloped potatoes don’t need cheese to get a creamy coating. Here, butter and flour make a roux, and milk turns it into a smooth white sauce before the potatoes go into the oven. That early thickening matters: the sauce is already able to cling to the slices instead of pooling as a thin layer at the bottom of the dish.
It’s also why the milk goes in gradually, rather than all at once. A steady whisk helps the flour disperse evenly, and warming the milk keeps the saucepan from cooling sharply while the sauce comes together. Stop when it looks smooth and slightly thickened; it will continue to mingle with the potato starch during baking. The finished dish should be creamy between the layers, not soupy, with enough moisture left for the potatoes to turn tender under the foil.
The two layers of potatoes and onion help distribute that sauce throughout the pan. Pour half over the first layer, then repeat, instead of leaving all the sauce on top. This gives the lower slices their share, too, and lets the top brown during the uncovered part of baking.
Russets and Warm Milk Do the Quiet Work
- Russet potatoes — Their starchy, fluffy texture softens into the sauce as the dish bakes. Choose firm potatoes without green patches or soft spots, and slice them evenly so they finish at the same time. Yukon Gold potatoes can work, but their waxier texture makes for a less fluffy, more defined layer.
- Whole milk — It gives the white sauce a fuller, creamier body than a lower-fat milk. Warm it before whisking it into the roux; that small bit of prep helps the sauce come together smoothly. If you use 2% milk instead, expect a lighter, less rich sauce.
- All-purpose flour and unsalted butter — Together they form the roux that thickens the milk. Let the flour cook in the melted butter for the full minute so the sauce doesn’t taste floury. Unsalted butter also leaves the seasoning in your hands rather than building extra salt into the base.
- Yellow onion — Thin slices soften between the potatoes and add a gentle savory note without taking over the dish. A medium onion with firm, dry skin is all you need; slice it thinly so it softens during the covered bake instead of staying sharp.
- Kosher salt and black pepper — They season the sauce itself, so the potatoes get an even share as it spreads through the layers. Stir them into the finished sauce before assembling rather than sprinkling them in isolated spots.
Build the Sauce First, Then Layer for Even Baking
Get the Dish and Oven Ready
Heat the oven to 350°F and grease a 9×13-inch baking dish with the softened butter. Coat the base and corners so the potatoes don’t stick where the sauce is shallowest. Have the peeled potatoes sliced 1/8 inch thick and the onion thinly sliced before you start building the layers. Even slices are easier to overlap neatly.
Whisk a Smooth White Sauce
Melt the remaining butter in a medium saucepan over medium heat. Stir in the flour and cook it for 1 minute, keeping it moving so it doesn’t brown. Gradually whisk in the warm milk; adding it in stages gives you a chance to smooth out the mixture as it thickens. Cook and whisk for 3 to 5 minutes, until the sauce is smooth and slightly thickened, then stir in the salt and pepper.
Layer Potatoes, Onion, and Sauce
Arrange half the potatoes in overlapping layers in the greased dish, then scatter half the onion over them. Pour half the sauce across the layer rather than concentrating it in one spot. Repeat with the remaining potatoes, onion, and sauce. Keep the top layer reasonably even so it bakes at a similar pace from edge to center.
Bake Covered, Then Brown the Top
Cover the dish tightly with foil and bake for 60 minutes. A secure cover holds in the heat and moisture while the thick potato layers soften. Remove the foil and bake for another 20 to 30 minutes, until the top is golden and a knife slides easily into the potatoes. If the knife still meets firm resistance, the potatoes need more time in the oven.
Let the Layers Set
Take the dish out of the oven and let the potatoes rest for 10 minutes before serving. The bubbling sauce settles during this short pause, rather than running across the plate as soon as you scoop into it. Serve from the baking dish while the top is still warm and golden.
Two Practical Ways to Change the Potato Layers
Leave the Onion Out
For an onion-free version, omit the sliced onion and keep the same two potato-and-sauce layers. The result tastes more simply of potatoes and creamy sauce, which works well for diners avoiding onion. The finished dish will lose the onion’s gentle savory sweetness.
Keep the Russet Skins On
For a more rustic texture, scrub the russets well and leave the skins on before slicing them 1/8 inch thick. The peel adds a little texture to each layer, while the potato centers still soften in the sauce. The slices may be less uniform around the edges, so choose firm potatoes and cut carefully.
Storage and Reheating
- Refrigerator: Cool promptly, refrigerate within 2 hours, and keep covered for up to 3 days. The sauce firms as it chills.
- Freezer: Freezing isn’t my first choice; the potatoes can turn grainy and the milk sauce may separate as it thaws.
- Reheating: Reheat covered in a 350°F oven until the center reaches 165°F. Uncover near the end if you’d like to bring back some color on top; avoid heating until the sauce bubbles hard, which can make it look separated.
Questions That Come Up Before the Dish Goes in the Oven
Scalloped Potatoes
Ingredients
Equipment
Method
- Heat the oven to 350°F.
- Grease a 9x13-inch baking dish with the softened butter.
- Melt the remaining 3 tablespoons butter in a medium saucepan over medium heat.
- Stir in the flour and cook for 1 minute.
- Gradually whisk in the warm milk and cook, whisking, until the sauce is smooth and slightly thickened, about 3 to 5 minutes.
- Stir in the salt and pepper.
- Arrange half the potatoes in overlapping layers in the prepared dish and scatter half the onion over them.
- Pour over half the sauce, then repeat with the remaining potatoes, onion, and sauce.
- Cover the dish tightly with foil and bake for 60 minutes.
- Uncover and bake for 20 to 30 minutes, until a knife slides easily into the potatoes and the top is golden.
- Let the potatoes rest for 10 minutes before serving.