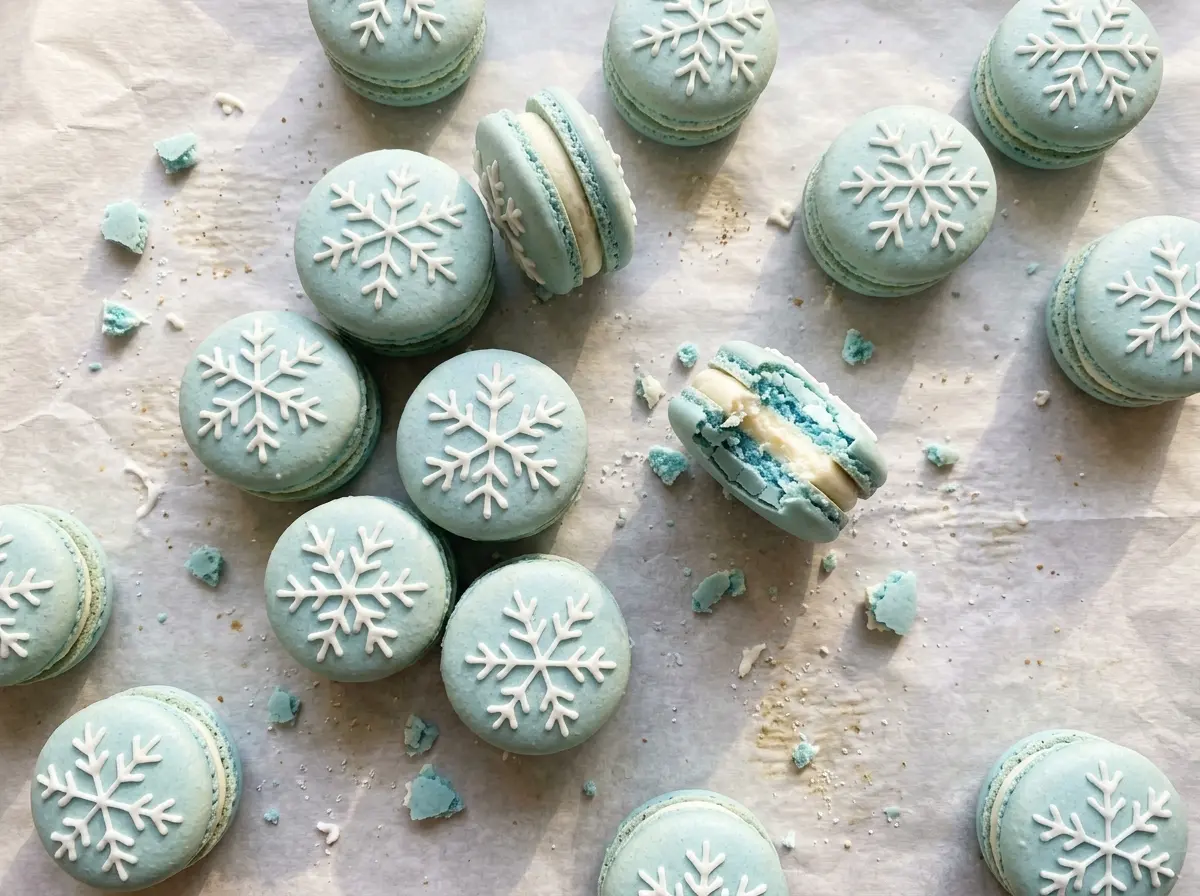
The piped rounds look a little too glossy at first, and it takes patience to wait until their tops feel dry before they go into the oven. That pause is part of what gives Snowflake Macarons their smooth blue shells and those small, lifted feet. The finished cookies are delicate, with white snowflake designs and a smooth white chocolate filling tucked between each pair.
I decorate the flat tops before filling the shells, so the snowflakes can set without the pressure of handling a finished sandwich. The ganache needs its own quiet stretch on the counter, too: it thickens gradually until it holds its shape when piped. With those two details in place, the finished macarons look crisp and polished, and the white designs stand out against the blue.
Kitchen Note
I let the baked shells cool completely on the pan before peeling them from the parchment. Warm shells are fragile, and waiting the full 20–30 minutes helps keep the bottoms intact.
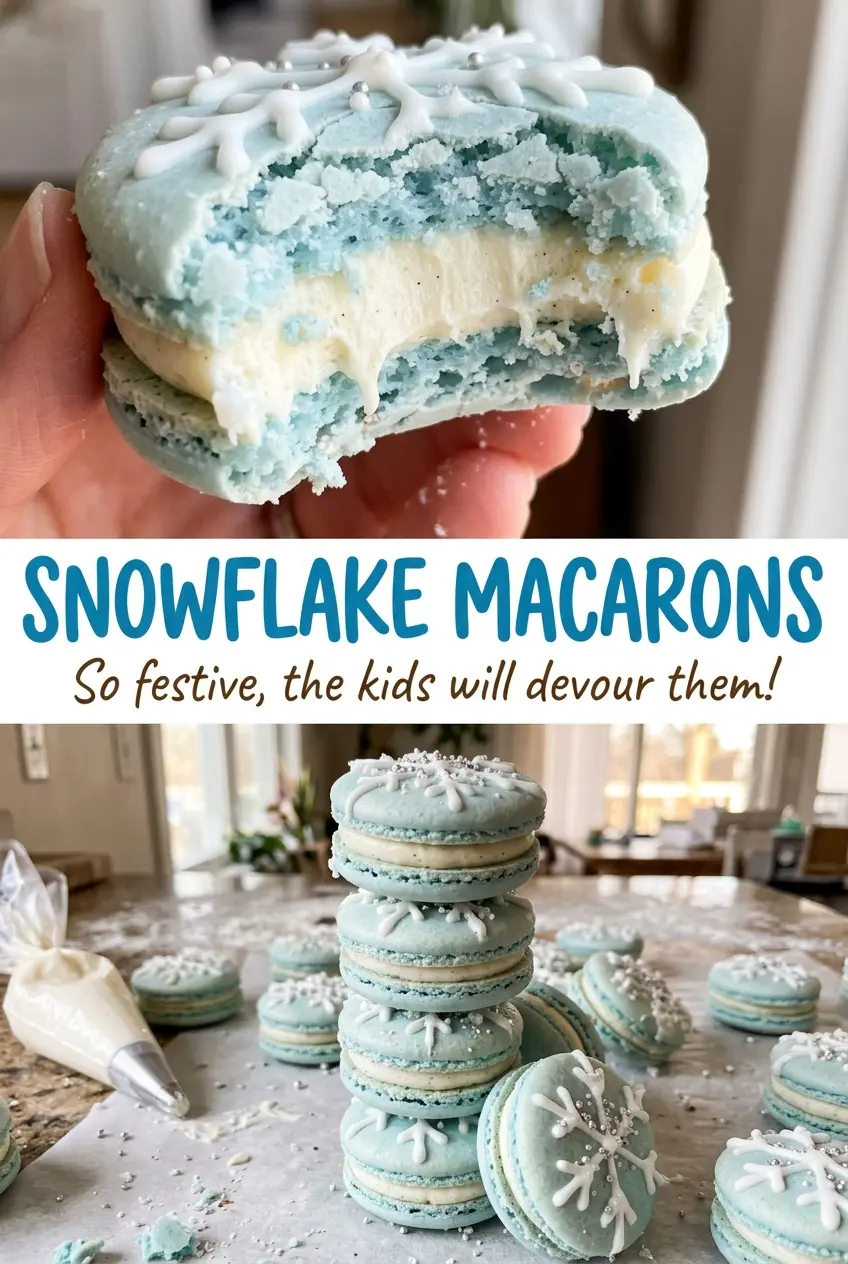
Save these Snowflake Macarons for a winter bake: blue shells, white chocolate filling, and delicate piped snowflakes.
Why the Batter’s Ribbon Matters More Than Another Minute of Whipping
Macaron batter needs to be fluid enough to settle into smooth rounds, but not so loose that it spreads into flat puddles. The most useful cue is the ribbon: lift the spatula and watch the batter fall back into the bowl. It should land in a thick ribbon, then blend back into the rest of the batter within 10–15 seconds.
Underfolded batter stays stiff and may hold a peak instead of settling. Fold too far, though, and the mixture gets runny; piped rounds can spread more than you want. I fold in three additions and check the consistency as I go rather than trying to hit a certain number of strokes. Once the ribbon test is right, stop. That small judgment call gives you a much better guide than folding until the batter merely looks smooth.
It’s worth keeping the bowl and spatula movements gentle and deliberate. Scrape around the sides and through the center, then reassess the flow. The batter should settle, but it shouldn’t pour like a thin liquid.
Why These Blue Shells Need Fine Almond Flour and Gel Color
- Blanched almond flour — It provides the shells’ structure and their signature nutty base. Choose a finely ground flour; a coarse almond meal is a poor stand-in for this smooth-shell batter. Sifting it with the confectioners’ sugar helps the dry ingredients combine evenly.
- Confectioners’ sugar — It blends with the almond flour to make the shell mixture fine and light. Sift it along with the flour so lumps don’t carry through into the batter.
- Room-temperature egg whites — These whip into the meringue that gives the shells lift. Let them come to room temperature before beating so they’re ready to build into glossy peaks.
- Granulated sugar and cream of tartar — The sugar is added gradually as the whites foam, building a glossy meringue; cream of tartar supports the whites as they whip. Add the sugar slowly rather than tipping it in all at once.
- Blue gel food coloring — Gel adds color without the extra liquid of a watery coloring. Add it near the end of whipping, as it’s easier to blend into the meringue before the dry ingredients are folded in.
- White candy melts — These make the piped snowflake decoration. Melt them gently and stir between short bursts so the coating stays smooth enough to pipe.
- White chocolate and heavy cream — Finely chopped white chocolate melts evenly when the steaming cream is poured over it. Use a good-quality white chocolate you enjoy eating; chopping it finely helps it soften throughout instead of leaving hard pieces in the ganache.
From Glossy Meringue to Pipeable Ganache
Whip and Fold the Shell Batter
Heat the oven to 300°F with a rack in the middle, and line one 18×13-inch rimmed baking sheet with parchment. Sift the almond flour and confectioners’ sugar together, discarding any large pieces that don’t pass through. Beat the egg whites with the cream of tartar on medium until foamy, then add the granulated sugar gradually and beat on medium-high for about 5–7 minutes, until glossy stiff peaks form. Add the blue gel coloring near the end, then fold the dry mixture into the meringue in three additions until it passes the ribbon test.
Pipe, Rest, and Bake the Rounds
Transfer the batter to a piping bag fitted with a 1/2-inch round tip and pipe about 36 rounds, each 1 1/4 inches wide, onto the prepared pan. Tap the pan firmly on the counter, then pop any visible air bubbles with a toothpick. Leave the rounds at room temperature for 30–60 minutes, until the surfaces feel dry and no longer tacky; don’t rush them into the oven while they still feel sticky. Bake at 300°F for 15–17 minutes, until the shells have risen feet and the tops feel set when lightly touched.
Pipe Snowflakes on Half the Shells
Let the candy melts soften in a microwave-safe bowl at 50% power, using 15-second bursts and stirring after each one until smooth. Transfer the melted coating to a small piping bag or parchment cone. Pipe snowflake designs onto half of the shells and let the designs set for 15–20 minutes before assembling, so the decorated tops are ready to handle.
Cool the Ganache and Sandwich the Shells
Heat the heavy cream in a small saucepan over low heat until it’s steaming, then pour it over the finely chopped white chocolate. Let the mixture stand for 2 minutes before stirring until smooth. Leave the ganache at room temperature for 30–45 minutes, stirring every 10 minutes, until it’s thick but still pipeable. Match the shells by size, pipe about 1 1/4 teaspoons of ganache onto each undecorated shell, and top with a decorated one. Press gently to sandwich without cracking the tops.
Three Ways to Change the Snowflake Look
Choose a Different Gel Color
Swap the blue gel coloring for another gel color in the same amount. The shells will take on a different shade while keeping the white snowflake decoration and white chocolate filling; the exact color intensity depends on the coloring.
Leave the Shells Uncolored
Omit the blue gel for pale, naturally colored shells, then decorate half with the white candy melts as usual. The snowflakes will be subtler against the light shells, but the white chocolate filling stays just as it is.
Make Plain Blue Macarons
Skip the candy-melt decoration and sandwich the blue shells with the white chocolate ganache. You’ll keep the same crisp color contrast and filling, with less decorating work and a simpler finish.
Storage and Reheating
- Refrigerator: Store assembled macarons in an airtight container for up to 3 days. The shells soften slightly as they sit with the ganache.
- Freezer: Freeze assembled macarons in a single layer until firm, then transfer them to an airtight container and use within 1 month. Thaw them in the refrigerator while still covered.
- Reheating: Don’t reheat macarons; it can soften the shells and melt the filling. Let chilled macarons sit out briefly before serving for a less-cold bite.
Questions That Come Up While Making Snowflake Macarons
Snowflake Macarons
Ingredients
Equipment
Method
- Preheat the oven to 300°F with a rack in the middle.
- Line one 18x13-inch rimmed baking sheet with parchment paper.
- Sift the almond flour and confectioners' sugar together into a bowl, discarding any large pieces that do not pass through the sieve.
- Beat the egg whites and cream of tartar on medium speed until foamy.
- Gradually add the granulated sugar.
- Beat on medium-high until glossy stiff peaks form, about 5–7 minutes, adding the blue gel coloring near the end.
- Fold the dry mixture into the meringue in three additions until the batter falls in a thick ribbon and settles back into itself within 10–15 seconds.
- Transfer the batter to a piping bag fitted with a 1/2-inch round tip and pipe about 36 rounds, 1 1/4 inches wide, onto the prepared pan.
- Tap the pan firmly on the counter and pop any visible air bubbles with a toothpick.
- Let the rounds stand at room temperature for 30–60 minutes, until their surfaces feel dry and are no longer tacky.
- Bake at 300°F for 15–17 minutes, until the shells have risen feet and their tops feel set when lightly touched.
- Cool the shells completely on the pan, about 20–30 minutes, before peeling them off the parchment.
- Melt the candy melts in a microwave-safe bowl at 50% power in 15-second bursts, stirring after each, until smooth.
- Transfer the melted candy to a small piping bag or parchment cone and pipe snowflake designs onto half of the shells.
- Let the designs set for 15–20 minutes.
- Heat the heavy cream in a small saucepan over low heat until steaming.
- Pour the steaming cream over the chopped white chocolate.
- Let stand for 2 minutes.
- Stir the chocolate and cream until smooth.
- Let the ganache stand at room temperature for 30–45 minutes, stirring every 10 minutes, until thick but pipeable.
- Match the shells by size and pipe about 1 1/4 teaspoons of ganache onto each undecorated shell.
- Top with a snowflake-decorated shell and press gently to sandwich.