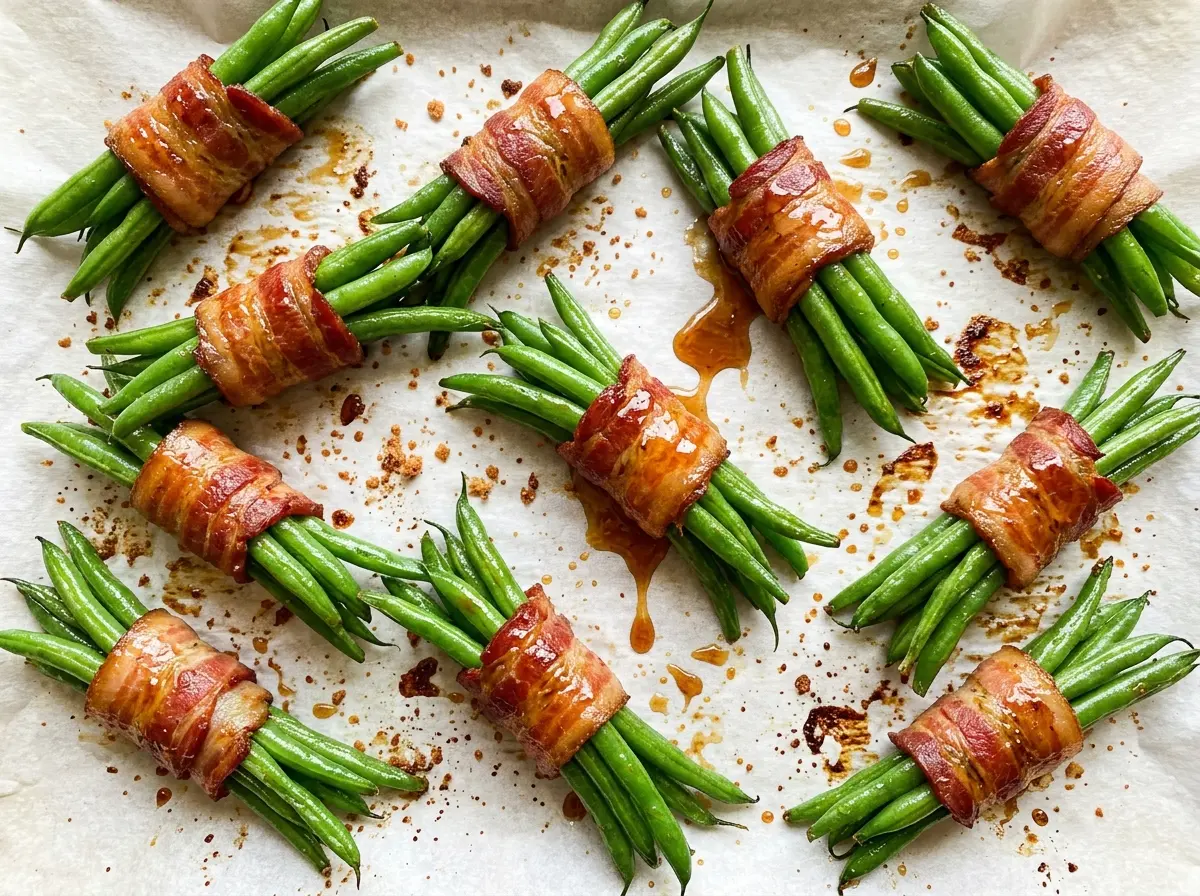
On the baking sheet, the bacon tightens around the green beans while the butter and brown sugar turn into a glossy coating. Once the edges of the bacon brown, these Green Bean Bundles have the kind of sweet-and-savory finish that makes a simple vegetable side feel special without adding another pan of sauce to the meal.
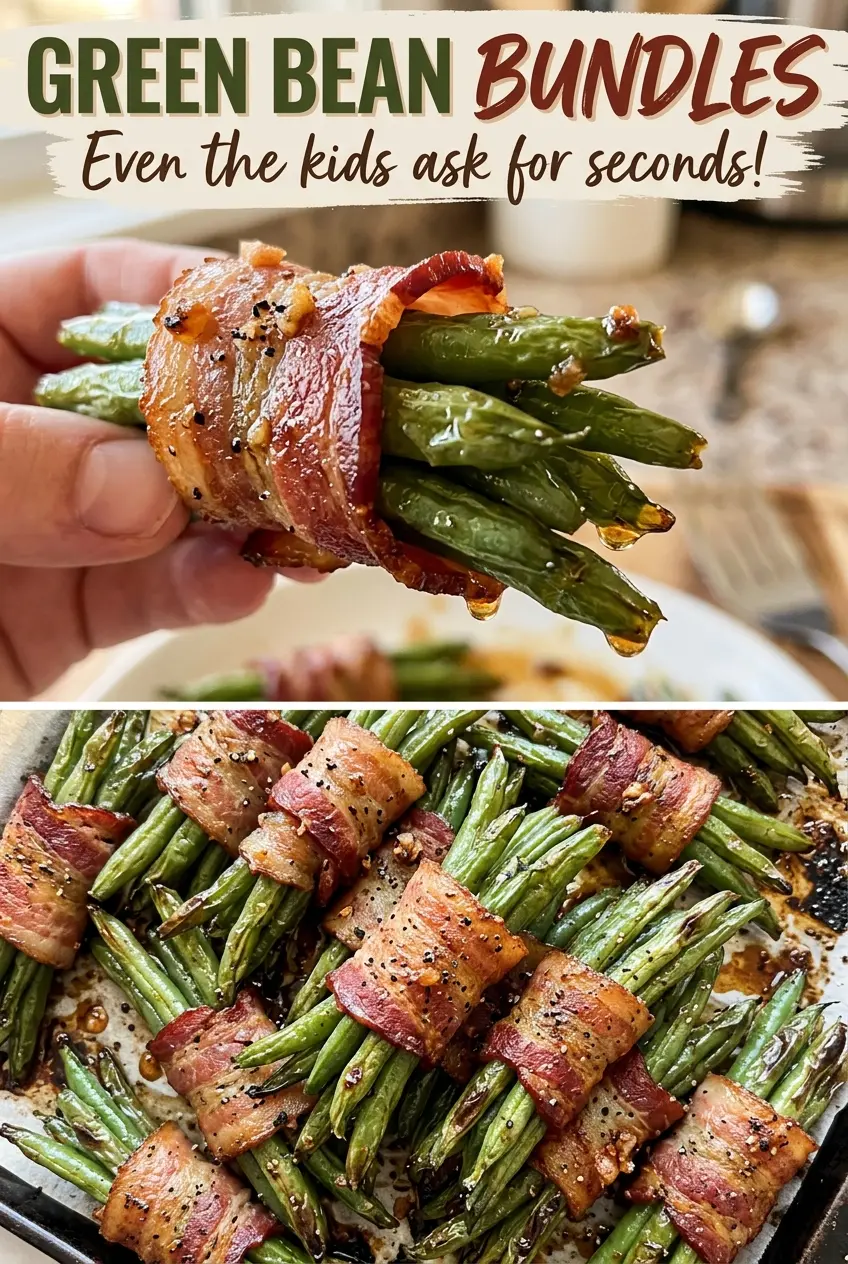
I like the contrast in each bite: tender green beans inside, crisp bacon around the outside, and just enough garlic in the glaze to balance the brown sugar. The bundles also make it easy to portion the beans before they reach the table, with every serving wrapped in bacon and brushed with that buttery glaze.
Kitchen Note
Set each bundle seam-side down so the bacon stays wrapped as it bakes. That small placement detail keeps the bundles tidy without needing toothpicks.
Save these Green Bean Bundles for an easy side with tender beans, crisp bacon, and a buttery brown-sugar glaze.
Why the 18×13-Inch Pan Matters for Crisp Bacon
These bundles need enough space to roast rather than sit crowded against one another. A rimmed 18×13-inch baking sheet gives the 16 bundles room to rest in a single layer, while the rim keeps the buttery brown-sugar glaze and bacon drippings contained. When the pan is packed tightly, the beans release moisture into a smaller area and the bacon has less chance to brown evenly.
The bundle size helps with that same balance. Dividing the beans into portions of about five or six keeps each packet compact enough for a half-slice of regular-cut bacon to wrap around it, without making a thick pile that takes longer to cook through. Aim for similar-sized bundles across the sheet so they finish in the same window. The goal isn’t to leave huge gaps; it’s to avoid stacking or overlapping them. That way, the bacon can brown while the beans turn tender, instead of one part of the pan lagging behind another.
What the Beans, Bacon, and Brown-Sugar Glaze Each Bring
- Fresh green beans — Fresh beans are sturdy enough to gather and wrap, and they keep a pleasant bite as they roast. Choose firm beans that are fairly similar in thickness so the bundles cook at a similar pace. Trim the ends before dividing them; frozen beans tend to soften and shed moisture as they thaw, making them harder to wrap neatly.
- Regular-cut bacon — A regular-cut slice bends around the beans without making an overly thick layer. The basic grocery-store kind works well here; the bacon’s job is to season the beans and brown around each bundle. Thick-cut bacon is less reliable for this timing because its center can take longer to crisp.
- Unsalted butter — Butter gives the glaze its smooth, rich base and carries the brown sugar over the bundles. Unsalted butter lets the kosher salt and bacon provide the seasoning without adding an unknown amount of salt from the butter itself. Plant-based butter works as a dairy-free swap, as noted below.
- Packed light brown sugar — The molasses in light brown sugar gives the glaze a warm sweetness and helps it cling as it bakes. Pack it into the measuring cup so the glaze has the intended sweetness and body. Dark brown sugar will make the glaze taste more strongly of molasses.
- Garlic powder — The dry powder stirs into the butter and sugar evenly, adding savory flavor without pieces of fresh garlic that could darken quickly in the hot oven. Keep the powder with the glaze ingredients so it gets distributed across the bundles rather than concentrated in one spot.
- Kosher salt and black pepper — These season the green beans before the glaze goes on. The bacon brings its own saltiness, so the measured seasoning is enough to complement the sweet glaze without competing with it.
From Tightly Wrapped Bundles to Crisp Bacon
Portion and Wrap the Green Beans
Heat the oven to 400°F and line a rimmed 18×13-inch baking sheet with foil. Divide the trimmed green beans into 16 bundles of about five to six beans each. Wrap each bundle with one bacon half, then place it seam-side down on the lined sheet. Sprinkle the bundles with kosher salt and black pepper before adding the glaze.
Stir Together the Butter Glaze
Melt the unsalted butter in a small saucepan over medium-low heat. Stir in the packed light brown sugar and garlic powder until the mixture is combined. Keep the heat moderate; the goal is a smooth, brushable glaze, not bubbling caramel. Brush the glaze over the bundles so each one gets coated across the bacon and exposed beans.
Bake Until the Beans Are Tender
Bake the bundles for 30 to 35 minutes. The visual cues matter more than a single minute on the timer: the beans should be tender, and the bacon should look browned and crisp. Check the thicker bundles if the pan has a few uneven portions; they may need the full end of the baking window. If the bacon is still pale and the beans aren’t tender, give them the remaining time rather than pulling them early.
Let the Bundles Set Before Serving
Once the beans are tender and the bacon is crisp, take the baking sheet from the oven and let the bundles rest on it for 5 minutes. The glaze is hot when it first comes out, and this brief pause makes the bundles easier to lift without breaking them apart. Serve them from the sheet or transfer them carefully with a spatula or tongs.
Two Useful Ways to Adapt These Green Bean Bundles
Make a Half Batch
For a smaller meal, halve every ingredient and make 8 bundles instead of 16. Keep the bundles about the same size so they cook in the same 30-to-35-minute window. The smaller batch still has the same bacon-to-bean balance, without leaving you with extra portions.
Make the Glaze Dairy-Free
Replace the unsalted butter with the same amount of stick-style dairy-free butter, then melt it and stir in the brown sugar and garlic powder as usual. The glaze will still coat the bundles, though the buttery flavor can vary by brand. Stick-style butter gives a more dependable texture than a soft tub spread.
Storage and Reheating
- Refrigerator: Keep cooked bundles in a covered container for 3 to 4 days. The bacon softens in storage, and the beans become less firm.
- Freezer: Freeze cooled bundles in a single layer, then transfer them to a freezer-safe container for up to 2 months. The beans will be softer after thawing, and the bacon won’t be as crisp as freshly baked.
- Reheating: Reheat on a foil-lined rimmed baking sheet in a 350°F oven until the centers reach 165°F. The microwave is quicker, but it softens the bacon more; avoid reheating longer than needed.
Questions That Come Up While Making Green Bean Bundles
Green Bean Bundles
Ingredients
Equipment
Method
- Preheat the oven to 400°F.
- Line a rimmed 18x13-inch baking sheet with foil.
- Divide the green beans into 16 bundles of about 5 to 6 beans each.
- Wrap each bundle with a bacon half.
- Place the bundles seam-side down on the baking sheet.
- Sprinkle the bundles with the kosher salt and black pepper.
- Melt the butter in a small saucepan over medium-low heat.
- Stir in the brown sugar and garlic powder until combined.
- Brush the glaze over the bundles.
- Bake for 30 to 35 minutes, until the beans are tender and the bacon is browned and crisp.
- Let the bundles rest on the baking sheet for 5 minutes before serving.