The cocoa powder can look stubbornly dusty when it first meets water, and a few dry pockets are easy to miss until the pan warms up. I whisk the sugar, cocoa, water, and salt together while everything is still cool, until the mixture looks smooth from the bottom of the saucepan to the edges. That’s the small detail that makes homemade chocolate syrup feel easy instead of lumpy.
This syrup simmers just long enough to lose its watery look, but it won’t turn into a thick sauce on the stove. It’s meant to be pourable, and it thickens more as it cools. I stir in the vanilla after taking the pan off the heat, so its aroma stays warm and noticeable instead of disappearing into the simmer.
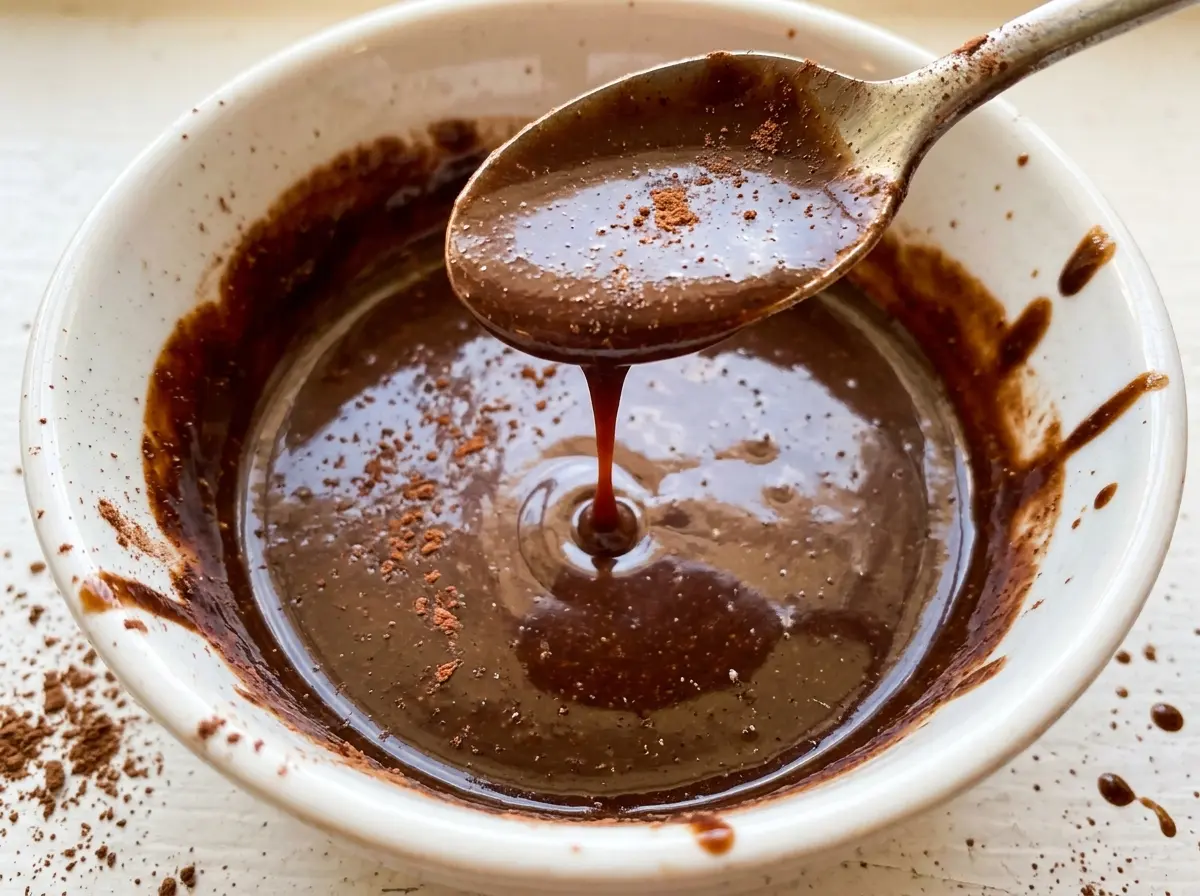
The result is dark, glossy chocolate syrup with a clean cocoa flavor and enough sweetness to work in a glass of milk or over a favorite dessert. It takes only a small saucepan and a whisk, and the finished syrup is ready once it has cooled.
Kitchen Note
Let the syrup cool before judging its final thickness. It looks looser in the saucepan than it will in the jar, and cooking it longer to chase a thick, cold-syrup texture can leave you with something too concentrated.
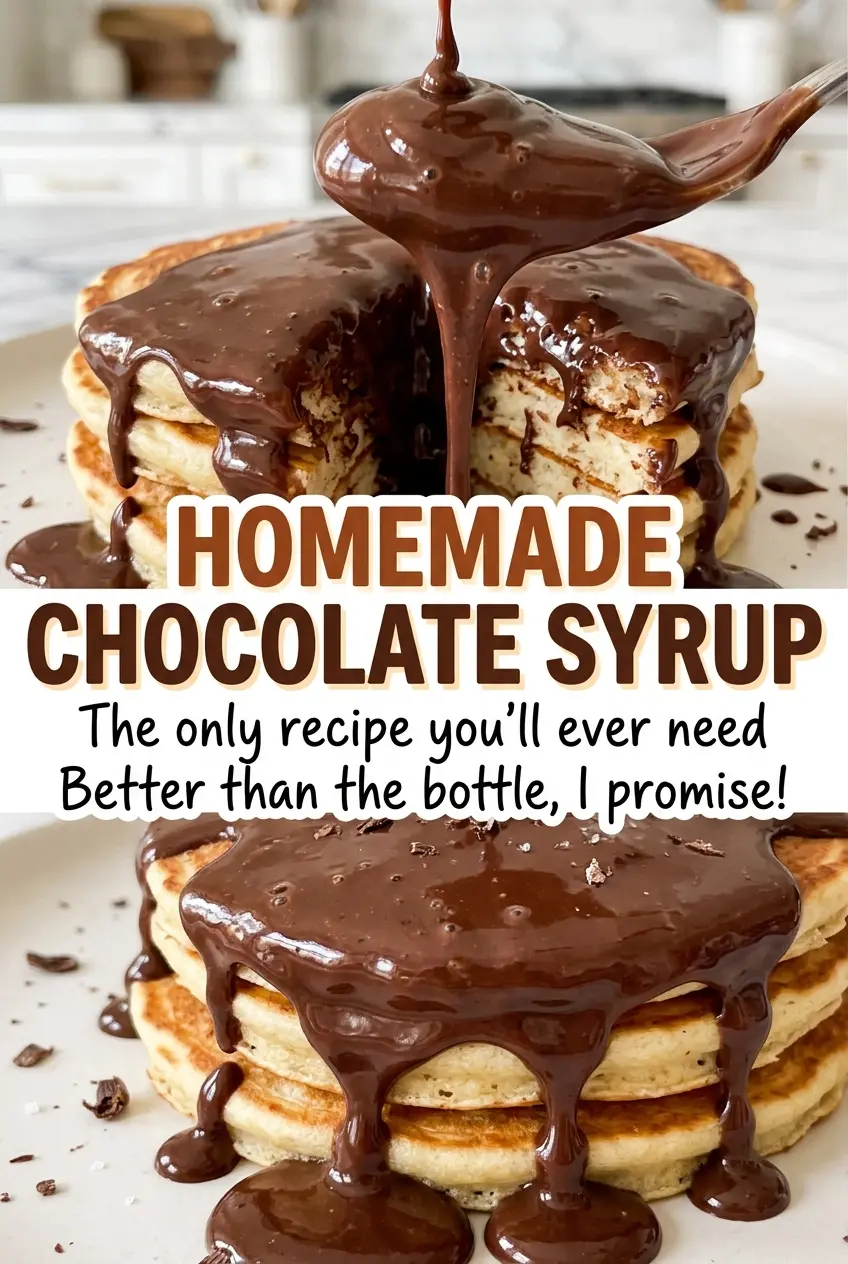
Save this homemade chocolate syrup for a quick, cocoa-rich topping that you can pour over desserts or stir into milk.
Why the Cocoa Has to Be Smooth Before the Pan Gets Hot
Cocoa powder doesn’t dissolve the way sugar does. Its fine particles can gather into little dry clumps, and once those clumps warm up, it takes more work to break them apart. Whisking the ingredients together while they’re cool gives you a chance to catch the cocoa hiding at the bottom or stuck along the sides before heat changes the mixture.
Look for a uniformly dark mixture with no pale streaks or floating powder before you turn on the burner. A whisk is useful here because it reaches into the saucepan’s corners and pulls in the cocoa that a spoon can leave behind. If you spot a stubborn lump at this stage, press it against the side of the pan with the whisk and keep going until the liquid looks even. That smooth start makes the simmer easier to manage and gives the finished syrup an even chocolate texture.
Once the mixture is hot, keep whisking rather than walking away. Cocoa can settle on the bottom, where it may catch if the pan is left undisturbed. You’re not trying to create foam or beat air into the syrup; steady whisking is enough to keep the mixture moving while the sugar dissolves.
What Cocoa, Sugar, and Vanilla Each Bring to the Syrup
- Unsweetened cocoa powder — This supplies the chocolate flavor, so choose a cocoa you enjoy tasting on its own. A standard natural cocoa gives the syrup a familiar, direct cocoa taste; Dutch-process cocoa is also unsweetened cocoa powder and makes the flavor rounder and the color darker. An inexpensive everyday cocoa works well, but stale cocoa with a flat smell won’t gain much from simmering.
- Granulated sugar — It sweetens the sharp edge of the cocoa and dissolves into the water as the syrup simmers. Regular granulated sugar is the right straightforward choice here; there’s no need for superfine sugar or a specialty sweetener. The syrup has a clean sweetness rather than the molasses note you’d get from brown sugar.
- Vanilla extract — Vanilla softens the cocoa’s bitter edge and makes the chocolate taste more rounded. Use a vanilla extract whose aroma you like, but a standard grocery-store bottle is fine because the cocoa remains the main flavor. Stir it in after the pan comes off the heat.
- Kosher salt — A little salt keeps the sweetness from tasting one-dimensional and gives the cocoa more definition. Different kosher salt brands have different crystal sizes, so measuring by the stated teaspoon matters more than buying a premium brand.
- Water — Water lets the sugar and cocoa form a pourable syrup without adding another flavor. Tap water is fine if it tastes good on its own; there’s no need to use milk, which would make the mixture a different, more perishable preparation.
How to Simmer the Syrup Without Scorching the Cocoa
Whisk the ingredients together while cool
Put the sugar, cocoa powder, water, and kosher salt in a small saucepan and whisk until smooth. Scrape the bottom and sides as you work, where dry cocoa tends to cling. The mixture should look evenly dark before it goes over the heat, with no visible dry pockets. Starting with a smooth mixture is easier than trying to chase lumps around a hot pan.
Bring it to a gentle boil, then lower the heat
Set the saucepan over medium heat and whisk often as the mixture warms. Bring it to a gentle boil, not a hard, splattering boil; the surface should bubble without the syrup surging up the sides. As soon as it reaches that point, reduce the heat and simmer for 3 to 5 minutes, whisking constantly. Keep the whisk moving across the bottom so the cocoa doesn’t settle and scorch.
Stop at slightly thickened and finish off the heat
During the simmer, the syrup should look a little less watery and begin to cling lightly to the whisk, but it won’t be as thick as it will be chilled. Remove the pan from the heat and stir in the vanilla extract. Don’t keep simmering while you wait for a cold syrup texture; the mixture thickens further as it cools. Let it cool before serving, then transfer it to a clean container for storage.
Two Simple Ways to Shift the Chocolate Flavor
Use Dutch-process cocoa for a rounder taste
Replace the natural-style cocoa with the same amount of unsweetened Dutch-process cocoa. The syrup will look darker and taste less sharp, with the same basic method and a smooth, pourable finish. This is a useful change if you prefer mellow chocolate over a brighter cocoa bite.
Trade the clean sweetness for light brown sugar
Use an equal volume of packed light brown sugar in place of the granulated sugar. Its molasses gives the syrup a warmer, slightly caramel-like note and a less neutral sweetness. The chocolate stays front and center, but the finished syrup tastes deeper than the original.
Storage and Reheating
- Refrigerator: Keep the cooled syrup in a clean, tightly covered container for up to 2 weeks. It will become thicker and less fluid when cold.
- Freezer: Freeze in a freezer-safe container with a little room at the top for up to 2 months. Thaw it in the refrigerator and stir before using.
- Reheating: Warm only the amount you need gently in a small saucepan over low heat, stirring until it loosens. Avoid boiling it again, which can reduce the syrup and make it thicker than you want.
Questions That Come Up When Making Chocolate Syrup
Homemade Chocolate Syrup
Ingredients
Method
- Whisk the sugar, cocoa powder, water, and salt together in a small saucepan until smooth.
- Bring to a gentle boil over medium heat, whisking often.
- Reduce the heat and simmer for 3 to 5 minutes, whisking constantly, until slightly thickened.
- Remove the pan from the heat.
- Stir in the vanilla extract.
- Cool before serving, as the syrup thickens further as it cools.