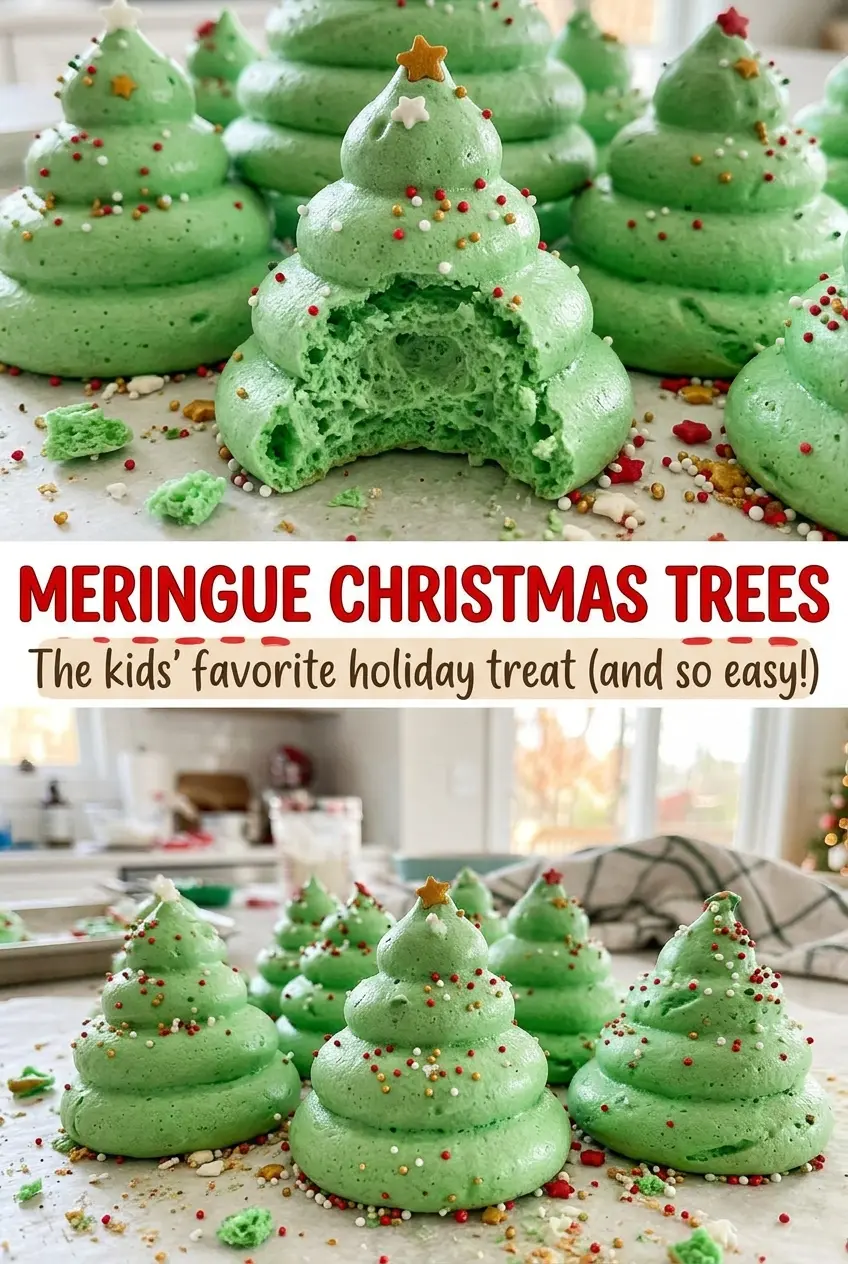
A row of little green peaks looks delicate before it goes into the oven, but these cookies hold their shape as they dry into crisp, airy trees. Meringue Christmas Trees are a nice change from holiday cookies that need rolling, cutting, or decorating one at a time. Each tree comes out ridged, lightly sweet, and topped with a few bright sprinkles.
I like the contrast between the crisp shells and the colorful tops; the open-star ridges make the trees recognizable without fussy decorating. The meringue itself is simple, but it rewards a patient hand: build a stable foam, pipe while it still holds its shape, and give the trees time to dry gently. That’s what makes a tray of small piped peaks feel special rather than fragile.
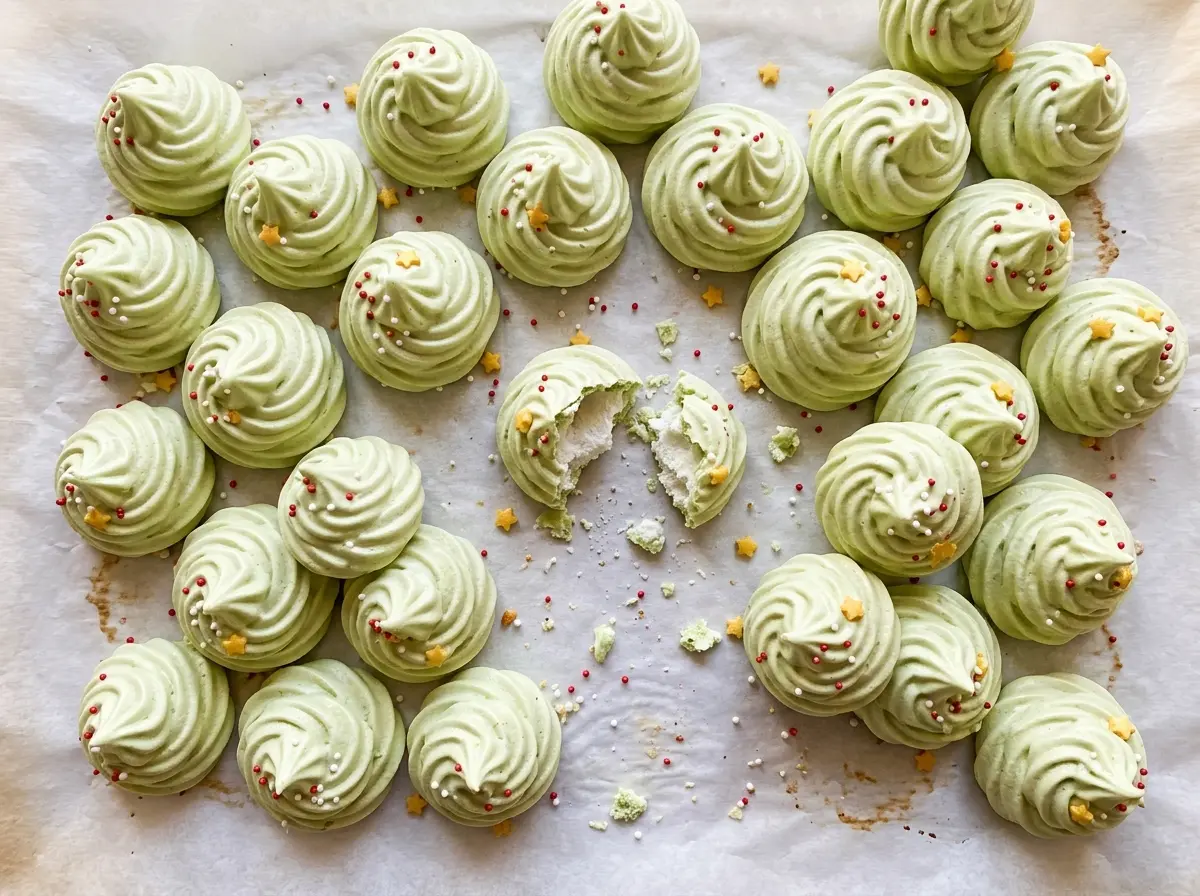
Kitchen Note
Rub a little meringue between your fingers before you add the vanilla. It should feel smooth, not sandy; if you still feel sugar crystals, keep beating until they dissolve.
Save these Meringue Christmas Trees for a crisp, green holiday treat with pretty piped ridges and a sprinkle finish.
Why These Trees Dry at 200°F Instead of Toasting Like Cookies
Meringue needs to lose moisture without taking on much color. That’s why these trees spend their time in a low oven rather than baking at the hotter temperature you’d use for a typical cookie. A hotter oven can set and color the thin ridges before the centers have had a chance to dry evenly, leaving you with browned edges and a softer middle.
The slow, gentle heat also helps keep the green color looking fresh instead of dull or toasted. Think of the oven as a place to dry the piped shapes, not brown them. It takes patience, but it’s what gives the finished trees their delicate, crisp bite while helping them keep those distinct ridges. If you’re used to judging cookies by golden edges, set that cue aside here: color isn’t the goal.
What Each Ingredient Brings to a Stable, Piped Meringue
- Egg whites — Room-temperature whites whip into a generous foam more readily than cold ones. Use large eggs and separate the whites carefully; even a trace of yolk can interfere with whipping. There isn’t a dependable swap that gives the same airy structure.
- Cream of tartar — This small amount helps stabilize the beaten whites as they build volume. I wouldn’t leave it out for this batch; the foam has less support without it. Keep it dry and use the pantry version—there’s no need for a specialty brand.
- Granulated sugar — Sugar sweetens the meringue and helps give it structure as it dries. Regular granulated sugar works well when it’s added gradually; coarse crystals are harder to dissolve, and brown sugar changes both the color and moisture. A standard store brand is fine.
- Vanilla extract — Vanilla rounds out the sweetness, and a reasonably priced extract is plenty because the green color and sprinkles are also part of the finished cookie. You can omit it for a plainer, more purely sweet meringue, though the trees will lose that gentle vanilla note.
- Green gel food coloring — Gel adds concentrated color without introducing as much liquid as ordinary food coloring. Keep the gel version for reliably colored meringue, or leave it out for white trees. No premium brand is needed; choose a gel meant for baking.
- Holiday sprinkles — These add a bright finish and a little crunch. Any style you enjoy works, and gluten-free holiday sprinkles are an easy replacement if you need the finished cookies to be gluten-free.
From Foamy Whites to Crisp Little Trees
Prepare the oven and pan
Heat the oven to 200°F and line a large rimmed baking sheet with parchment paper. Having the pan ready before you whip the whites keeps the meringue from sitting around while you prepare the surface. Use parchment rather than wax paper; the trees need an oven-safe liner they can lift away from once dry.
Build a soft, stable foam
Put the egg whites in a clean, dry bowl and beat with an electric mixer on medium until foamy, about 1 minute. Add the cream of tartar, then beat on medium-high until soft peaks form, about 2 to 3 minutes. At this stage the foam should look white and hold a peak that bends over, not a stiff point. A damp or greasy bowl makes it harder for the whites to gain volume.
Beat in the sugar gradually
With the mixer on high, add the sugar 1 tablespoon at a time. Once it’s all in, keep beating until the meringue looks glossy and holds stiff peaks, about 7 to 10 minutes. The gradual additions give the sugar time to incorporate instead of leaving a gritty foam. Keep the mixer running until the meringue is firm enough to keep its shape.
Tint, pipe, and decorate
Beat in the vanilla and green gel food coloring on low just until evenly colored, about 20 seconds. Transfer the meringue to a piping bag fitted with a 1/2-inch open-star tip. Pipe 2-inch-tall tree shapes onto the prepared sheet, leaving about 1 inch between them, then add the holiday sprinkles. Work steadily so the piped shapes are similar in size and dry at the same pace.
Dry the trees, then let them cool slowly
Bake until the trees feel dry and lift cleanly from the parchment, about 1 1/2 to 2 hours. Don’t rely on color to judge them; these should stay green rather than turn golden. Turn off the oven and leave the trees inside to cool for 1 hour before removing them. The finished meringues are delicate, so handle them gently once they’re cool.
Easy Ways to Change the Look Without Changing the Meringue
Make a snowy white forest
Leave out the green gel coloring and keep the rest of the mixture and method the same. The trees will be white, so the sprinkles stand out more; the meringue texture won’t change.
Choose another tree color
Use another color of gel food coloring in place of the green gel. The same concentrated gel keeps the color change from adding much moisture, while the finished trees take on a different holiday look.
Use gluten-free holiday sprinkles
Replace the regular holiday sprinkles with gluten-free holiday sprinkles. The meringue itself is made without flour, and this swap keeps the festive decoration while making the ingredient choice suitable for a gluten-free batch.
Storage and Reheating
- Refrigerator: Skip the fridge; store cooled trees in an airtight container at room temperature for up to 2 weeks. Moisture can make the crisp shells sticky.
- Freezer: Freeze in a rigid airtight container with parchment between layers for up to 1 month. Thaw them inside the closed container at room temperature to limit condensation.
- Reheating: These don’t need reheating. Warmth can soften the shells, so serve them at room temperature instead.
Questions That Come Up While Making Meringue Trees
Meringue Christmas Trees
Ingredients
Equipment
Method
- Heat the oven to 200°F.
- Line a large rimmed baking sheet with parchment paper.
- In a clean, dry bowl, beat the egg whites with an electric mixer on medium speed until foamy, about 1 minute.
- Add the cream of tartar and beat on medium-high until soft peaks form, 2 to 3 minutes.
- With the mixer on high, add the sugar 1 tablespoon at a time.
- Beat until the meringue is glossy and holds stiff peaks, 7 to 10 minutes.
- Rub a little meringue between your fingers to check that the sugar has dissolved.
- Beat in the vanilla and green gel food coloring on low just until evenly colored, about 20 seconds.
- Transfer the meringue to a piping bag fitted with a 1/2-inch open-star tip.
- Pipe 2-inch-tall tree shapes onto the prepared sheet, spacing them about 1 inch apart.
- Add the holiday sprinkles.
- Bake until the trees feel dry and lift cleanly from the parchment, 1 1/2 to 2 hours.
- Turn off the oven.
- Let the trees cool inside for 1 hour before removing them.