A dry cocoa mix can look evenly blended in the bowl and still turn lumpy when a full mug of water hits it. For this mini hot cocoa bar snackle box gift, I keep the cocoa, powdered sugar, instant milk, and salt together in one compartment, then give the toppings their own spaces. The box feels like a little cocoa bar, but everything needed for one mug stays together.
The small step that makes the drink smooth is mixing a little hot water into the dry cocoa first. That gives you a loose paste before the rest of the water goes in, instead of asking the powder to dissolve all at once. Then the recipient can add the toppings they like, from mini marshmallows to crushed peppermint, and dip a vanilla wafer alongside the mug. It’s a tidy gift with a warm, chocolatey finish.
Kitchen Note
I close the snackle box securely before I move it or wrap it. Keeping the dry mix, wafers, and toppings separated is what makes the little box useful as a gift.
Save this mini hot cocoa bar snackle box gift for a cozy little present with a smooth cocoa mix and a compartment for every topping.
Why This Cocoa Mix Starts With Unsweetened Cocoa
The mix is built from unsweetened cocoa powder, powdered sugar, instant nonfat dry milk, and a pinch of salt. Each part has a job, and starting with unsweetened cocoa lets the sweetness come from the powdered sugar rather than from a pre-sweetened cocoa blend. That gives the drink a straightforward chocolate taste before any of the candy toppings go in.
Powdered sugar also suits a mix that needs to dissolve in hot water. Granulated sugar has larger crystals, so it can take longer to disappear in the mug; powdered sugar blends more readily with the cocoa and dry milk. The instant milk powder means the cocoa mix already has its milky component in the box, while the mug only needs water. A pinch of fine salt helps keep the chocolate from tasting flat without making the drink salty.
The toppings are a separate choice, not part of the cocoa base. That matters because peppermint, caramel, toffee, and sprinkles each bring their own sweetness or texture. Letting people add them to taste keeps the cocoa itself balanced and gives each mug a different finish.
What Each Compartment Adds to the Cocoa Bar
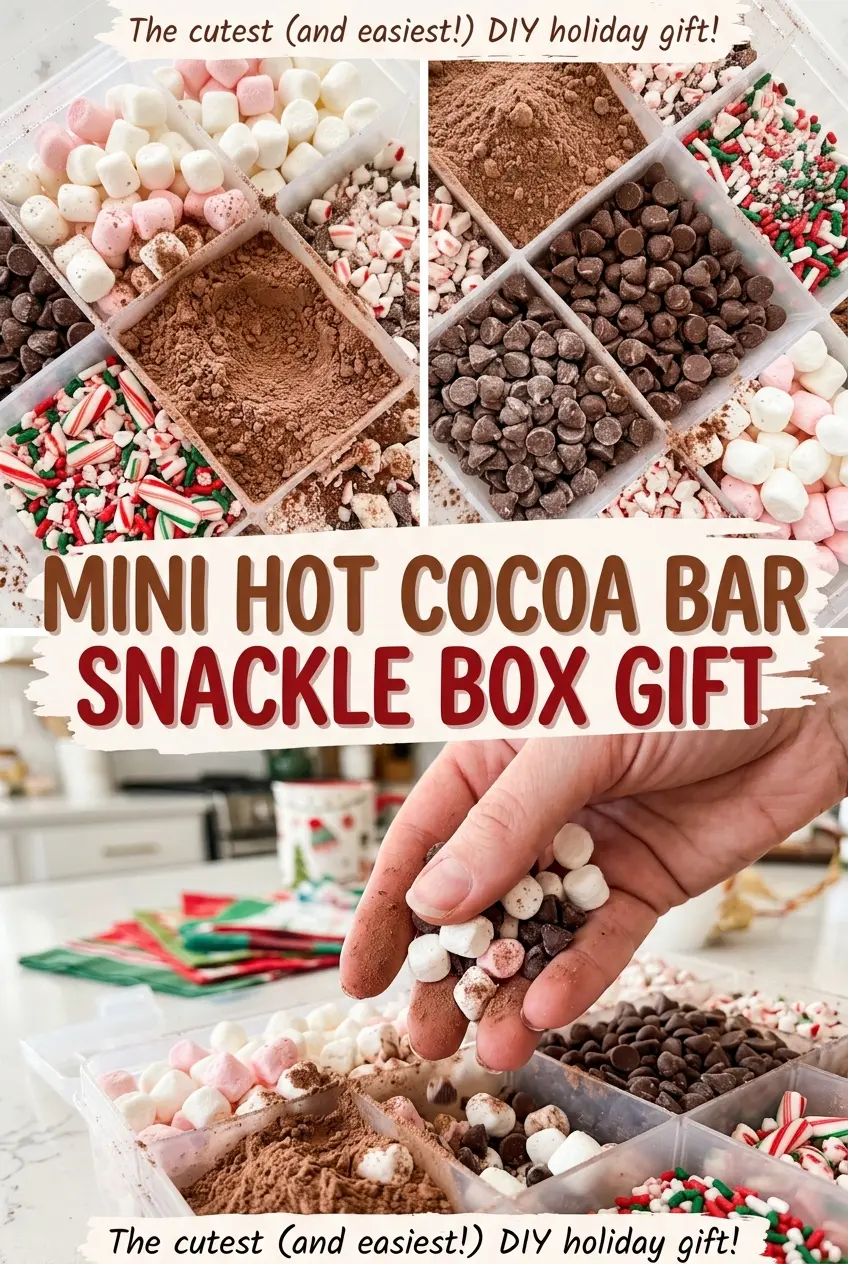
- Unsweetened cocoa and powdered sugar — Use unsweetened cocoa so the mix doesn’t get extra sweetness from a sweetened powder. Powdered sugar is the better fit here than granulated sugar because its finer texture combines more easily with the other dry ingredients.
- Instant nonfat dry milk — The instant form belongs in a drink mix because it’s intended to dissolve when liquid is added. Regular non-instant dry milk may leave a less smooth drink, so stick with instant nonfat dry milk for this preparation.
- Fine salt — A small pinch rounds out the cocoa’s flavor. Fine salt distributes through the powder blend more evenly than a coarse salt with larger crystals.
- Mini marshmallows and mini chocolate chips — Their small size makes them easy to portion from the box and add to a mug. Choose mini pieces rather than larger ones so they sit neatly in the separate compartments.
- Crushed peppermint candies, rainbow sprinkles, toffee bits, and caramel bits — These give the topping section its variety: minty crunch, color, and buttery or caramel notes. Keep each topping in its own compartment so the recipient can choose which flavors go together.
- Mini vanilla wafers — These are the dippers, so intact, crisp cookies work best. A gluten-free mini vanilla wafer is a useful replacement if you need gluten-free dippers; the cocoa mix and toppings still need to suit the recipient’s needs.
- Water — Hot water turns the dry mix into a mug of cocoa. Heat it until steaming, then use it in stages rather than pouring it all in at once.
Assembling the Box and Mixing a Smooth Mug
Whisk the Dry Cocoa Blend
In a small bowl, whisk together the powdered sugar, unsweetened cocoa powder, instant nonfat dry milk, and fine salt. Keep whisking until the color looks uniform and you no longer see streaks of cocoa or pockets of powdered sugar. This even blend helps each spoonful contain the same mix of ingredients. If cocoa clings to the sides of the bowl, scrape it down and whisk again before packing.
Give Every Topping Its Own Compartment
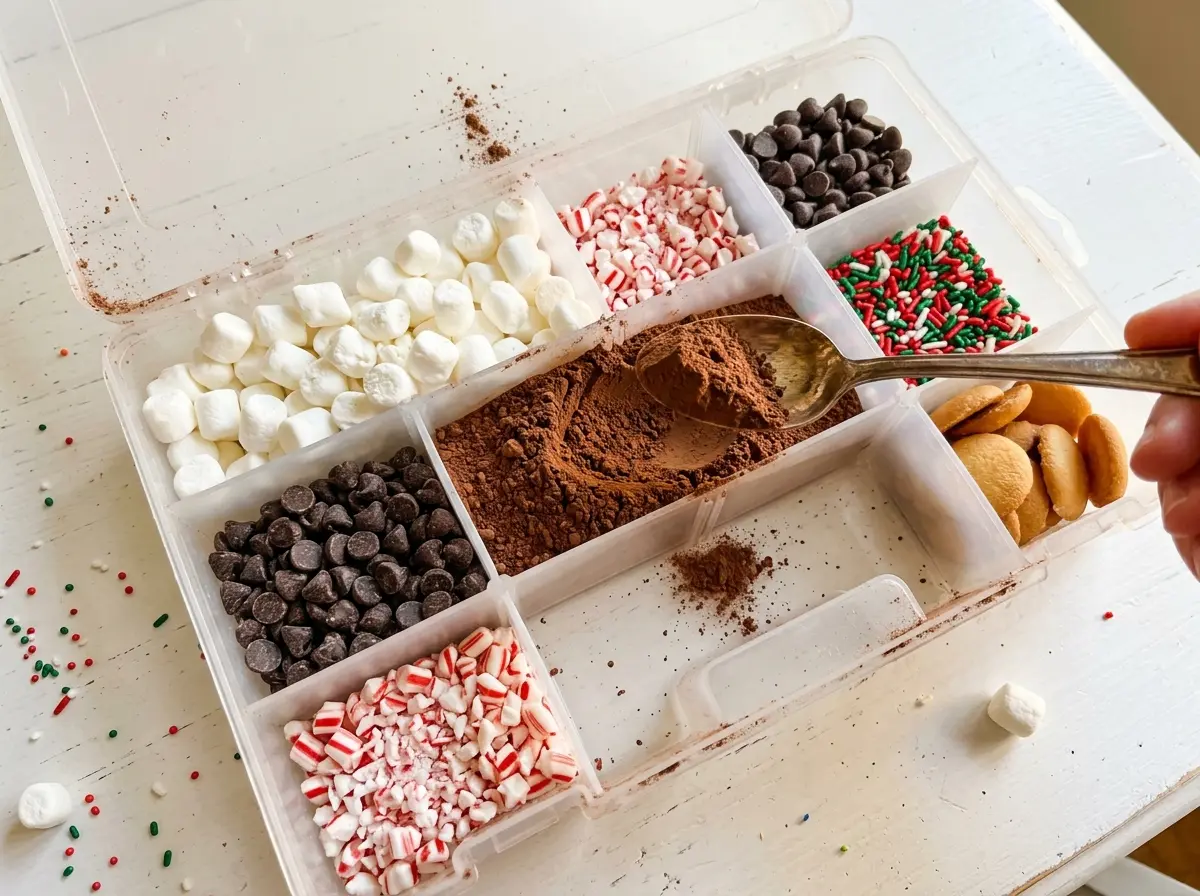
Spoon the cocoa mix into one compartment of an 8-compartment food-safe snackle box. Fill six separate compartments with the mini marshmallows, mini chocolate chips, crushed peppermint candies, rainbow sprinkles, toffee bits, and caramel bits. Put the four mini vanilla wafer cookies in the last compartment. Check that each item is in its own section, then close the box securely and keep it in a cool, dry place until gifting.
Turn the Mix Into Cocoa
When it’s time to serve, heat the water until steaming and put the cocoa mix in a mug. Whisk 2 tablespoons of the hot water into the mix first, working until it becomes a smooth paste with no dry pockets. Gradually whisk in the remaining hot water; adding it bit by bit lets the paste loosen evenly. Finish with toppings to taste, and keep the vanilla wafers beside the mug for dipping.
Two Easy Ways to Personalize the Gift Box
Swap in Gluten-Free Mini Wafers
Replace the four mini vanilla wafers with four gluten-free mini vanilla wafers. You keep the crunchy dipper and the same compartment layout, though the wafer texture and flavor will vary by brand. For a fully gluten-free gift, choose toppings and cocoa ingredients that meet the recipient’s needs as well.
Make a Peppermint-Free Box
Leave out the crushed peppermint candies for a cocoa bar without the minty crunch. Keep the other listed toppings in their own compartments and leave that section empty, rather than mixing the topping choices together. The result keeps the chocolate, caramel, and toffee options while making the box less mint-forward.
Keeping the Gift Dry
- Before gifting: Keep the closed box in a cool, dry place until you give it. Damp storage can soften the wafers and affect the dry mix.
- Refrigerator: Skip refrigeration for the assembled box; moving it between cold and warm conditions can introduce condensation.
- Freezer: Don’t freeze the filled box. The ingredients are packed dry, and moisture as the box thaws can affect the cookies and toppings.
- Serving: Keep the mix and toppings in the box until it’s time to make a mug. Prepare the cocoa with hot water in a mug, not inside the snackle box.
Questions That Come Up When Packing a Cocoa Gift
Mini Hot Cocoa Bar Snackle Box Gift
Ingredients
Equipment
Method
- In a small bowl, whisk together the powdered sugar, cocoa powder, dry milk, and salt until evenly combined.
- Spoon the cocoa mix into one compartment of an 8-compartment food-safe snackle box.
- Fill six separate compartments with the mini marshmallows, chocolate chips, crushed peppermint candies, sprinkles, toffee bits, and caramel bits, and place the vanilla wafers in the last compartment.
- Close the box securely and keep it in a cool, dry place until gifting.
- Heat the water until steaming.
- Whisk 2 tablespoons of the hot water into the cocoa mix in a mug to make a smooth paste.
- Gradually whisk in the remaining hot water.
- Add toppings to taste.