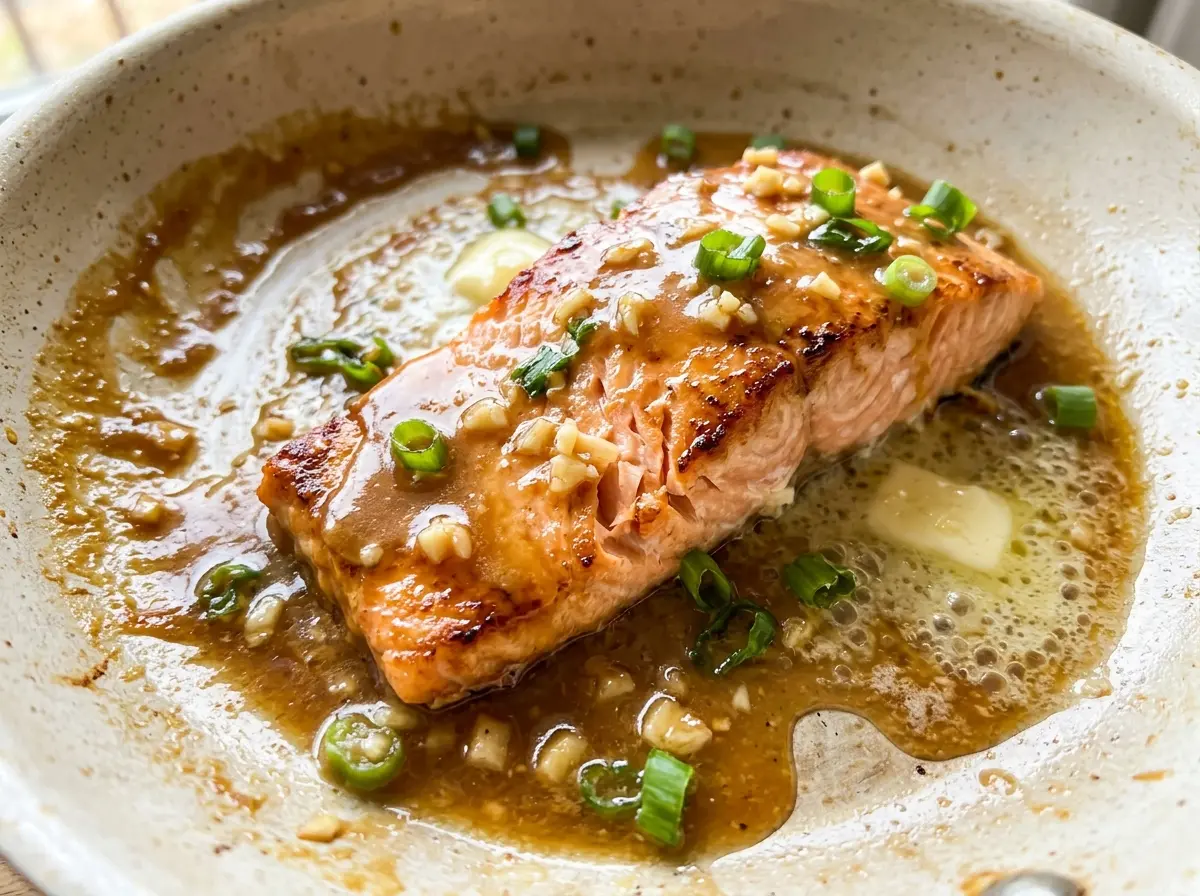
When the miso butter starts melting over the salmon, it settles into a glossy layer instead of running off the sides. I like this approach because the fish goes into the oven already seasoned, and there’s no pan to watch on the stove. Miso Butter Salmon comes out tender with a savory-sweet coating, while the skin stays underneath the fillet and keeps the flesh off the hot baking sheet.
Mixing the butter while it’s softened makes the miso, honey, and lemon juice blend into a smooth spread. That matters more than it might seem: lumps of cold butter are harder to distribute, and melted butter tends to slide away before baking. Spread the mixture across the top of each fillet, then let the oven do the work. The finished salmon is rich, bright, and easy to flake with a fork.
Kitchen Note
Keep the butter soft, not melted. It should stir smoothly and hold its shape on a spoon, which makes it much easier to spread evenly over the fillets.
Save Miso Butter Salmon for a night when you want tender oven-baked fish with a savory, lightly sweet miso coating.
Why the Skin Goes Down While the Miso Butter Stays on Top
With skin-on salmon, it’s tempting to put the skin facing up so it can crisp. That isn’t what this oven method is aiming for. Setting the fillets skin-side down gives the flesh a stable base on the lined sheet, and leaves the entire top open for the miso butter. The skin also helps separate the delicate fish from the pan as it bakes.
Keep the coating on the flesh side rather than trying to tuck it around the edges. The butter melts as the salmon cooks, carrying the salty, sweet, and lemony flavors over the top. If some of it drips onto the parchment or foil, that’s fine; don’t flip the fillets to chase a darker crust. Turning them would disturb the coating and can break the fish apart. The goal is a moist center with a lightly glazed top, not crisp skin or a seared crust.
This setup is especially helpful when you want a hands-off dinner. Once the tray goes into the oven, the fish cooks in a single layer and the topping stays where you spread it. Keep the fillets arranged skin-side down, with a little room between them so you can check each one easily.
White Miso and Unsalted Butter Do Different Jobs Here

- White miso — It gives the topping its mellow, fermented savoriness without overwhelming the fish. Choose white miso for the gentler taste this combination is built around; red miso is more assertive and saltier, so it changes the balance.
- Unsalted butter — Butter carries the miso across the salmon and softens its salty edge. Unsalted butter gives you more control because miso already brings plenty of seasoning. A fresh package is fine; there’s no need for a specialty butter here.
- Honey — The honey rounds out the savory miso and helps the topping bake into a glossy coating. Its sweetness is noticeable but not dessert-like. Leaving it out makes the finish less balanced and less shiny.
- Lemon juice — A small hit of acidity keeps the buttery topping from tasting heavy. Freshly squeezed or bottled lemon juice both work; use the same type consistently rather than adding extra by guesswork.
- Skin-on salmon — Keeping the skin on gives each fillet a sturdy underside while it bakes. The most useful quality check is thickness: similar-sized pieces finish more evenly, and the thickest part is where you’ll check doneness.
Build the Miso Butter, Then Bake the Salmon Until It Flakes
Stir the Butter Until the Miso Disappears
Put the softened butter, white miso, honey, and lemon juice in a small bowl. Stir until the mixture looks smooth and evenly colored, with no streaks of plain butter or concentrated miso. If it’s lumpy, the butter is probably too cold; give it a little more time to soften instead of melting it. A smooth mixture spreads in a thin, even layer rather than landing in heavy patches.
Dry the Fillets and Coat the Flesh Side
Heat the oven to 400°F and line a rimmed baking sheet with parchment paper or foil. Pat the salmon dry, set each fillet skin-side down, and season with black pepper. Spread the miso butter evenly over the top of each piece, stopping short of pressing hard enough to dent the flesh. Dry surfaces help the coating sit on the fish instead of slipping over moisture on the way to the oven.
Bake Just Until the Thickest Part Is Done
Bake for 12 to 15 minutes, checking the thickest part of a fillet with an instant-read thermometer; it should register 145°F. The flesh should flake easily when nudged with a fork, but don’t wait for it to look dried out or split into large flakes on its own. Thicker pieces may need the longer end of the range, while thinner pieces can finish sooner. Rest the salmon for 2 minutes before serving so the hot topping settles over the fish.
Three Ways to Change the Miso Butter Without Losing the Salmon
Make It Dairy-Free With Plant-Based Butter
Use an unsalted plant-based butter stick in place of the dairy butter. Choose a stick-style product rather than a soft tub spread so the topping stays thick enough to spread. The coating will be a little less rich, but the miso, honey, and lemon still make a cohesive glaze.
Use Red Miso for a Deeper, Saltier Finish
Swap red miso for the white miso in the butter mixture. Red miso has a stronger, more savory taste, so the salmon will come out bolder and saltier rather than mellow and gently sweet. Keep the rest of the mixture unchanged, and taste the miso before using it if you’re unsure how assertive your brand is.
Leave Out the Honey for a Less-Sweet Topping
Skip the honey if you prefer a more savory, less rounded miso coating. The butter mixture will taste sharper and won’t bake up quite as glossy, but it still spreads over the salmon and cooks through. Keep the lemon juice in place to give the richer butter and miso some lift.
Storage and Reheating
- Refrigerator: Store cooked salmon in a covered container for up to 3 days. The fish will firm up as it chills, and the butter topping will set.
- Freezer: Wrap portions tightly or pack them in an airtight freezer container for up to 2 months. Thaw in the refrigerator; the texture will be a little softer after freezing.
- Reheating: Warm covered in a 275°F oven until the center reaches 165°F, or use short bursts in the microwave. High heat dries salmon quickly, so avoid reheating it uncovered until it’s piping hot.
Questions That Come Up When Baking Miso Butter Salmon
Miso Butter Salmon
Ingredients
Equipment
Method
- In a small bowl, stir together the softened butter, white miso, honey, and lemon juice until smooth.
- Heat the oven to 400°F.
- Line a rimmed baking sheet with parchment paper or foil.
- Pat the salmon dry.
- Place the salmon skin-side down on the sheet.
- Season the salmon with black pepper.
- Spread the miso butter evenly over the fillets.
- Bake for 12 to 15 minutes, until the salmon flakes easily and registers 145°F in the thickest part.
- Rest for 2 minutes before serving.